How to Deep Clean Hardwood Floors Without Wrecking Them
Part of Floor Cleaning · article 6 of 10
On this page
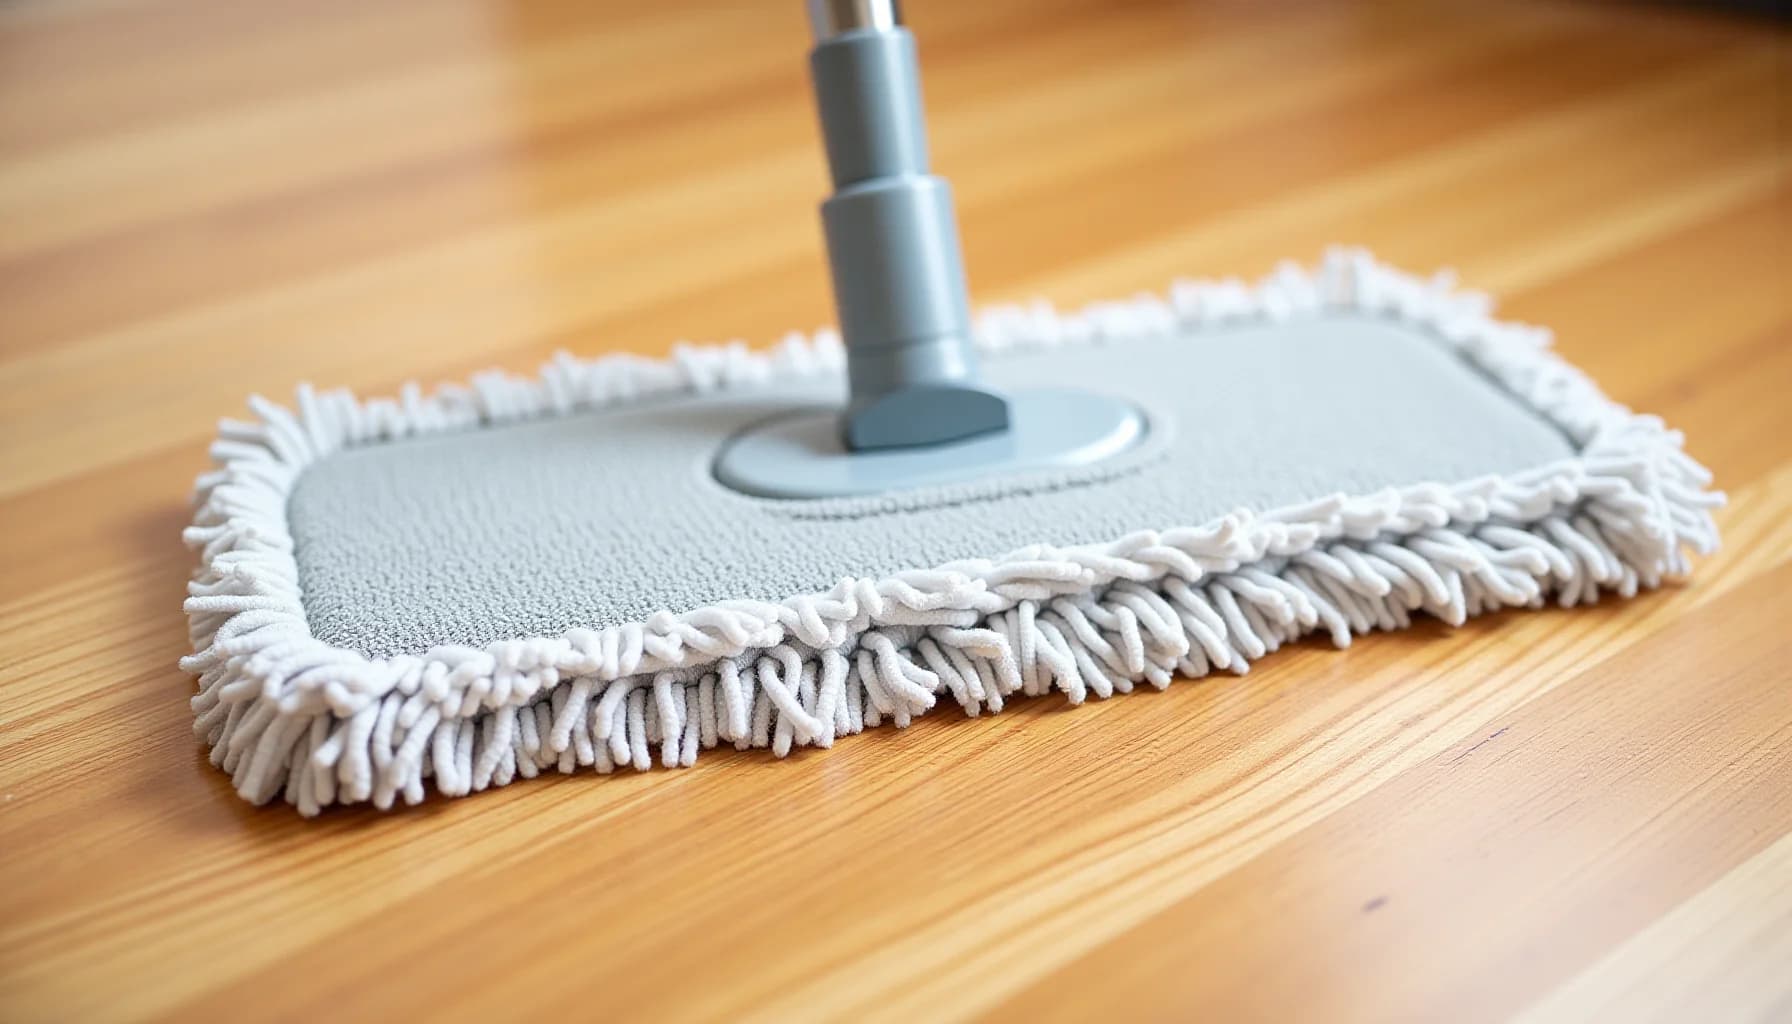
Deep clean hardwood floors by vacuuming first with a soft-bristle attachment or hard-floor setting, then damp-mopping with a well-wrung microfiber mop and a pH-neutral cleaner made for wood. Work with the grain, keep the mop barely damp, and dry the surface within 30 seconds of mopping. Dirt packed into seams needs separate attention: wrap a damp microfiber cloth around a thin plastic spatula and run it through the gaps. Skip vinegar, steam mops, and traditional string mops — each one damages the finish or forces too much moisture into the wood, and vinegar's clouding effect cannot be reversed without refinishing.
What type of finish does your hardwood floor have?
Before you fill a bucket or reach for a cleaner, you need to know what finish is on your floor. Get this wrong and you can permanently cloud, strip, or warp the surface, no matter how careful your technique is.
Most floors installed after the 1920s have a surface finish, typically polyurethane or a water-based or moisture-cured urethane. This creates a hard, waterproof barrier that sits on top of the wood. Liquids bead on the surface rather than soaking in, which makes these floors far more forgiving of damp mopping. If you're not sure what type of flooring you have underneath that finish, identifying your hard floor type before you clean it is a useful first step.
Floors installed before the 1920s are more likely to have a penetrating finish, where the product soaks into the wood rather than forming a surface layer. These floors are usually topped with a coat of wax. Neither the finish nor the wax fully seals the wood, so even moderate moisture can cause the planks to expand and warp.
To tell which you have, rub your finger across an inconspicuous area. A surface-finished floor feels smooth and almost plastic-like. A wax-finished floor feels slightly soft or waxy and may show a smear. You can also drip a small amount of water onto a hidden spot: if it beads up, you have a surface finish; if it soaks in within a minute or two, treat the floor as penetrating-finished and use minimal moisture throughout the cleaning process.
How often should you deep clean hardwood floors?
Identify your floor finish before you start
Check whether your floor has a surface finish like polyurethane or urethane, which repels water, or an older penetrating finish sealed with wax. Floors installed before the 1920s often have the wax-based type, which is far more vulnerable to moisture and needs gentler handling throughout.
Clear the room and remove area rugs
Move furniture and lift all area rugs so the entire floor surface is accessible. Working around obstacles causes you to miss edges and seams where grime builds up fastest.
Vacuum or sweep with the right attachment
Use a vacuum on its hard floor setting with a soft-bristle brush attachment, or sweep with a soft-bristle broom to lift debris from seams and textured grain. Avoid vacuums with a beater bar, which can scratch the finish.
Test your cleaner on a small hidden area
Before applying any product to the full floor, dab it onto an out-of-the-way section and let it dry. This step confirms the cleaner will not stain, cloud, or damage your specific finish.
Choose a pH-neutral cleaner made for hardwood
Use a pH-neutral cleaner designed for wood floors, or plain water for lightly soiled surfaces. Avoid vinegar, which is acidic and can strip the protective finish permanently, and skip general-purpose cleaners that are not formulated to dry quickly on wood.
Damp-mop with a well-wrung microfiber mop
Wring the microfiber mop until it is barely damp, then mop in the direction of the wood grain. The floor should feel dry to the touch within about 30 seconds; if it stays wet longer, your mop holds too much water.
Dry the floor immediately
Follow behind the mop with a dry microfiber pad or cloth to remove any remaining moisture at once. Standing water is the leading cause of swelling, warping, and seam separation in hardwood floors.
Clean the seams and crevices between planks
Wrap a damp microfiber cloth around a thin plastic spatula and run it through the gaps between floorboards. Grit trapped in seams wears down plank edges over time, so clearing it out is a key part of a true deep clean.
Set a cleaning schedule based on your household
Deep clean two to four times a year for a typical household. If you have children, pets, or high-traffic areas, move to every one to two months to prevent grime from grinding into the finish between sessions.
What tools and supplies do you need before deep cleaning hardwood floors?
Gathering the right equipment before you move a single piece of furniture will save you time and protect your floors from accidental damage. Here is exactly what to have on hand.
Vacuum or soft-bristle broom. You need one or the other to clear loose debris before any liquid touches the floor. If you use a vacuum, make sure it has a hard floor setting and a soft-bristle brush attachment. Avoid any vacuum fitted with a beater bar, which can scratch the finish.
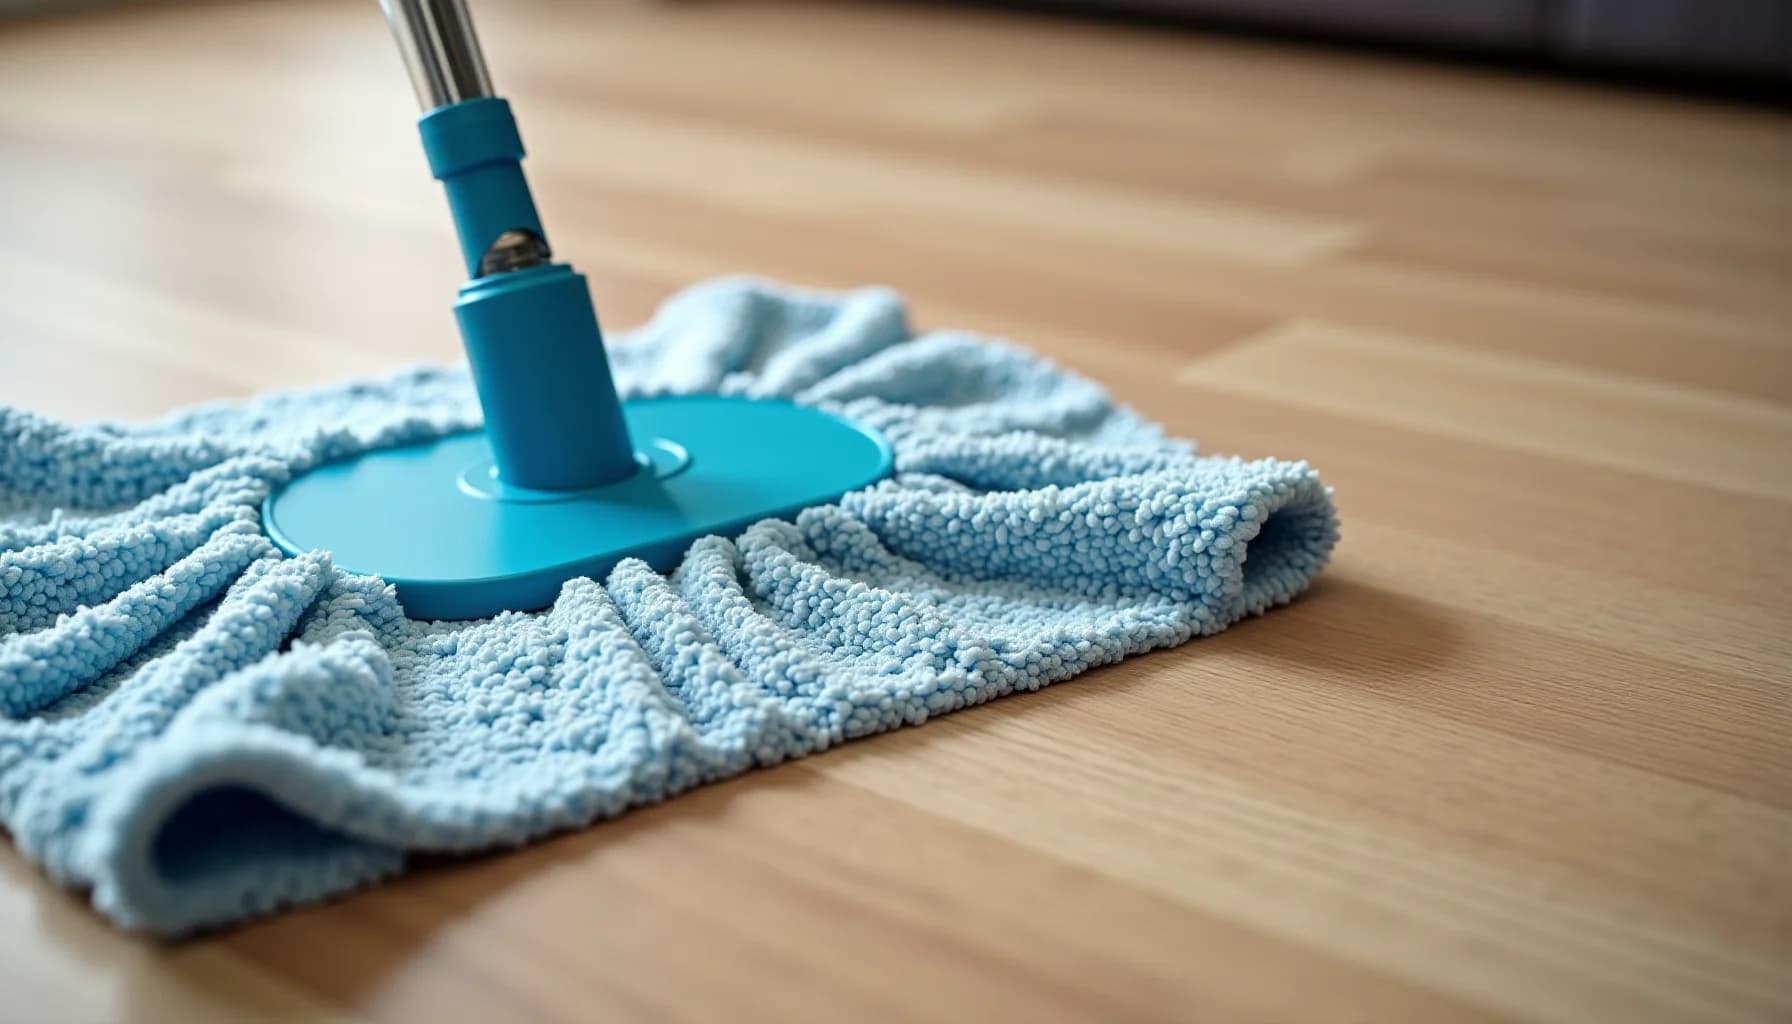
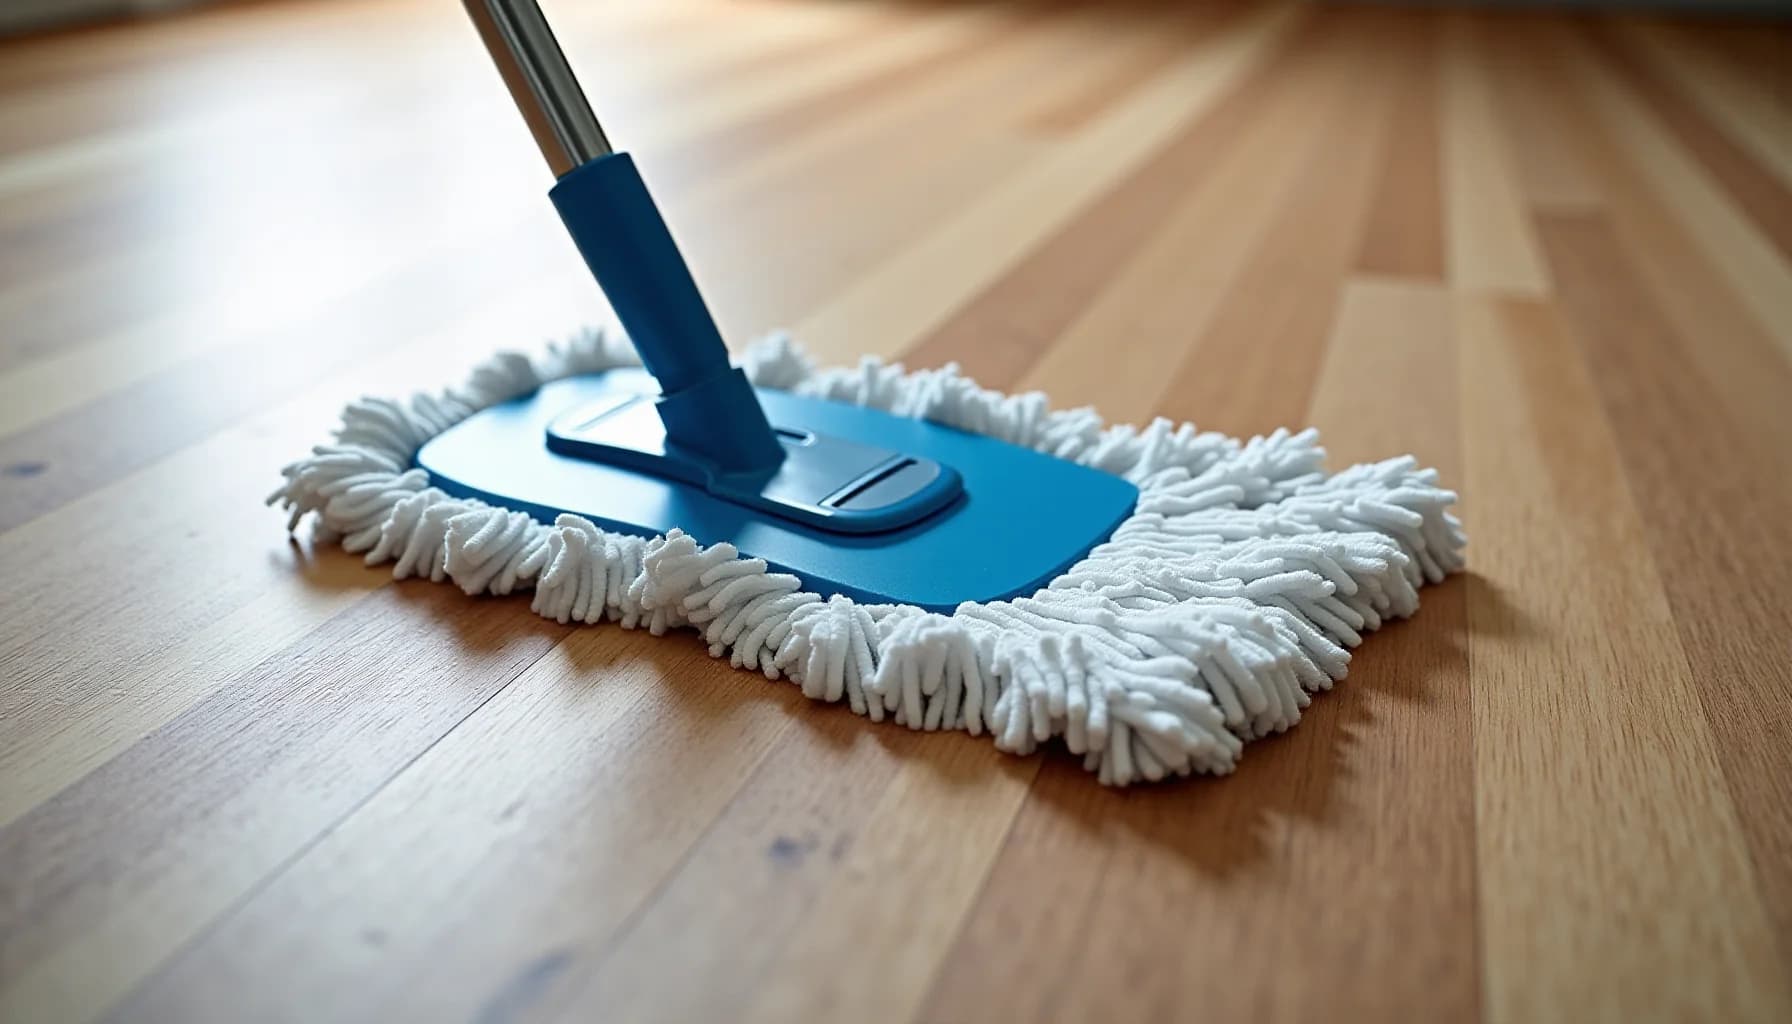
Microfiber mop. This is the single most important tool for the job. Traditional string mops hold far too much water and can saturate the surface in seconds. A flat microfiber mop head wrings out to barely damp and covers the floor evenly. Have at least one spare pad so you can swap it out if the first becomes soiled mid-clean.
pH-neutral hardwood floor cleaner. General-purpose household cleaners are often too alkaline or too acidic for wood finishes. Look for a product specifically formulated for hardwood floors. Many wood floor manufacturers recommend cleaners that contain isopropyl alcohol, which evaporates quickly and reduces the time moisture sits on the surface. These are widely available at home supply stores. If you are unsure which formula suits your specific finish, the guide to which cleaner is safe for your floor finish breaks it down by floor type.
Microfiber cloths. Keep a few dry cloths nearby for wiping up any excess moisture immediately after mopping and for cleaning the seams between boards.
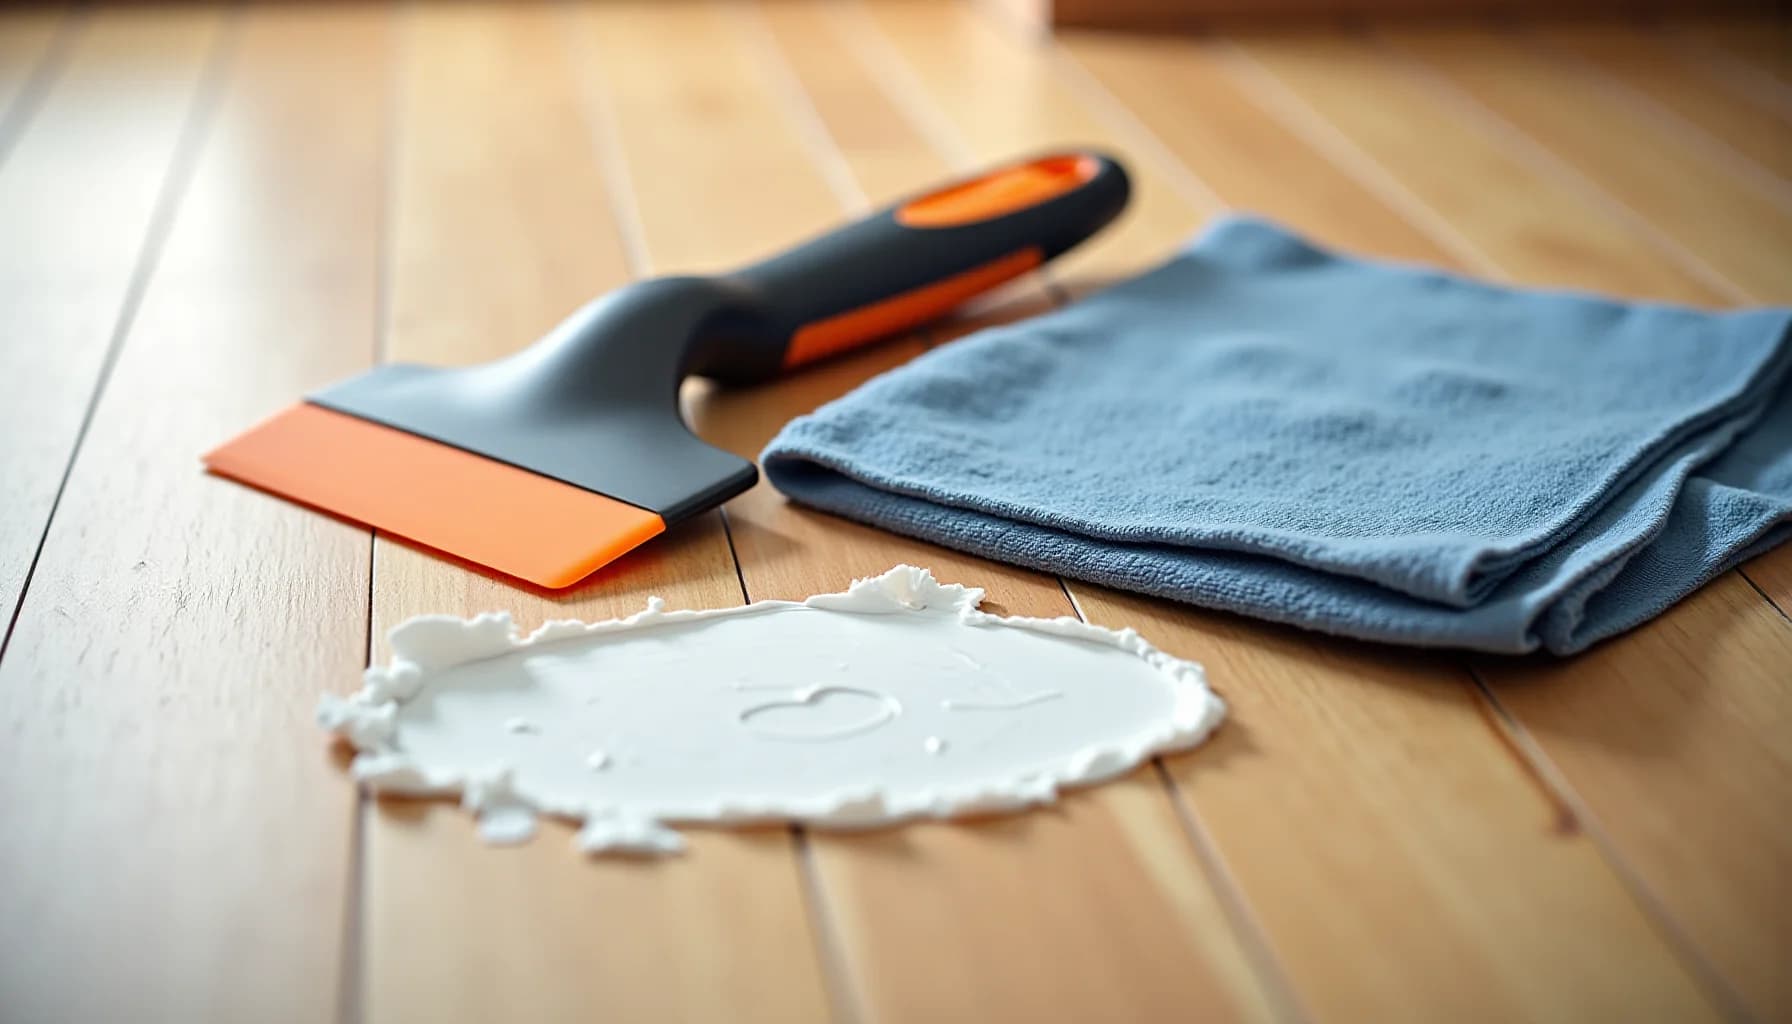
A thin, blunt tool such as a plastic spatula. Wrapped in a damp microfiber cloth, this lets you work grime out of the gaps between planks without scratching the surrounding finish.
Two buckets. One holds your diluted cleaner, the other holds clean rinse water for wringing the mop. Keeping them separate prevents you from spreading dirty water across clean sections of floor.
How do you deep clean hardwood floors from start to finish?
Start by clearing the room. Move furniture to one side and roll up any area rugs so you have unobstructed access to the full floor surface. This also protects furniture legs from moisture and lets you spot problem areas, such as scuffs or worn patches, before you begin.
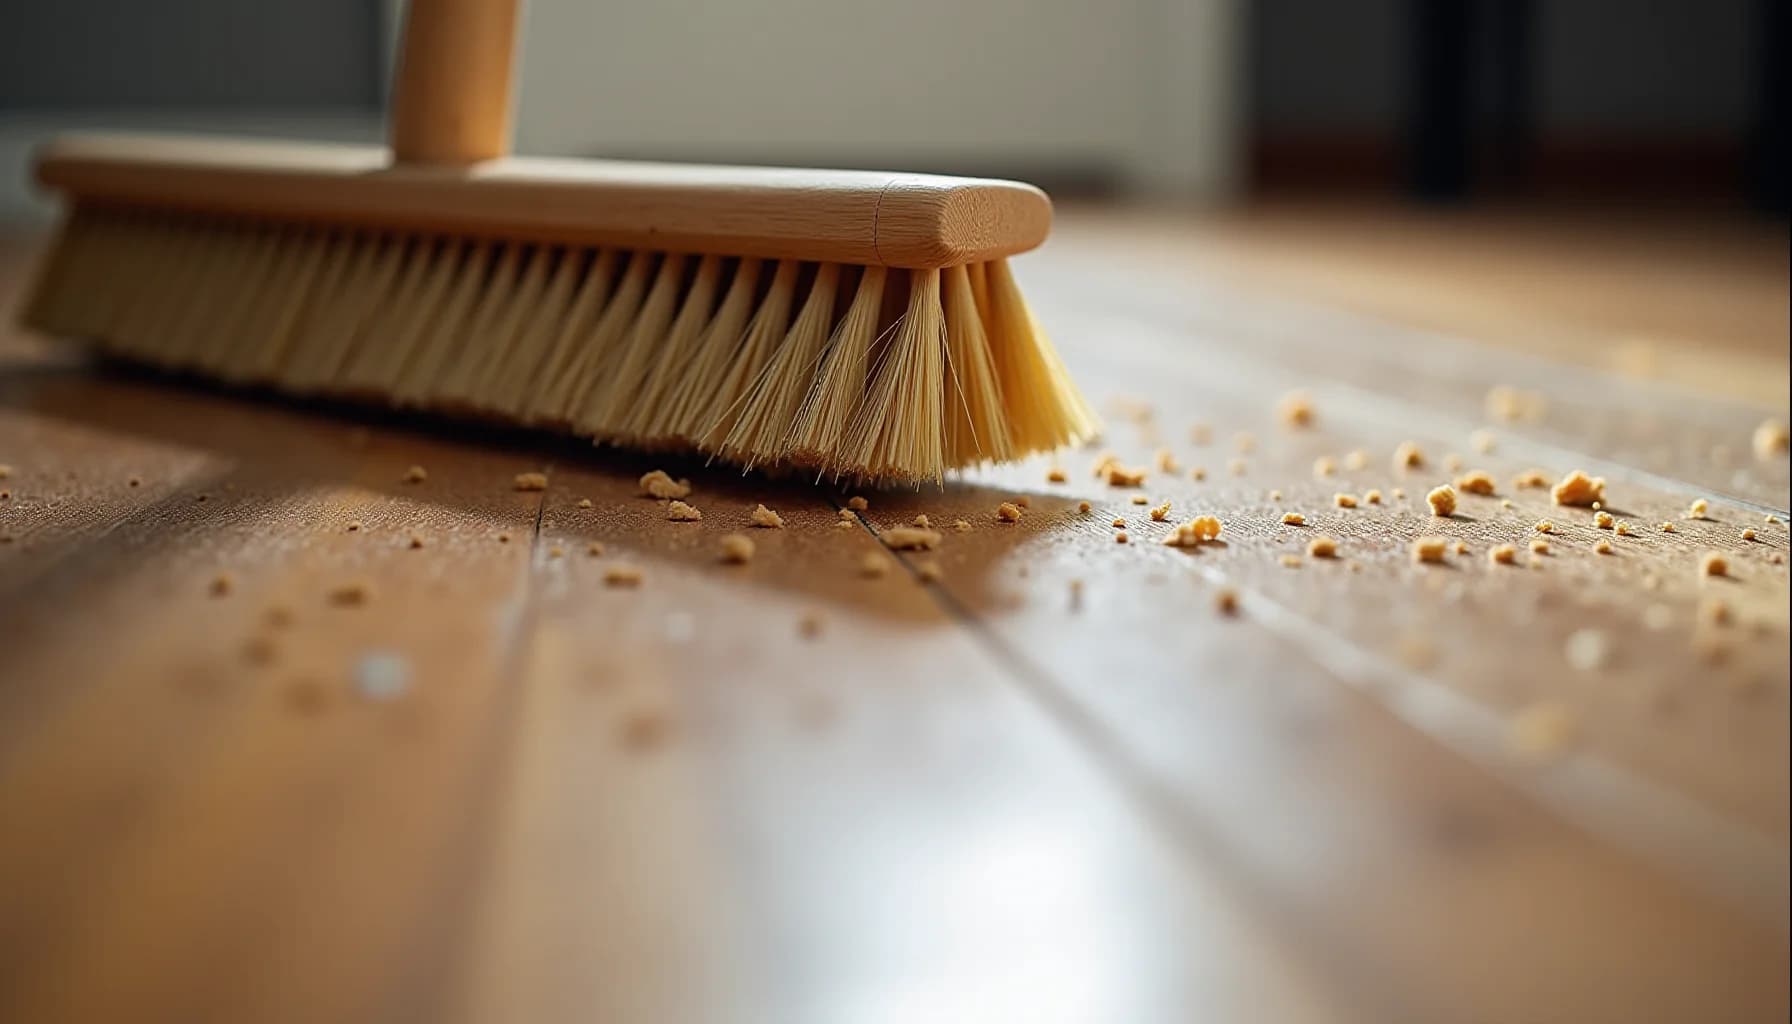
Next, vacuum or sweep thoroughly. Use a vacuum set to hard floor mode, or fit it with a soft-bristle brush attachment, and work methodically across the room. Pay attention to the seams between planks, where grit collects and gradually abrades the finish. Avoid any vacuum with a beater bar, which spins aggressively enough to scratch the surface.
Once the floor is debris-free, prepare your mop. Dampen a microfiber mop head with plain water or a pH-neutral cleaner made specifically for hardwood, then wring it out until it feels barely damp to the touch, not wet. Work in the direction of the wood grain, moving in manageable sections rather than mopping the entire floor at once. (If you are unsure which products suit your specific finish, choosing the right cleaner by floor finish type can help you narrow it down before you start.)
After each section, check the floor. The surface should dry within roughly 30 seconds. If it stays wet longer than that, your mop is carrying too much water. Wring it out further before continuing.
For the seams, wrap a damp microfiber cloth around a thin plastic spatula and draw it slowly through the gaps between planks. This pulls out compacted grime without forcing moisture deep into the joint.
Once the final section is mopped, dry the floor promptly with a clean dry microfiber cloth or allow adequate airflow to finish the job. Never leave standing water, even briefly.
How do you get dirt out of the gaps between floorboards?
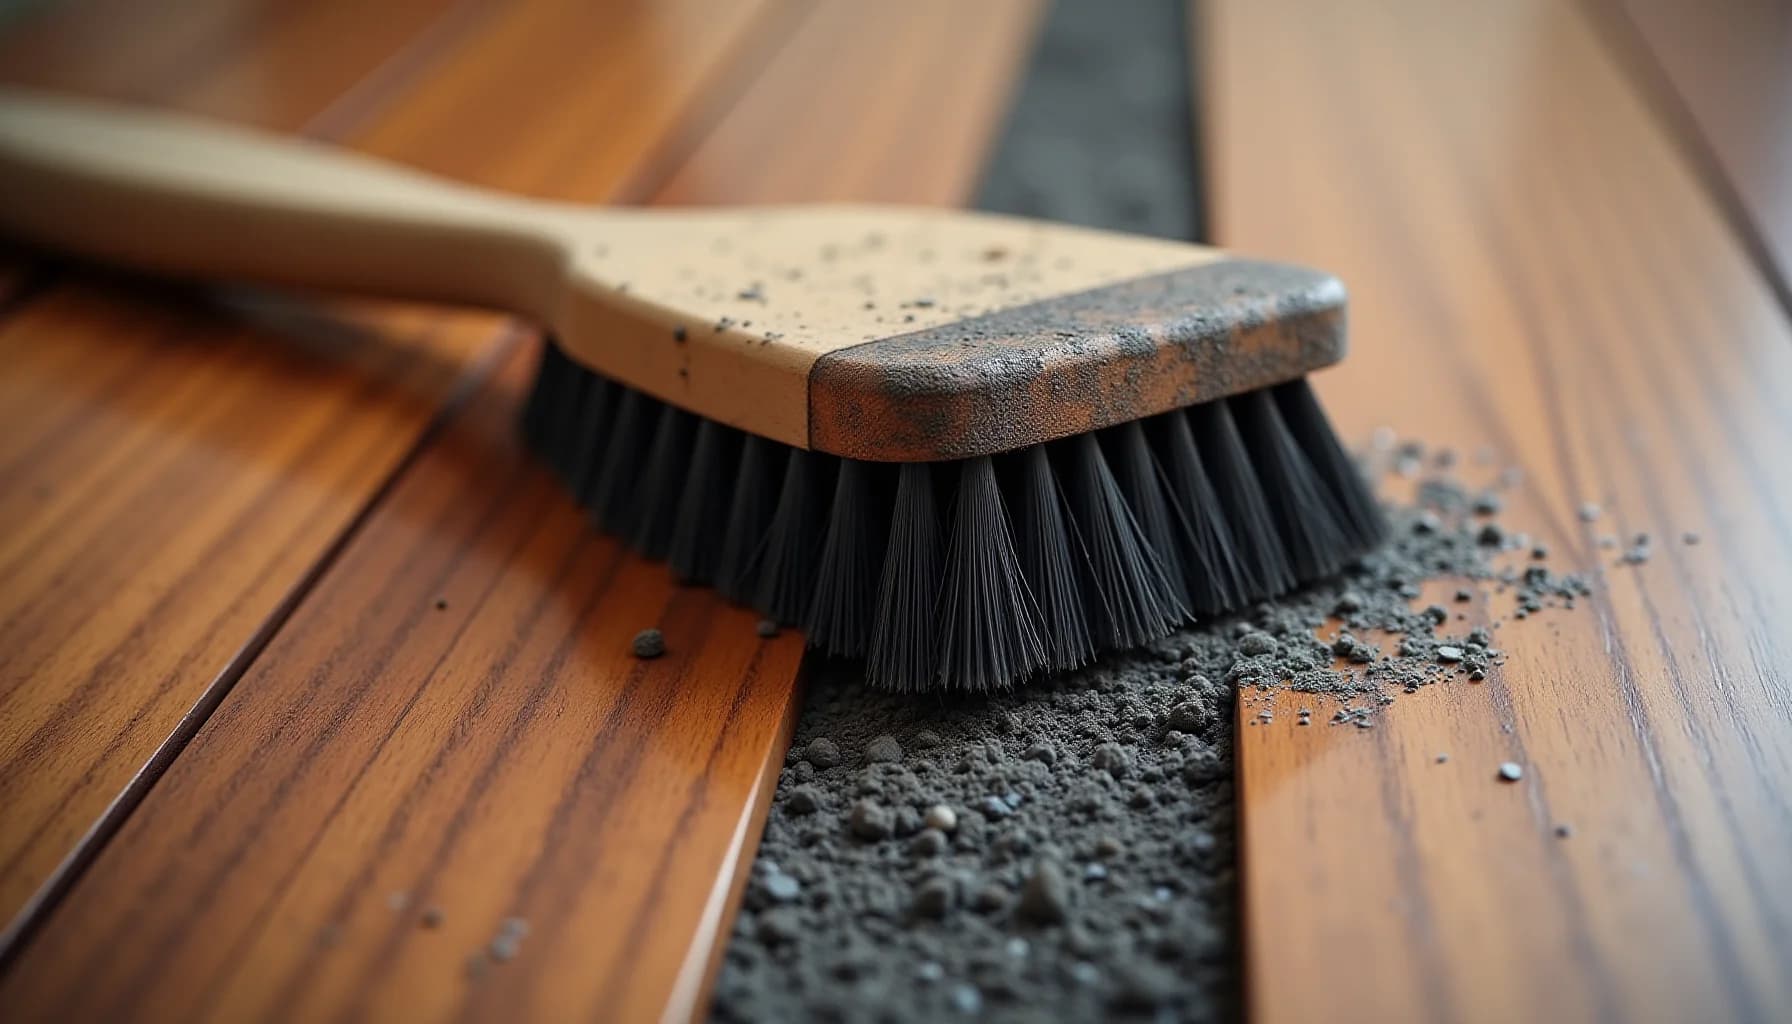
The gaps between floorboards collect more than just dust. Fine grit, pet hair, and dried spills work their way into the seams during normal foot traffic, and once that debris compacts down, regular mopping pushes it deeper rather than removing it. Left long enough, the accumulated grit acts like sandpaper against the edges of each plank, gradually wearing them down.
Start with a vacuum pass using a soft-bristle crevice attachment rather than a beater bar, which can scratch the finish. Run it along the seams in the direction of the planks to pull out loose debris before introducing any moisture. On textured or hand-scraped floors, this step matters even more because the grain itself traps fine particles that a flat mop head will miss entirely.
For compacted grime that vacuuming leaves behind, wrap a lightly damp microfiber cloth around a thin, flat tool, a plastic spatula works well, and draw it steadily through each gap. The cloth picks up what the vacuum couldn't dislodge, while the rigid backing keeps the cloth pressed into the seam rather than riding over it. Use barely enough moisture to make the cloth effective, not wet enough to leave the gap damp. Dry the area promptly so no standing water sits between planks.
The approach changes slightly on older floors with a penetrating finish rather than a modern polyurethane surface coat. Those floors are more sensitive to any moisture at the seams, so keep the cloth as close to dry as possible and work in small sections, drying each one before moving on. If you are unsure which finish your floor has, identifying your hard floor type before you clean it will save you from an expensive mistake.
| Gap Case | Tool to Use | Key Adjustment | What to Avoid |
|---|---|---|---|
| Fine dust in narrow gaps | Vacuum with hard-floor setting | Use soft-bristle attachment; go with the grain | Beater bar attachment — scratches finish |
| Packed grime in medium gaps | Damp microfiber cloth on plastic spatula | Wrap cloth tightly; run along full length of gap | Metal tools — gouge plank edges |
| Sticky residue in wider gaps | pH-neutral cleaner on microfiber-wrapped spatula | Apply cleaner to cloth, not directly into gap | Letting liquid pool in the gap — warps wood |
| Debris near older penetrating-finish floors | Barely damp cloth only | Dry the gap immediately after wiping | Any excess moisture — wax finish is not waterproof |
| Loose grit after foot traffic | Dry soft-bristle brush before any damp step | Sweep grit out first to prevent scratch damage | Skipping dry sweep — grit grinds finish during mopping |
What cleaner should you use on hardwood floors?
The single most important rule for choosing a hardwood floor cleaner is pH neutrality. Hardwood finishes, whether polyurethane or urethane-based, are sensitive to both acidic and alkaline products. Acidic cleaners, including vinegar, strip the protective finish over time, leaving the wood underneath exposed and vulnerable. The damage shows up as a cloudy, dull surface that cannot be reversed without a full refinish. Alkaline cleaners carry similar risks. A pH-neutral formula sits safely in the middle, cleaning effectively without attacking the finish.
Beyond pH, look for cleaners formulated specifically for hardwood rather than general-purpose floor cleaners. Hardwood-specific products are designed to dry quickly, which matters because any moisture left sitting on the surface works against the finish. General-purpose cleaners often leave residue or take longer to evaporate, both of which create problems over time.
Most wood floor manufacturers and installers recommend products that contain isopropyl alcohol. Isopropyl alcohol evaporates fast, which helps the floor dry within seconds rather than minutes, cutting down the window in which moisture can work into the seams. These products are widely available at home supply stores.
Before applying any cleaner across the full floor, test it on an inconspicuous area first, such as inside a closet or beneath a furniture leg. This small step can save you from discovering a damaging reaction only after treating several hundred square feet. If you are unsure whether a product suits your specific finish type, the guide to which cleaners are safe for your floor finish can help you cross-reference by finish and product type before committing.
Will vinegar, steam, or a string mop damage your hardwood floors?
Three cleaning approaches show up constantly in forums and home-improvement circles. All three can permanently ruin a hardwood floor, and the damage each one causes is not reversible without professional refinishing.
Vinegar is an acid. That acidity is exactly what makes it effective on mineral deposits in bathrooms, but applied to a polyurethane or urethane-finished hardwood floor, it gradually strips the protective coating. The result is a cloudy, dull surface that no amount of buffing corrects. The wood underneath is then exposed directly to moisture. If you rely on vinegar regularly, expect to pay for a full refinish rather than a simple clean.
Steam cleaners introduce two threats at once: high heat and concentrated moisture forced directly against the surface. Even on a well-sealed floor, that combination can discolor the finish, cause planks to warp, and crack the wood itself. The risks of steam on any hard floor type are worth understanding before you start, and knowing which floors can tolerate a steam mop may prevent a costly mistake.
String mops hold far more water than the wood can tolerate. A soggy mop head saturates the seams between planks, causing the boards to swell and separate. That damage compounds with every cleaning.
On the water question more broadly: water itself is not the enemy, saturation is. A microfiber mop wrung until barely damp is safe. The test is simple: the floor should be dry within 30 seconds of mopping. If puddles remain, you are using too much water, and swelling or warping will follow. Stop cleaning and call a flooring professional if you notice planks already buckling, cupping, or separating at the seams, since those conditions require assessment and repair before any further cleaning is attempted.
Frequently asked questions
How often should I deep clean my hardwood floors?
Can I use vinegar to clean hardwood floors?
How damp should my mop actually be?
What type of cleaner is safe for hardwood floors?
What mistakes cause permanent damage to hardwood floors?
The three most destructive habits are using vinegar, running a steam cleaner over the boards, and mopping with a soaking-wet traditional string mop. Vinegar is acidic enough to strip the protective finish over time, leaving the wood cloudy and dull. That cloudiness cannot be buffed out or reversed without a full refinish. Steam presents a different kind of problem: the combination of high heat and concentrated moisture can discolor, warp, or crack the wood, particularly in older floors with penetrating finishes. A saturated string mop causes the same swelling and seam separation as a flood, just more slowly.
The test-first rule applies to every cleaner you introduce, whether that is a commercial product or a DIY solution. Apply a small amount to an inconspicuous patch, such as inside a closet or behind a door that stays open, and watch how the surface responds before committing to the whole floor. This single step costs you nothing and can spare you the expense of refinishing.
A quick drying check tells you whether your mop is damp enough. After each pass, the floor should dry within about 30 seconds. If it stays wet longer than that, wring the mop out further. Building this habit into your routine, rather than waiting until you notice warping, is what separates floors that last decades from ones that need replacing far too soon.
How this article was made
Researched and written with AI assistance. What gets published is a human editorial decision. Grounded in 8 cited sources.
Edited by Claire Mercier, Editor. The guides are written with AI assistance.
Sources (8)
- Deep Clean Your Hardwood Floors With These Tips
- An Expert’s Guide: How to Deep Clean Hardwood Floors
- How to Clean Hardwood Floors: A Step-by-Step Guide | Dyson US
- How to Clean Hardwood Floors: Deep Clean Guide
- Best Way to Clean Hardwood Floors: Complete Guide | O-Cedar®
- Deep Cleaning a Hardwood Floor - 2026 Update | Mr. Floor
- This Is the Right Way to Deep Clean Hardwood Floors and Finally Get that Layer of Grime Off
- How to Clean Hardwood Floors - The Home Depot