How to Clean LVP Flooring Without Wrecking the Wear Layer
Part of Floor Cleaning · article 1 of 4
On this page
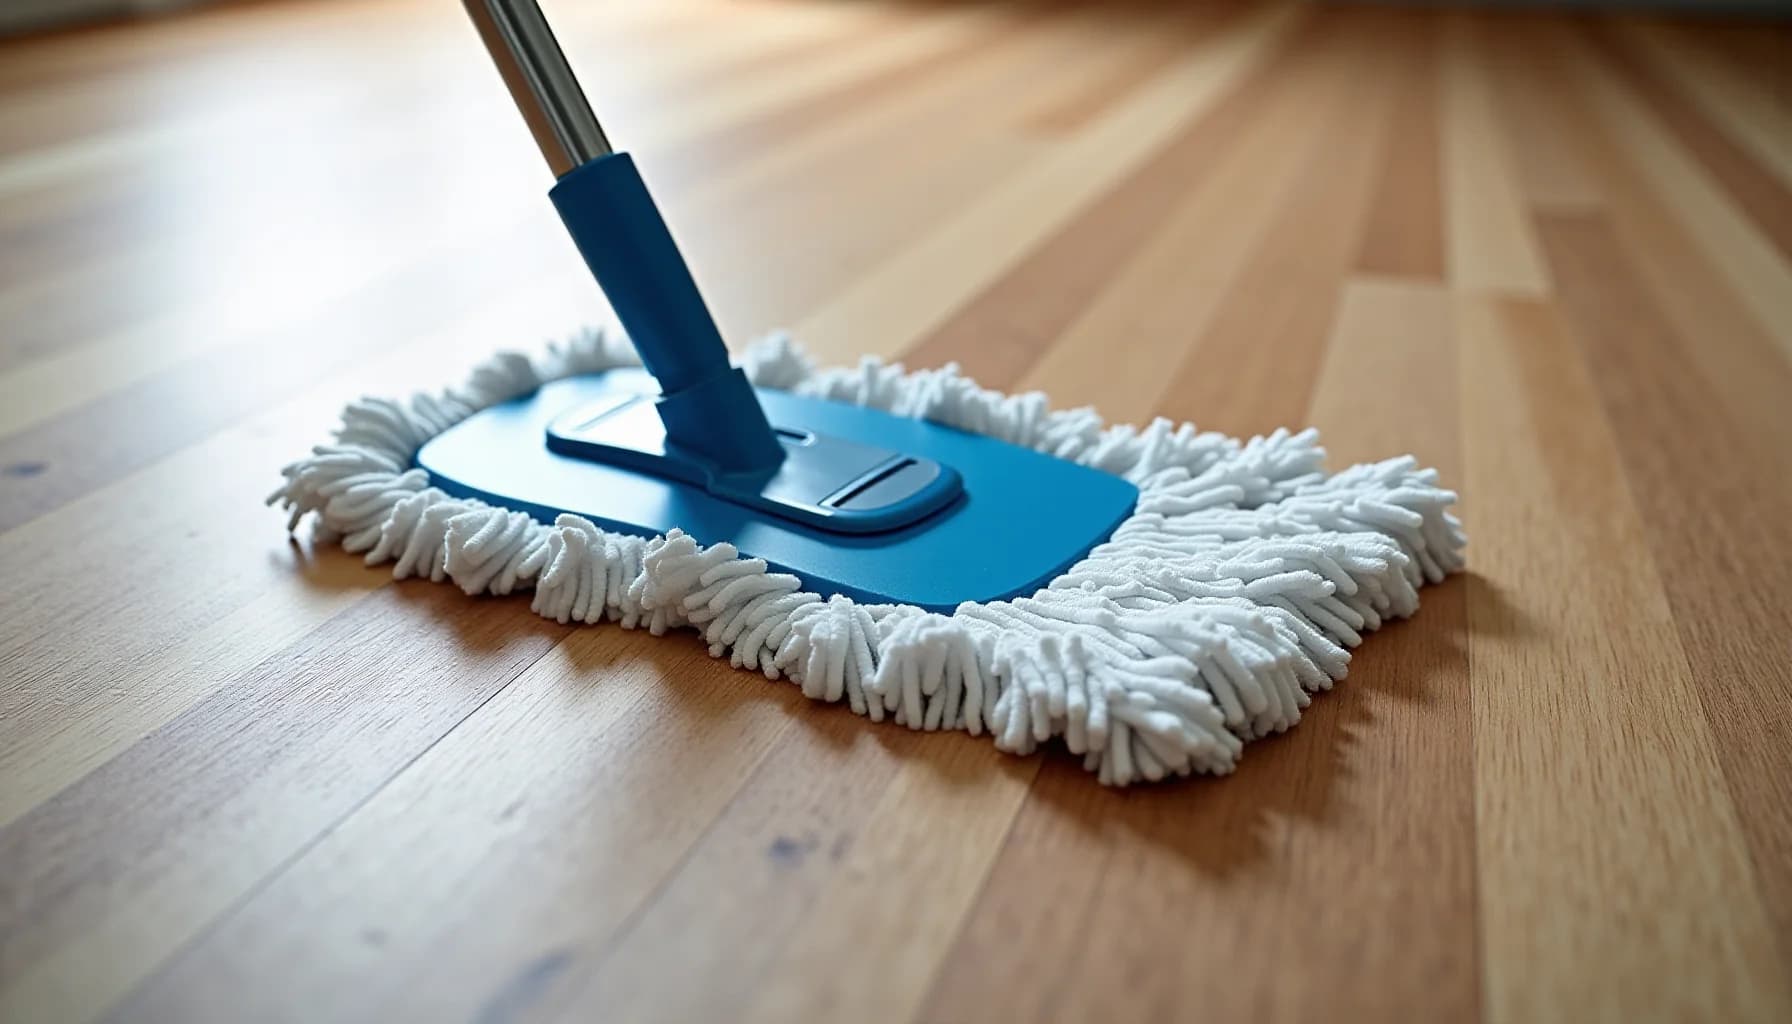
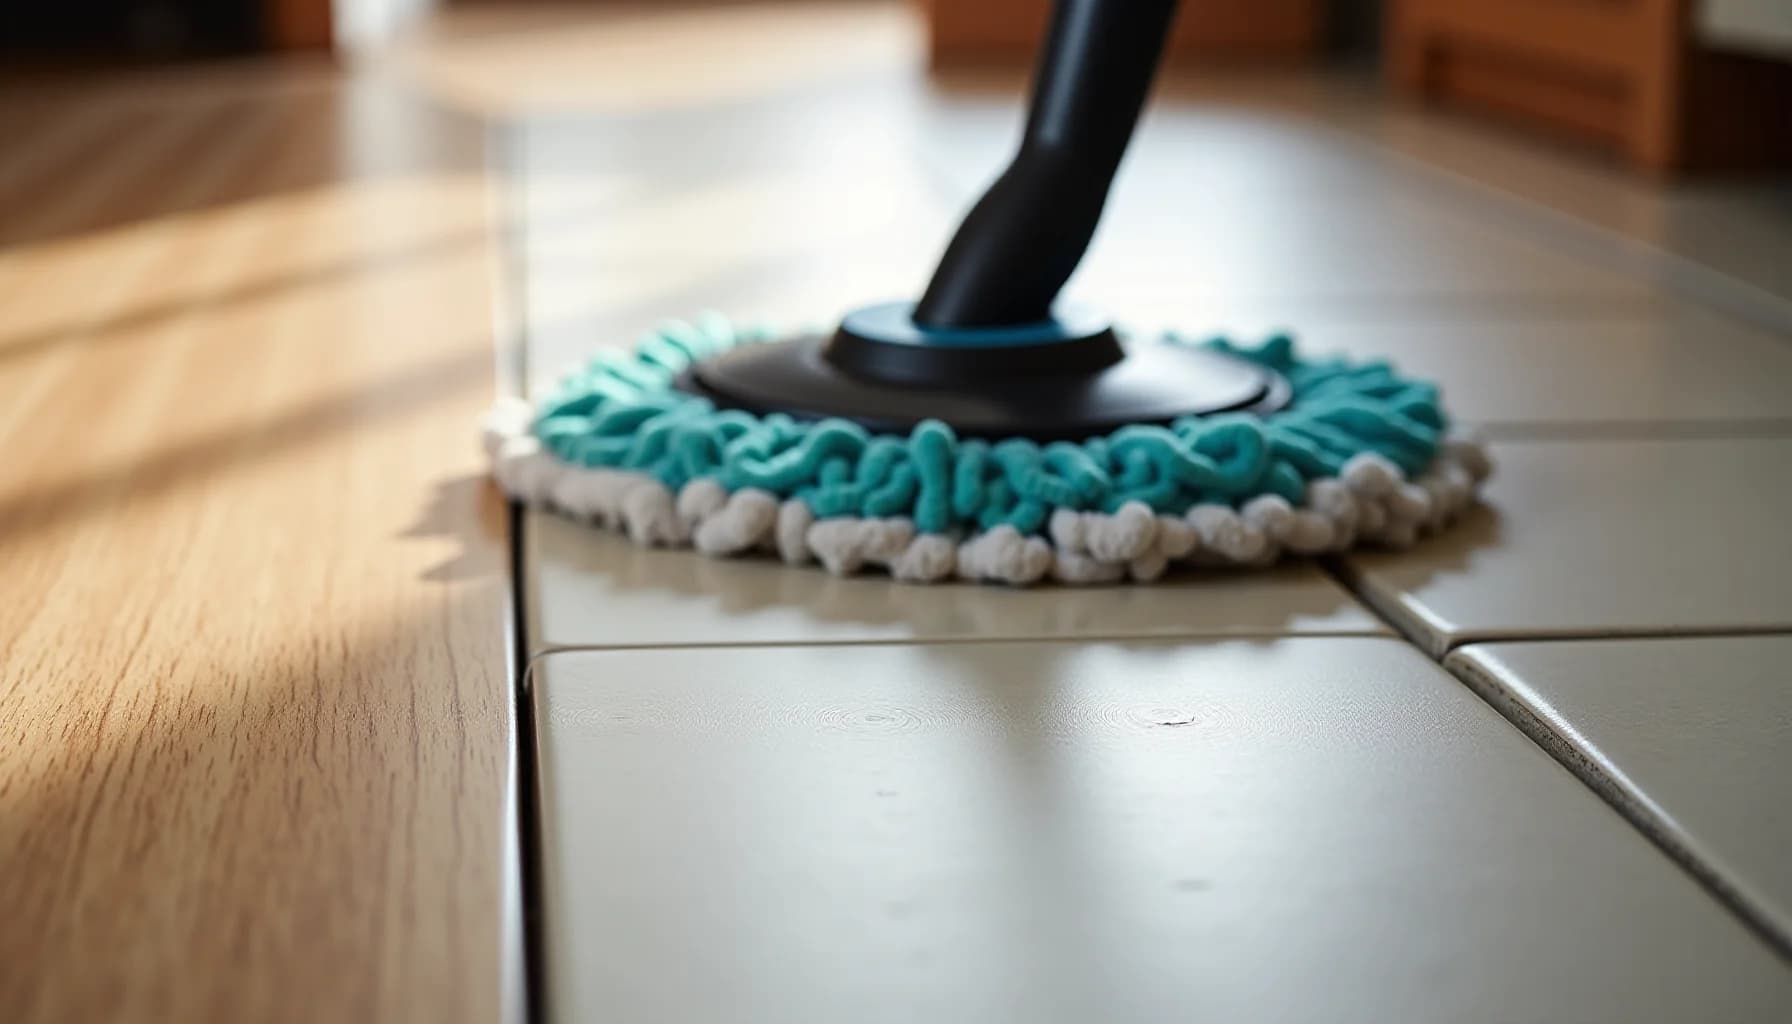
Sweep or vacuum first, then follow with a well-wrung microfiber mop and a pH-neutral cleaner. The beater bar on a vacuum will scratch the surface, so switch to the bare-floor setting. When mopping, the mop should be damp, not wet; flooding the floor pushes water into the click-lock seams, where it can cause warping or mold growth beneath planks that still look fine from above. Skip vinegar entirely: its acidity etches the wear layer with every use, producing a dull haze that worsens before it becomes obvious. The same goes for wax, oil-based soap, and abrasive scrubbers. For scuffs, a melamine sponge used with light pressure removes marks without dulling the finish. Stubborn stains respond to isopropyl alcohol on a cloth, wiped quickly rather than scrubbed. Before reaching for a steam mop or any disinfectant product, check whether it's safe for your specific floor finish, because manufacturer guidance varies and using a non-approved product can void your warranty even when no immediate damage appears.
Does your vacuum's beater bar damage LVP floors?
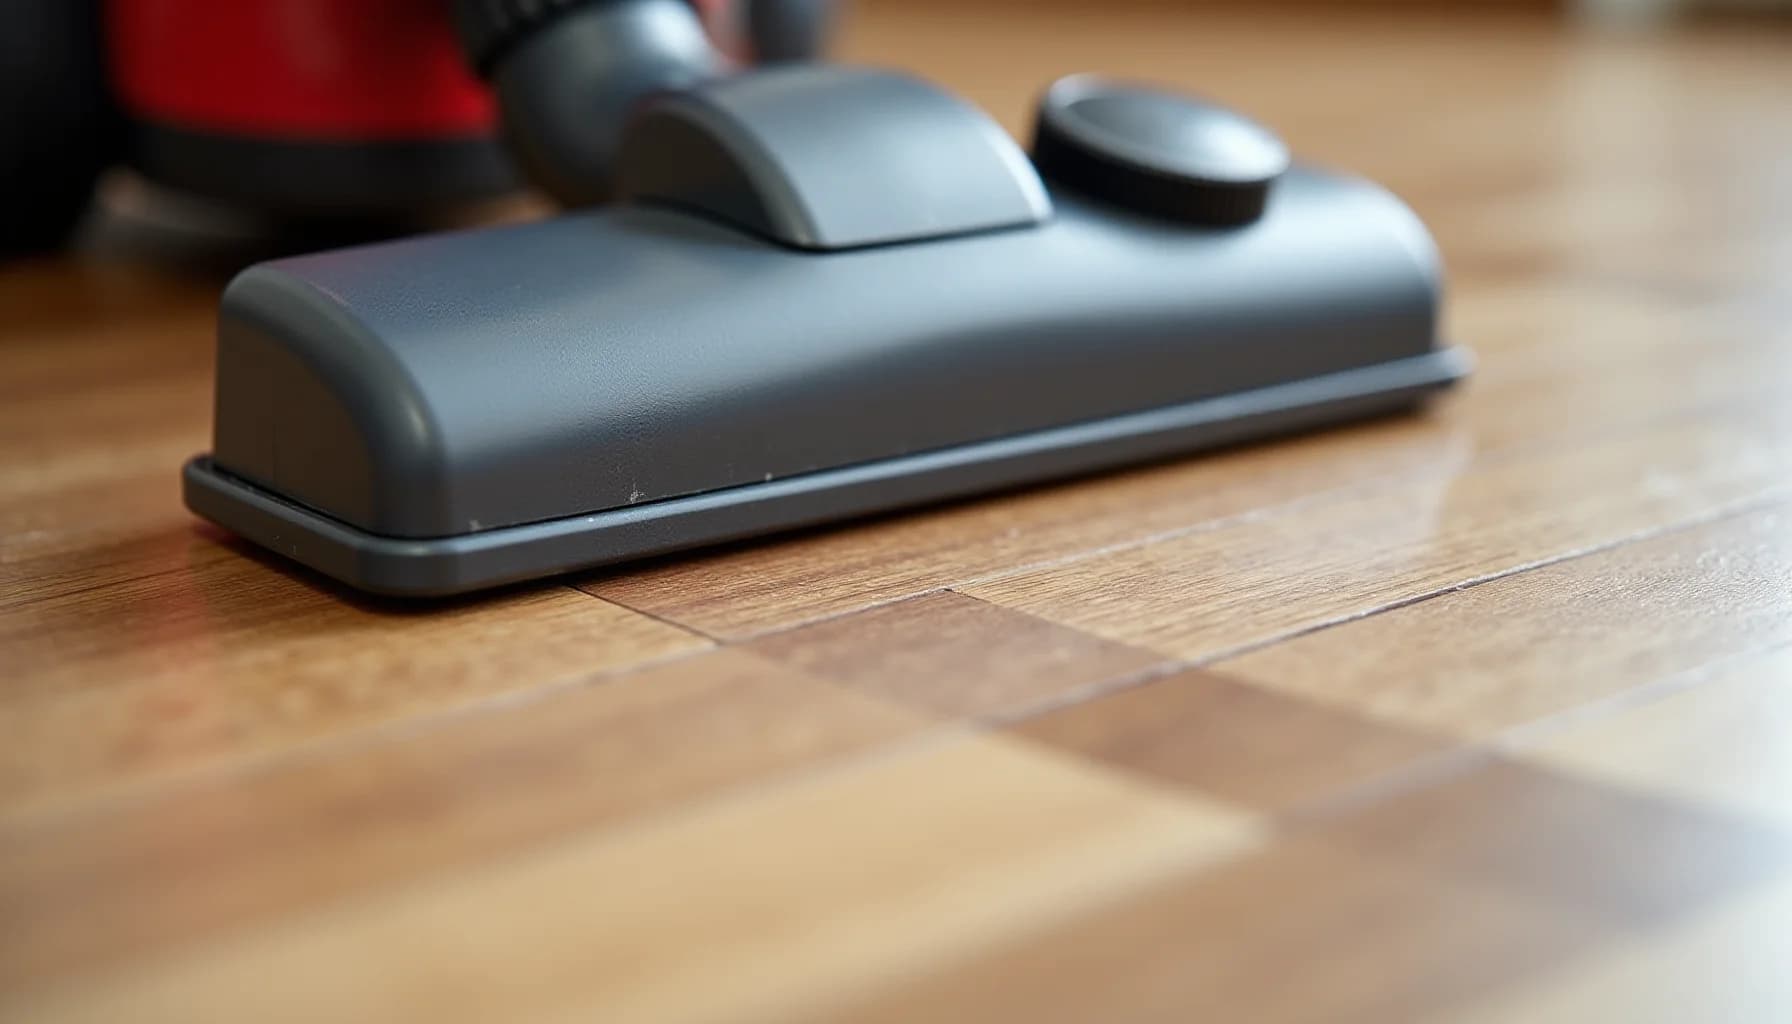
Yes, the beater bar on a standard vacuum damages LVP. That rotating brush is designed to agitate carpet fibers and dig out embedded grit, but on a hard surface it acts more like a sander, scuffing and dulling the wear layer with every pass. Switch your vacuum to the bare-floor or hard-floor setting, which lifts the beater bar out of contact, and the suction does the actual work without the abrasion.
For daily dry cleaning, you have three reliable options: a soft-bristle broom, a microfiber dust mop, or a vacuum on the bare-floor setting. In high-traffic areas like doorways, hallways, and kitchens, a daily pass is worth the two minutes. Fine grit and sand particles left on the surface get ground in underfoot and act exactly like sandpaper against the wear layer over time.
Microfiber dust mops are particularly effective because the static charge in the fibers pulls fine dust and pet hair off the surface rather than pushing it around. Flat-head mop frames with a swivel joint reach under cabinet overhangs where brooms tend to miss. A good quality microfiber pad washes and reuses easily, so there is no reason to use a disposable alternative.
If you use a canister or upright vacuum, check that the floor setting disengages the brush roll completely. Some uprights label this setting with a hard-floor icon; others require you to physically lower the suction head. Confirm the brush is stationary before running it across your planks.
What's the best way to wet mop LVP floors?
Remove loose debris before any wet cleaning
Sweep, dry mop, or vacuum daily, especially near doorways and in the kitchen, where grit gets ground into the surface underfoot. If you vacuum, switch to the bare-floor or soft-brush setting: the beater bar can scratch and scuff the wear layer.
Wring your mop until it is barely damp
Fill a bucket with warm water and a pH-neutral floor cleaner, then wring the mop thoroughly so it leaves no puddles. LVP seams are not watertight, and excess moisture seeping between planks can cause warping, buckling, or hidden mold growth beneath the floor.
Mop with a microfiber mop, working in sections
A microfiber mop captures dirt and grime without leaving lint or residue behind. Work across the floor in manageable sections and go back over any damp areas with a dry pass if water is sitting on the surface.
Wipe up spills the moment they happen
The longer a spill sits, the greater the risk of a permanent stain, and standing liquid will eventually work through the click-lock seams. Blot with a clean cloth rather than spreading the liquid further across the floor.
Treat scuffs and stains with targeted, gentle methods
Rub light scuffs gently with a melamine sponge, using light pressure so you clean the surface rather than wear it down. For tougher spots, apply a paste of baking soda and warm water, let it sit for a few minutes, then wipe clean; for stubborn stains, dab isopropyl alcohol on a cloth and wipe quickly without scrubbing.
Protect the floor between cleanings
Keep indoor humidity between 30 and 50 percent to prevent planks from expanding or contracting. Place a quality doormat at every entry point, since most tracked-in dirt originates outside, and fit heavy furniture legs with flat, non-rubber cups at least 2 inches wide to prevent indentations and staining.
What removes stains and scuffs from LVP flooring?
Most stains on LVP flooring respond well to three targeted methods, and the order you try them in matters. Start with the mildest option and escalate only if needed.
Baking soda paste works well on food stains, scuffs, and anything that has dried onto the surface. Mix baking soda with warm water until it forms a spreadable paste, apply it directly to the spot, and let it sit for a few minutes. Then wipe it away with a damp cloth and rinse the area with clean water. The mild alkalinity lifts the stain without attacking the wear layer the way an acidic cleaner would.
Melamine sponges (the generic name for products like Magic Eraser) are particularly effective on black scuff marks left by shoe soles, rubber wheels, or furniture feet. Dampen the sponge and rub the mark gently. The key word is gently: melamine foam works through a very fine abrasive action, and pressing hard or scrubbing repeatedly in the same spot will start to abrade the protective wear layer itself. One or two light passes is enough in most cases.
Isopropyl alcohol is the right escalation for stubborn stains that neither baking soda nor a melamine sponge can shift, including adhesive residue, ink, or certain dyes. Apply a small amount to a clean cloth rather than pouring it onto the floor, wipe the stain quickly, and stop as soon as it lifts. Avoid scrubbing or leaving alcohol to sit; the goal is a brief, targeted wipe.
One thing all three methods have in common: none of them require flooding the area. Use the minimum product needed, wipe up any moisture promptly, and the wear layer stays intact. If you are uncertain whether a product is safe for your specific floor finish, check which cleaners are safe for your floor type before applying anything new.
What products will damage your LVP floor or void your warranty?
The products most likely to ruin your LVP floor are the ones homeowners reach for instinctively, because they work well on other surfaces.
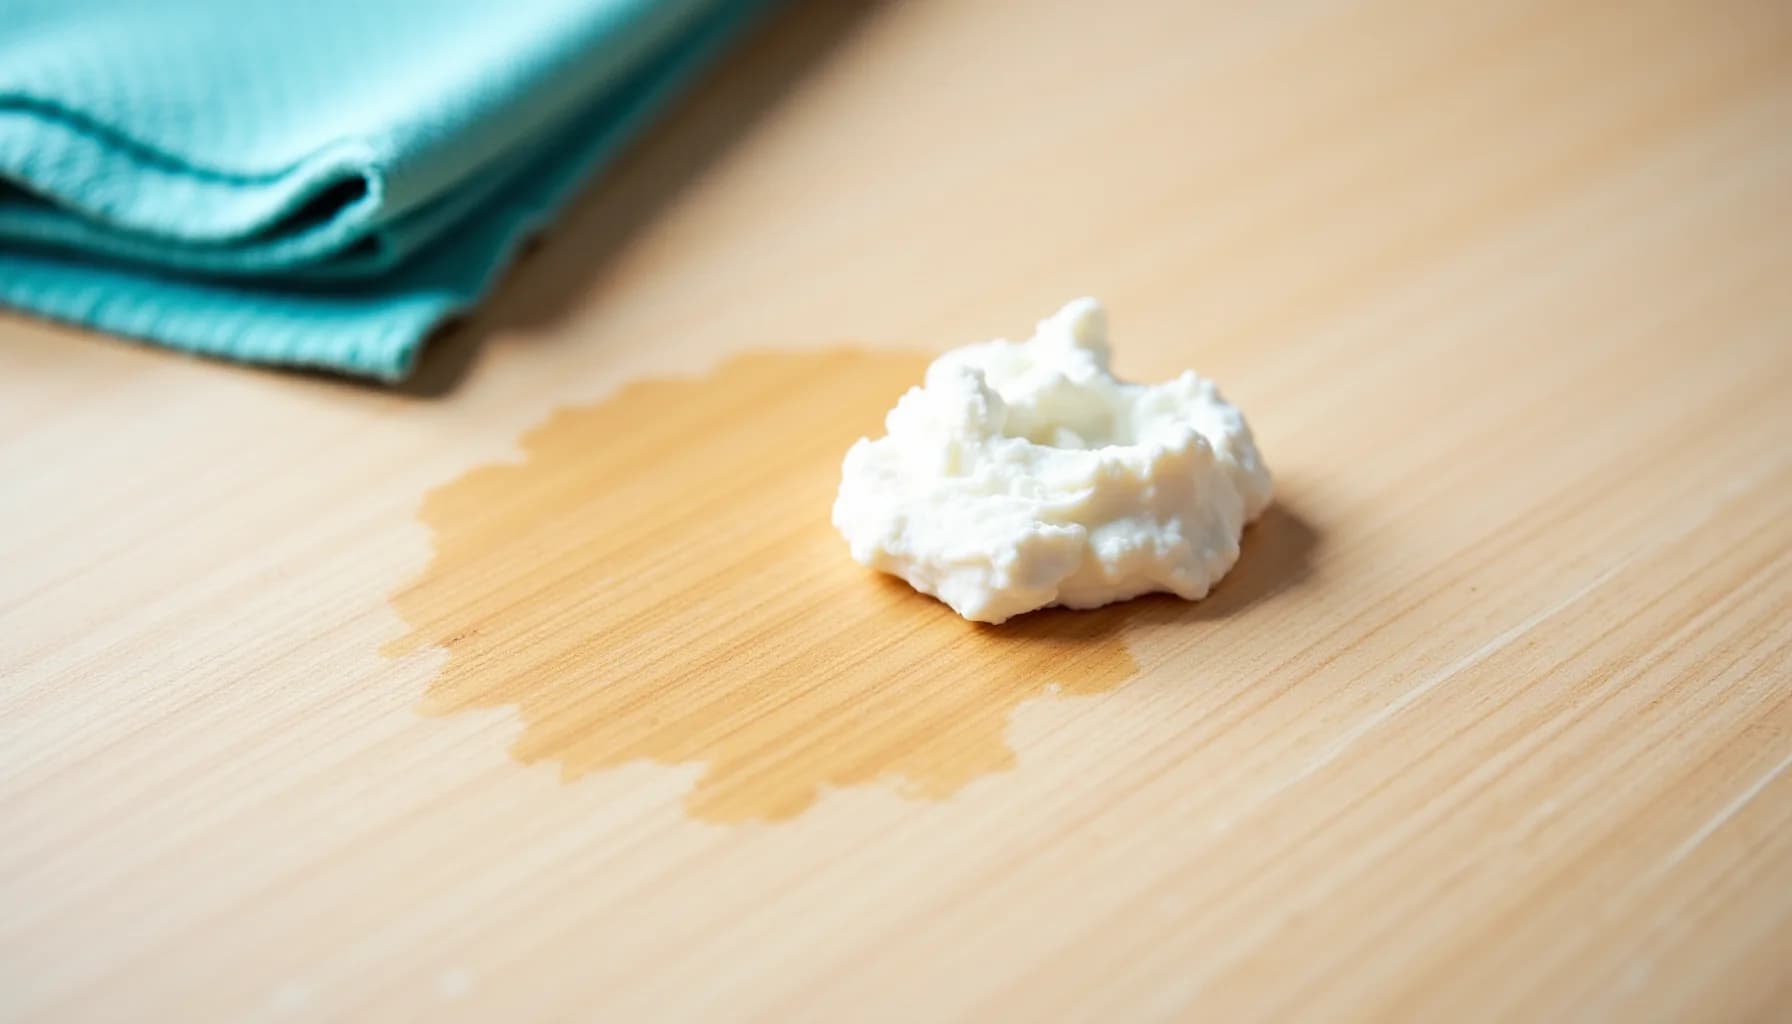
Vinegar is the biggest offender. It seems like a natural, harmless cleaner, and it genuinely is useful elsewhere in the home. On LVP, though, its acidity (pH around 2.4 to 3) etches the clear wear layer with every application. The damage is cumulative and invisible at first. By the time the floor looks dull or hazy, the wear layer is already compromised and cannot be restored. No amount of cleaning fixes it at that point.
Soap-based detergents leave a residue film that builds up over time, making the floor look streaky and attracting more dirt. Wax and "mop-and-shine" products do the same, adding a coating the floor was never designed to receive. Neither damages the wear layer as aggressively as acid, but both create a maintenance problem that compounds with each cleaning.
Bleach is a harder call. It can be appropriate in a genuine sanitation situation, such as cleaning up a septic backup, but routine use discolors and degrades the wear layer. Keep it off your regular cleaning rotation entirely.
Steam mops deserve special attention. The problem is not just heat; it is heat and moisture forced through seams and edges, which can cause warping, buckling, and delamination of the planks. Manufacturer guidance is genuinely split on this, with some approving low-heat use and others prohibiting steam outright. Before you use one, read the full article on using a steam mop safely on different floor types and then check your specific warranty. If the warranty is silent on steam, treat that as a no.
Using any non-approved product can void your warranty even when no visible damage has occurred yet.
Does "waterproof" LVP actually protect your subfloor?
The word "waterproof" on an LVP label describes the plank itself, not the floor as a system. Each individual plank resists water passing through it, but the click-lock seams between planks are not watertight. Water that pools on the surface, whether from a pet bowl, a slow appliance leak, or a mopped floor left too wet, can slip between those seams and reach the underlayment and subfloor underneath. Once moisture sits below the planks, you get warping, cupping, and buckling from below, problems the wear layer above offers no protection against. Prolonged moisture in that hidden space also creates conditions for mold and mildew growth, which is both a structural and a health concern.
The irreversible mistake here is treating a spill as low-priority because the floor looks fine on the surface. Any spill should be wiped up immediately. The longer liquid sits, the greater the risk of permanent staining and, more seriously, seam infiltration. A spill cleaned in seconds rarely causes seam damage. The same spill left for an hour while it works into the joints is a different problem entirely.
Along walls and at transition strips, the gap between planks and the baseboard is another entry point. Flooding a floor during mopping, rather than using a well-wrung damp mop, forces water directly toward those edges.
If you notice planks that have already begun to cup, buckle, or separate at the seams, stop cleaning and call a flooring professional. That movement signals moisture is already present below the surface, and continued foot traffic or any additional water will compound the structural damage beyond a simple repair.
Frequently asked questions
Can I use vinegar to clean LVP flooring?
Is it safe to use a steam mop on LVP floors?
My LVP is labeled waterproof, so why do I need to wipe up spills quickly?
What is the safest way to mop LVP flooring?
What environmental factors affect your LVP floor between cleanings?
Cleaning habits matter, but what happens between mopping sessions shapes your floor's long-term condition just as much. Four environmental factors deserve a weekly habit of their own.
Humidity is the one most homeowners overlook. LVP expands and contracts with moisture swings in the air, not just from spills. Keep indoor humidity between 30% and 50% year-round. A basic hygrometer costs under $15 and tells you immediately whether your HVAC or a portable humidifier needs adjusting. Letting humidity run consistently above 50% stresses the click-lock joints even when the floor surface looks perfectly dry.
Furniture legs concentrate enormous pressure on a small surface area. Fit every chair, sofa, appliance, and cabinet with flat, non-staining pads, such as felt or plastic cups, at least 2 inches wide. Check these quarterly, because felt pads compress, shift, or collect embedded grit that then grinds into the wear layer every time the furniture moves.
Rubber-backed mats seem like a logical protective measure but are not. Certain rubber compounds chemically react with vinyl and leave permanent stains that no cleaner will remove. Use mats with fabric or vinyl backings instead.
Entry mats at every exterior door stop the problem before it starts. Roughly 85% of all floor dirt arrives on shoes from outside, so a quality mat at each threshold does more to preserve your floor than any cleaning product you could choose.
How this article was made
Researched and written with AI assistance. What gets published is a human editorial decision. Grounded in 8 cited sources.
Edited by Claire Mercier, Editor. The guides are written with AI assistance.
Sources (8)
- The Final Information to Putting in LVP Flooring: Step-By-Step Directions for a Good End
- How To Clean Commercial Luxury Vinyl Plank (LVP) Flooring
- How to Clean Vinyl Plank Flooring: Dos and Don'ts - eufy US
- How to Clean LVP Flooring (Without Damaging It)
- How to Clean Vinyl Plank Flooring
- Luxury Vinyl Care & Maintenance - Great Floors
- How to Care for Your LVT and LVP Floor
- How to clean LVP flooring - Kährs