How to Clean Grout on Tile Floors (Without Wrecking It)
Part of Floor Cleaning · article 9 of 10
On this page
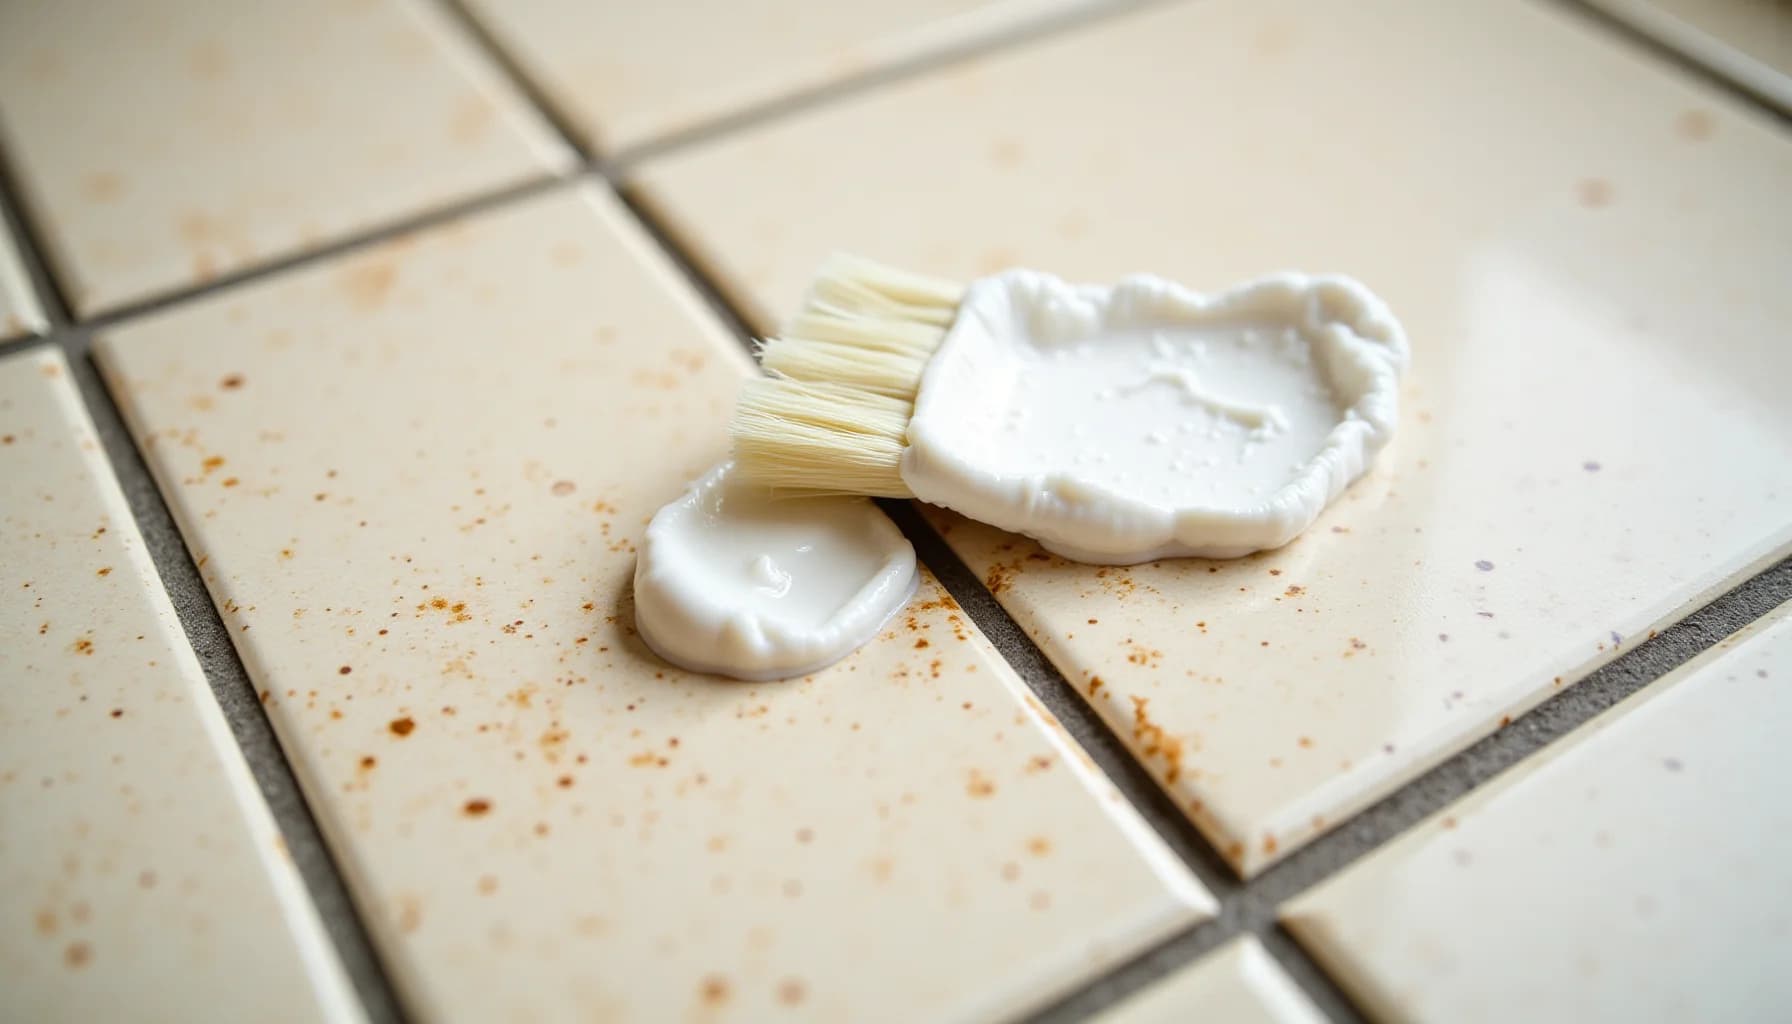
Mix 3/4 cup baking soda with 1/4 cup hydrogen peroxide and 1 tablespoon of mild dish soap into a spreadable paste, apply it to your grout lines, and let it sit for at least 15 minutes before scrubbing with a soft- or medium-bristle brush. That combination handles the full range of household grout problems: the baking soda's mild alkaline abrasion lifts surface grime, while the hydrogen peroxide oxidizes mold and mildew at the pore level. Skip bleach entirely. It disinfects but does not clean deeply, and repeated use makes grout brittle and crumbles the structure over time. Wire brushes and drill attachments cause similar damage. Avoid vinegar too, especially on natural stone tiles like marble, travertine, or limestone, where its acidity permanently etches the surface. Once the floor dries, apply a grout sealer to stop liquids from soaking straight back in.
Why does grout get so dirty so fast?
Grout is set lower than the tile surface, which makes it a natural collection point for anything that crosses the floor: tracked-in soil, cooking grease, soap film, hard water minerals, and airborne dust. Every footstep pushes debris down into those recessed lines rather than across a flat surface where a cloth could sweep it away.
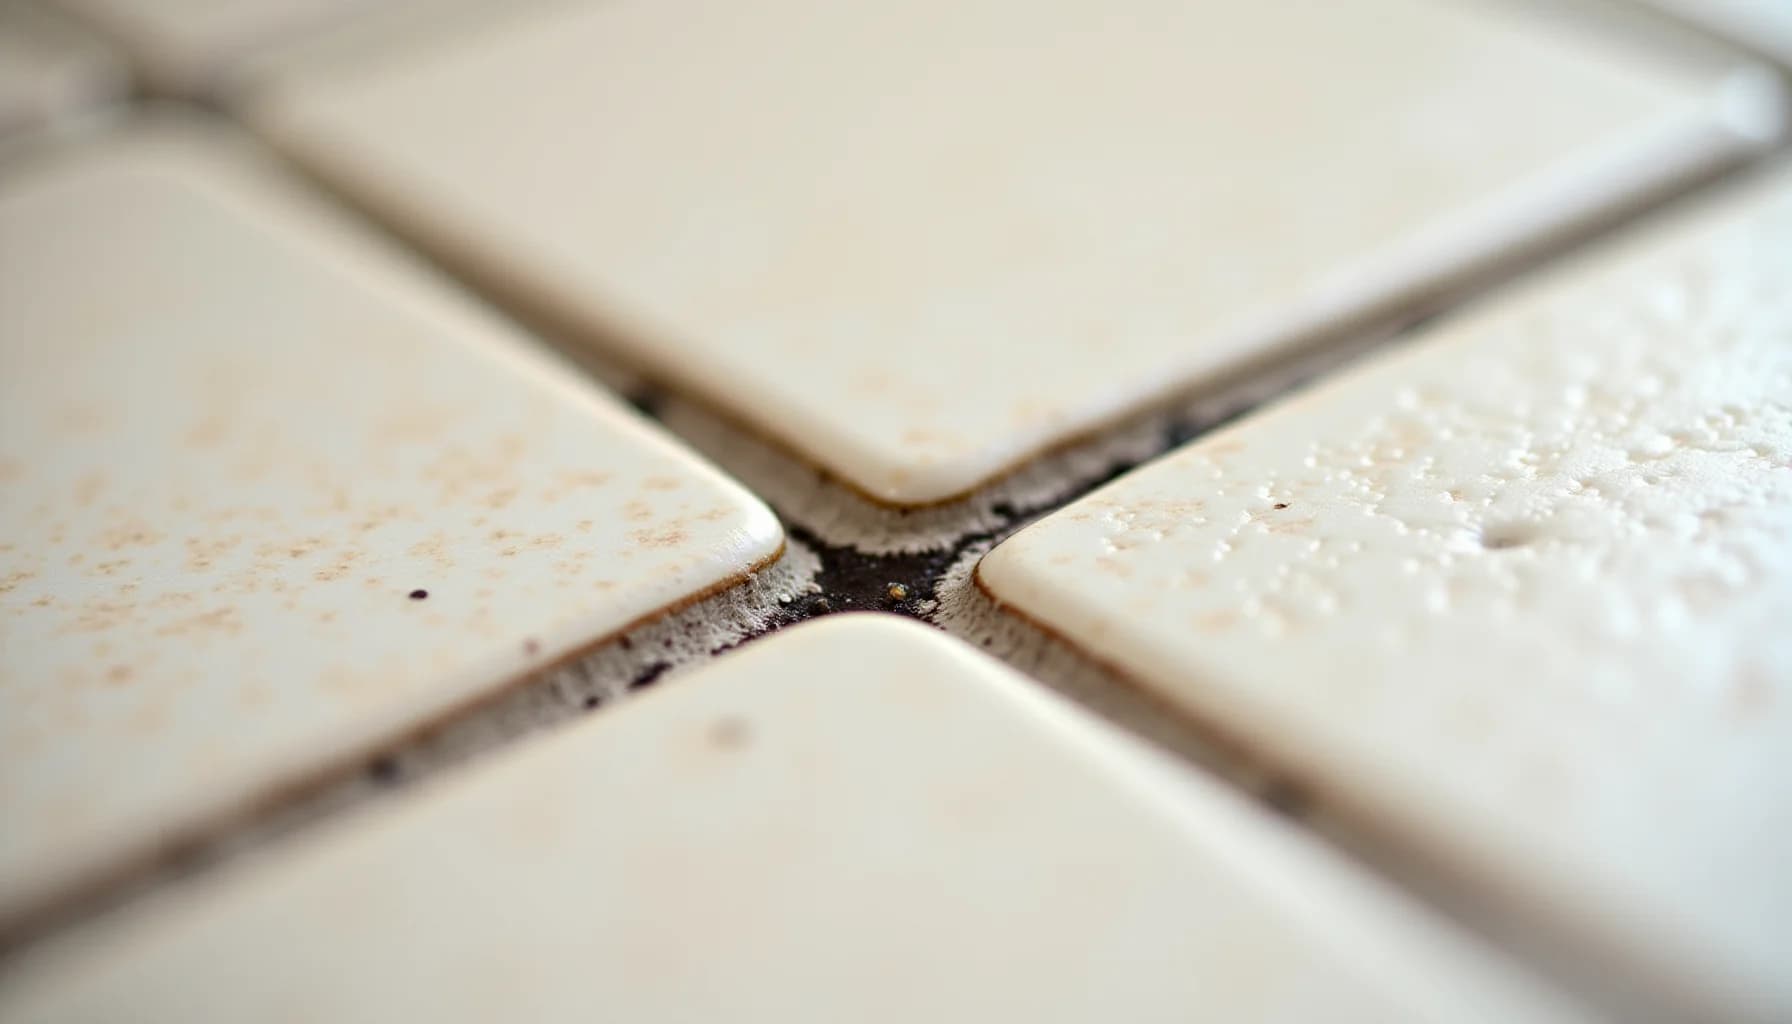
The deeper problem is the material itself. Standard cement-based grout, whether sanded or unsanded, is genuinely porous. Under a microscope, the surface area is enormous, riddled with tiny voids that act like a sponge. Liquid spills, grease mist from cooking, and even steam from a shower carry dissolved particles that seep into those voids and bond to the interior walls of the grout. Once that happens, surface wiping cannot reach them.
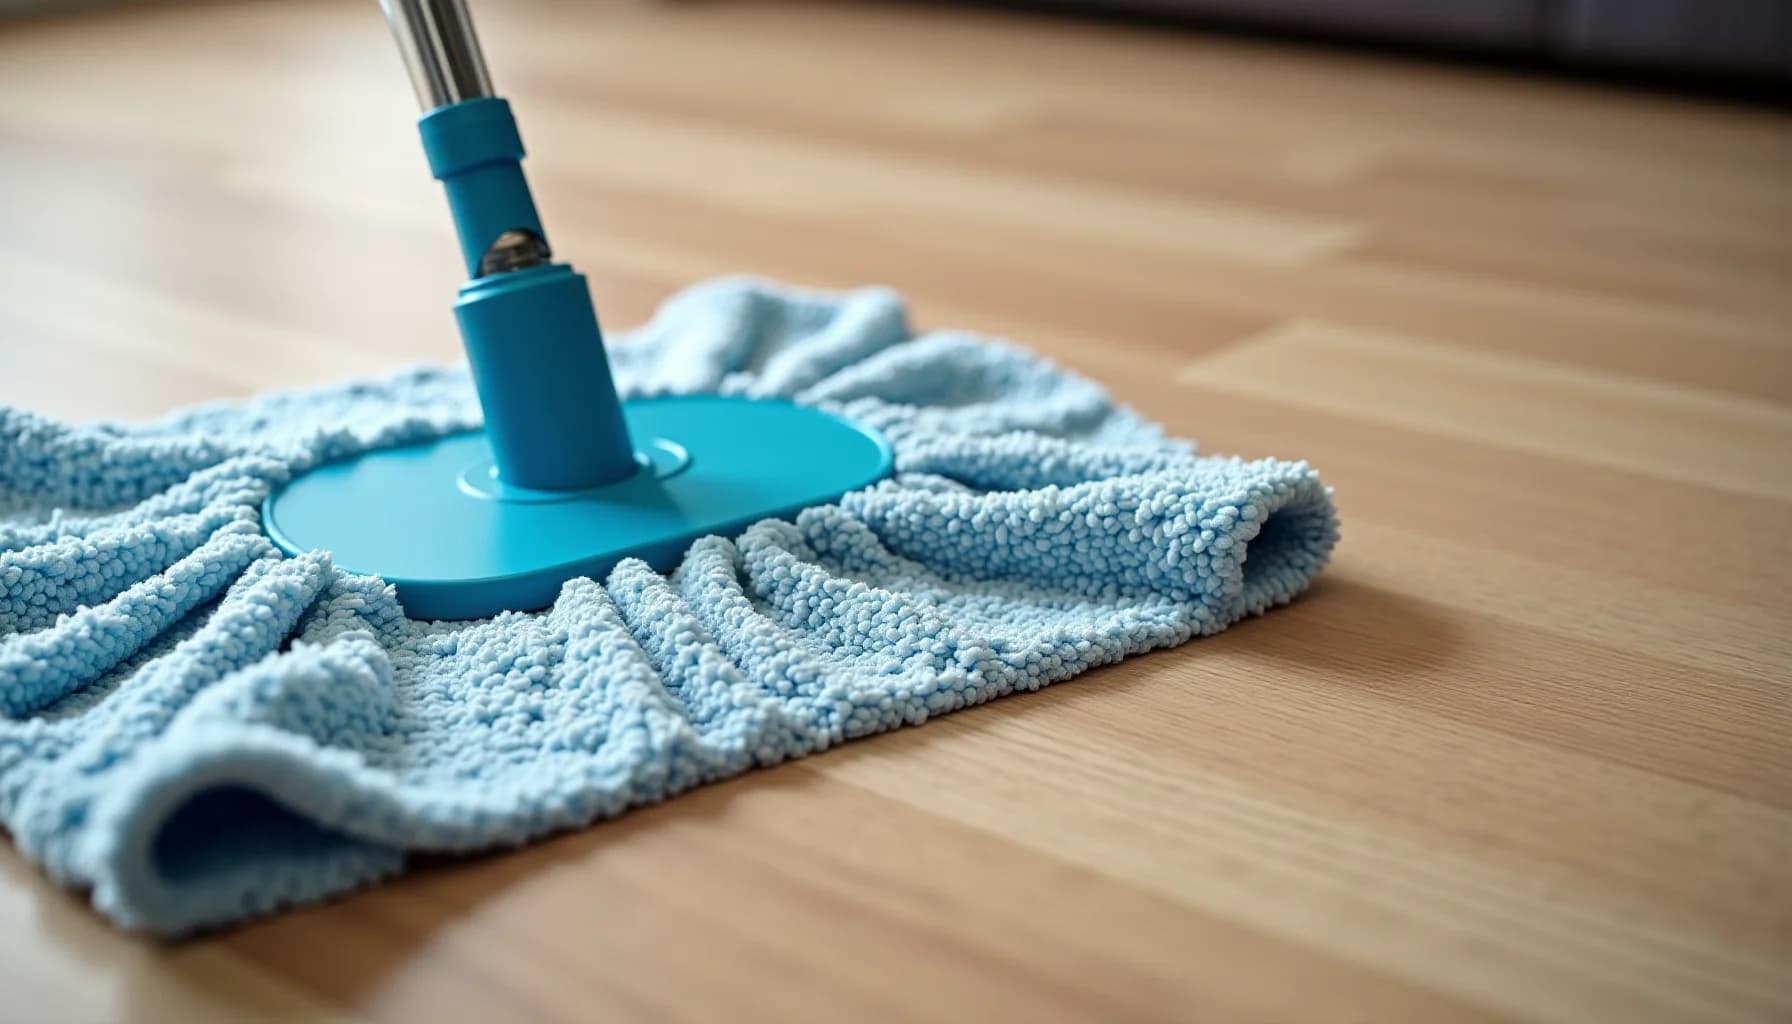
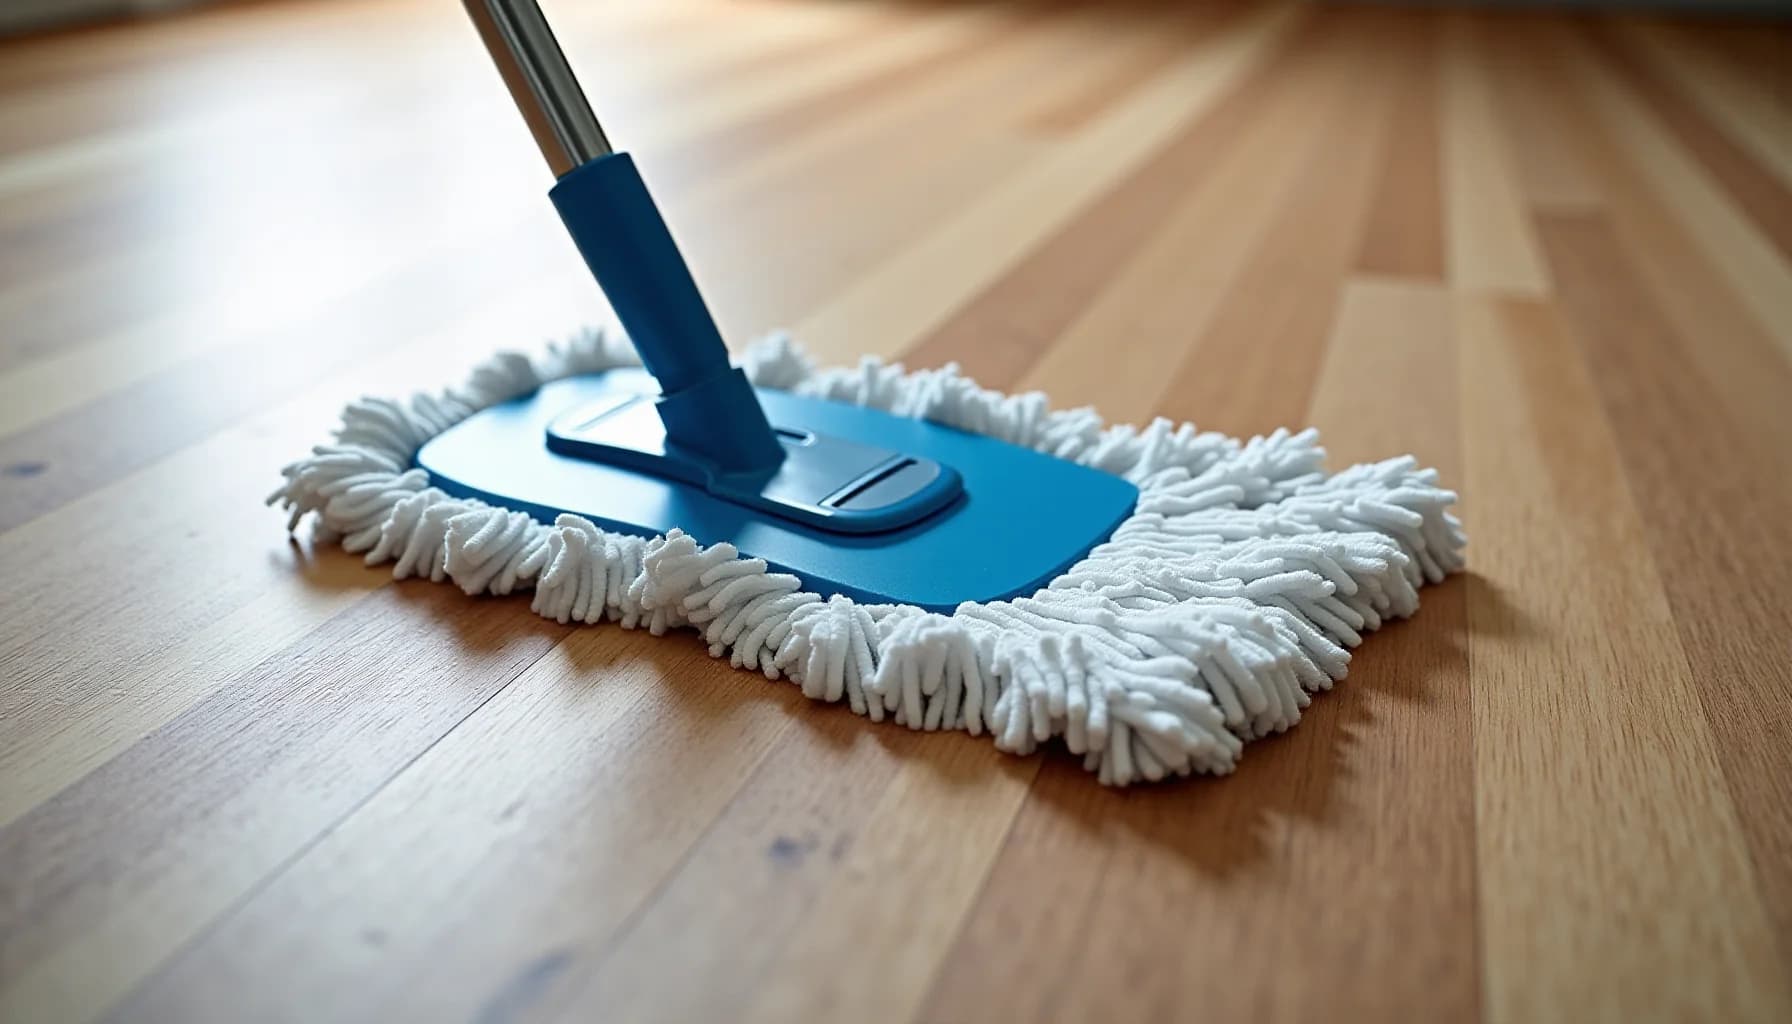
Mopping makes this cycle worse rather than better. A traditional string mop picks up loose grime but also pushes diluted dirty water directly into the grout lines. Each pass deposits a thin layer of suspended grime that dries in place, compounding over weeks into a hard, discolored film that looks like the grout has permanently changed color.
Grout color also plays a role. Light gray and white cement grout shows every particle of tracked-in soil. Darker grout hides dirt longer but is not immune: grease and soap residue build up all the same, they are simply harder to spot until the buildup is substantial. Epoxy grout resists this cycle far better because it is far less porous, but most residential floors use cement-based products, which means the porous-absorption problem is the norm, not the exception.
Does your grout type determine which cleaners are safe to use?
Know your grout and tile before you start
Identify whether you have sanded grout (joints wider than ⅛ inch), unsanded grout (joints as narrow as 1/16 inch), or epoxy grout, and check if your tile is natural stone such as marble, travertine, or limestone. Natural stone surfaces are permanently damaged by acidic cleaners and bleach, even on a single use, so you must use only pH-neutral products on them.
Mix the right cleaning paste for your stain level
For light grime and soap residue, make a paste of baking soda and water and apply it directly to the grout lines. For deeper mold or discoloration, combine ¾ cup baking soda, ¼ cup of 3% hydrogen peroxide, and 1 tablespoon of mild dish soap into a spreadable paste, adjusting with a little more baking soda or peroxide if the consistency is off.
Apply the paste, wait, then scrub with the right brush
Spread the paste along the grout lines and let it sit for at least 15 minutes so the hydrogen peroxide can oxidize and break down mold, mildew, and bacteria. Scrub with a soft- or medium-bristle brush only: wire brushes and motorized scrubbers damage grout and simply move dirt around inside the pores rather than lifting it out.
Rinse thoroughly and extract the dirty water
Rinse the scrubbed area with clean water and remove it with a wet vacuum rather than mopping, because a traditional mop redistributes dirty water back into the low-lying grout lines, adding a fresh layer of grime each time. Repeat the paste application on any remaining stained sections before doing a final rinse.
Seal the grout once the floor is completely dry
After the tile and grout are fully dry, apply a grout sealer across all joints, paying extra attention to high-moisture areas such as kitchens, bathrooms, and mudrooms. Unsealed grout absorbs liquids like a sponge, leading to permanent staining and structural breakdown over time, so sealing is as important as the cleaning itself.
Set a cleaning schedule and know when to call a professional
Clean bathroom grout weekly, kitchen grout every two weeks, and grout in dry low-traffic areas once or twice a year. For heavy, deeply embedded discoloration that paste and brushing cannot shift, schedule a professional cleaning: once every 12 to 18 months is a reasonable standard for high-traffic areas, and professional steam machines lift embedded dirt with high-heat vapor in a single pass without harsh chemicals.
Why Do So Many Common Grout Cleaning Methods Actually Make Things Worse?
Bleach tops the list of grout-cleaning go-tos, and it's one of the most counterproductive choices you can make. Despite its reputation as a heavy-duty cleaner, bleach is primarily a disinfectant, not a stain remover. Used repeatedly, it weakens grout's structure, making it brittle and prone to crumbling. Chlorine bleach will also leach color from tinted grout, leaving you with a patchy, washed-out look. If you insist on using bleach, oxygen bleach is a less destructive option for colored grout, but neither version solves the underlying grime problem.
Vinegar gets the same undeserved trust. It's acidic enough to gradually erode cement-based grout's surface, accelerating wear with every application. On top of that, vinegar can stain porous tiles and causes permanent etching on natural stone surfaces such as marble, travertine, and limestone, where even a single use can cause irreversible damage. Natural doesn't mean safe for every surface.
Wire brushes and aggressive scrubbing tools come with their own set of problems. Wire bristles physically damage grout joints, and even the scrubbing-brush approach, whether you're using a toothbrush-style tool or a motorized attachment, mostly moves dirt around within the grout's pores rather than pulling it out. Soft- or medium-bristle brushes paired with a solution that actually emulsifies dirt are far more effective, and far less destructive.
Perhaps the most surprising entry on this list is the standard mop. Most homeowners mop tiled floors regularly, assuming that counts as grout maintenance. It doesn't. Grout lines sit lower than the tile surface, and a mop pushes diluted dirty water directly into them. Rather than removing contaminants, you're depositing a thin layer of grime with every pass. Over time, that buildup hardens and becomes significantly harder to shift, which is why floors that get mopped frequently can still end up with chronically dark grout lines.
How do you clean grout based on how badly it's stained?
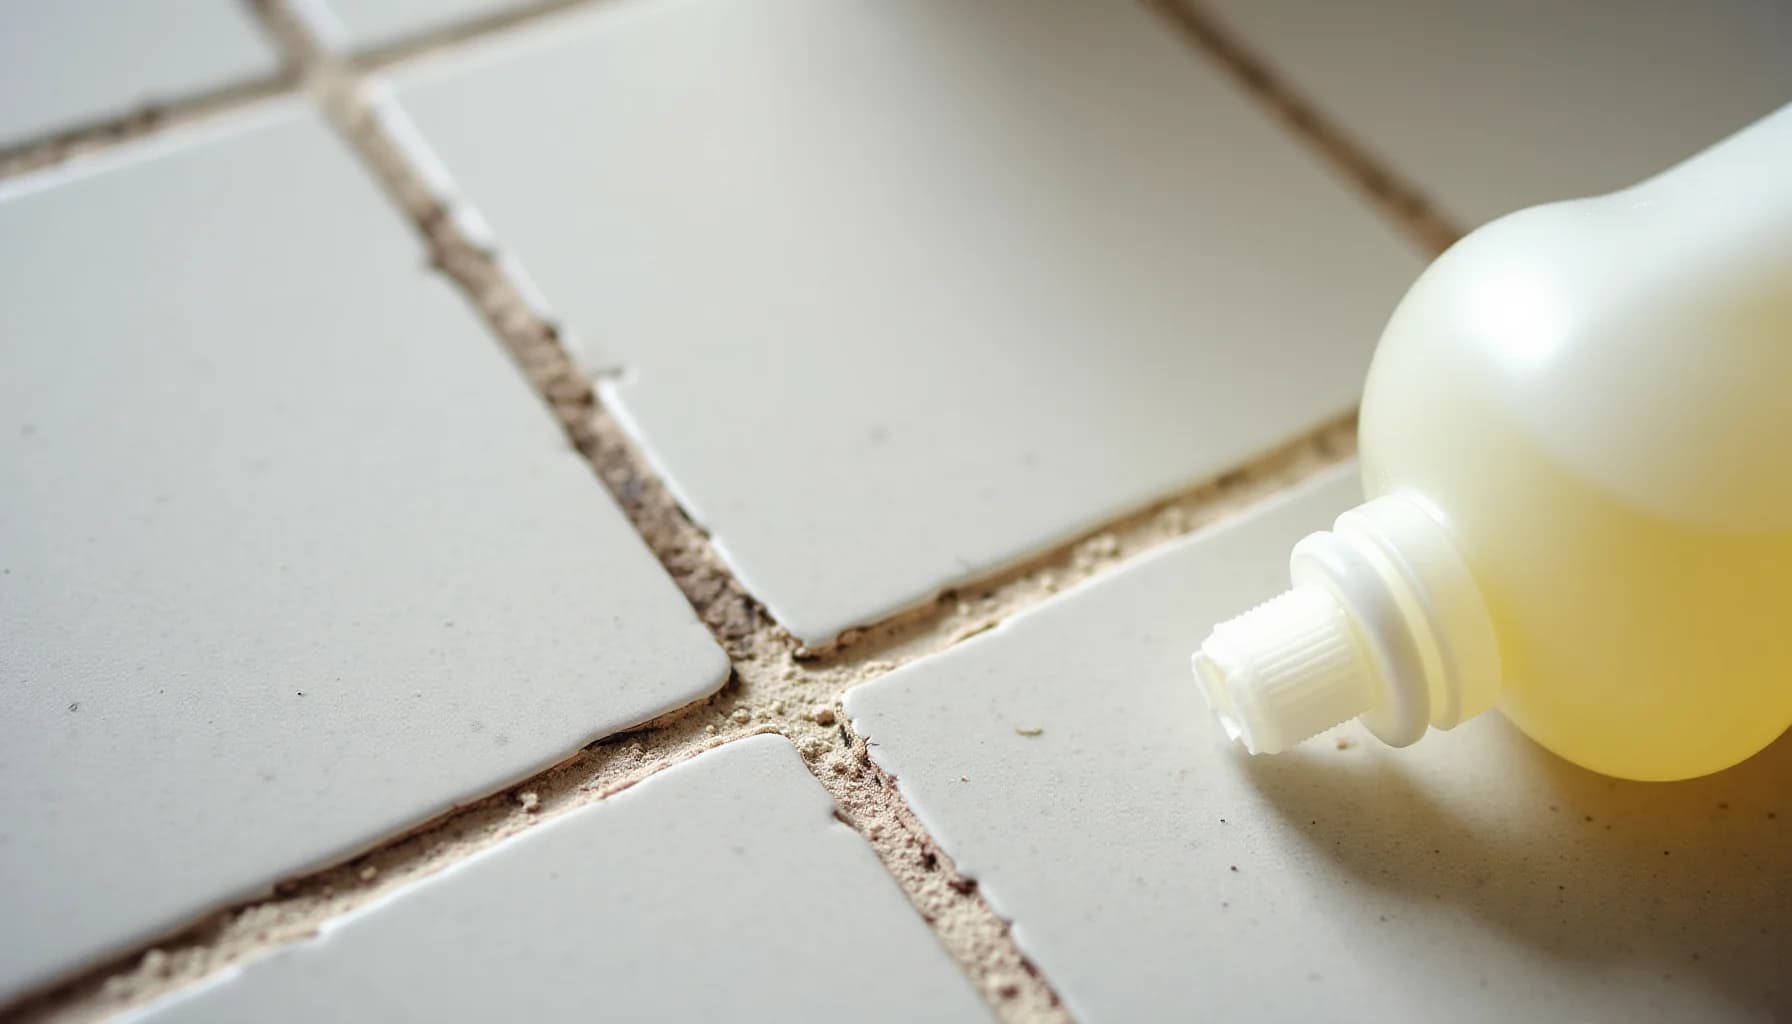
Start with the mildest method and escalate only as needed. Grout responds differently depending on how deeply stained it is, so matching the method to the problem saves effort and protects the grout.
Light surface grime and soap residue: Mix baking soda with just enough water to form a spreadable paste. Apply it directly to the grout lines, let it sit for five minutes, then scrub with a soft- or medium-bristle brush, working along the grout joint rather than across it. Rinse thoroughly with clean water. Baking soda is mildly alkaline and gently abrasive, which is enough to lift everyday buildup without scratching tile or eating into the grout itself. This is the right starting point for grout that looks dull but hasn't turned dark.
Moderate staining, mineral deposits, and soap scum: Spray or drizzle plain white vinegar over the baking soda paste already applied to the grout. The two react, producing bubbles that help dislodge debris and break down mineral deposits. Let the fizzing subside, then scrub and rinse. Use this method on ceramic or porcelain tile only. Do not use it on natural stone tiles such as marble, travertine, or limestone, and do not use it on grout that's already in poor condition, as the acidity accelerates wear.
Deep stains, mold, and mildew: Combine 3/4 cup baking soda, 1/4 cup hydrogen peroxide (3% strength), and 1 tablespoon of mild dish soap into a paste, adjusting with a little more baking soda or peroxide to get a workable consistency. Apply it to the stained grout, let it sit for at least 15 minutes, then scrub with a soft- or medium-bristle brush and rinse well. The hydrogen peroxide oxidizes mold and bacteria rather than just moving them around, while the dish soap helps emulsify loosened grime so it can actually be removed. This combination handles the stains that baking soda paste alone cannot shift.
How often should you clean grout based on where it is in your home?
Location determines everything here. A shower used daily by multiple people needs grout cleaned roughly once a month, otherwise mildew gets a foothold in the porous surface and the staining becomes permanent rather than superficial. A kitchen backsplash sits in a similar category: grease and food splatter settle into grout joints quickly, so a biweekly wipe-down prevents buildup from hardening into something that resists even the best cleaning paste. Bathroom floor grout in a heavily used bathroom benefits from a weekly routine. In contrast, a tiled mudroom or entry hall that stays relatively dry and sees low foot traffic may only need a proper grout clean once or twice a year.
For weekly upkeep between deeper cleans, pour a small amount of rubbing alcohol onto a cloth and wipe down the grout lines. This kills mold and mildew spores before they colonize the porous surface, and it keeps the grout from reaching the point where stronger intervention is necessary.
The mistake that causes irreversible damage here is skipping maintenance until grout looks visibly black or brown, then attacking it with a wire brush or highly acidic product to compensate. That sequence physically breaks down the grout structure, and no cleaning schedule recovers it after that.
If you have kept to a reasonable schedule and the grout still won't respond to the baking soda and hydrogen peroxide methods, that is the point to stop and call a professional. Trying to push past embedded discoloration with harsher chemistry or aggressive tools will cost you more in grout repair than the professional clean would have.
Frequently asked questions
Can I use bleach to clean grout?
What is the most effective DIY cleaning mixture for grout?
Is vinegar safe to use on grout or natural stone tiles?
How often should grout be cleaned and professionally serviced?
When should you seal grout or call a professional?
Sealing grout is not optional maintenance you get around to eventually. Unsealed grout absorbs liquids like a sponge, and in a kitchen, bathroom, or mudroom, that means permanent staining and structural breakdown happen faster than most homeowners expect. Once your grout is fully dry after cleaning, apply a quality grout sealer. The better the sealer, the more protected the joint. Epoxy grout is the exception: it is virtually stain-proof on its own and rarely needs sealing.
A simple water test tells you whether your existing grout still has protection: drop a few beads of water onto the grout line. If the water sits on the surface, the sealer is still working. If it soaks in within a few seconds, the grout is unprotected and needs resealing before the next stain locks in permanently.
Knowing when to stop and call a professional matters just as much. For most households, professional tile and grout cleaning once every 12 to 18 months is a reasonable benchmark for high-traffic or high-moisture areas. A professional steam machine, running at high pressure and high heat, lifts embedded dirt that store-bought products and household scrubbing simply cannot reach. If you have spent two cleaning sessions on a grout line and it still looks gray or discolored, that dirt is below the surface. That is the point where professional extraction pays for itself.
How this article was made
Researched and written with AI assistance. What gets published is a human editorial decision. Grounded in 8 cited sources.
Edited by Claire Mercier, Editor. The guides are written with AI assistance.
Sources (8)
- 5+ Effective Ways to Clean Fruit with Baking Soda and Vinegar
- How to Clean Tile Floors and Grout | BISSELL®
- How to Clean Floor Tile Grout: What Works & What Doesn't! - Driven by Decor
- How to Clean and Seal Grout: Simple DIY Ideas
- How to Clean Grout
- How to clean grout on floor tiles to get rid of stains
- How to Clean Tile Floors
- How to clean grout on floor tiles to get rid of stains