Baseboard Cleaning Hacks: 19 Room-by-Room Fixes in Minutes
Part of Cleaning Hacks & Tips · article 6 of 10
Dust baseboards first with a dry cloth or vacuum brush, then wipe with a matched cleaner; 19 hacks cover 4 zones, 9 take 5 minutes or less, the quickest just 2 min.
On this page
Living Room
Always dust before wiping, since a dry pass with a dryer sheet or vacuum brush keeps you from turning dust into a muddy paste. Skipping this step is the most common mistake when tackling painted trim. Corners and carved details need their own tools, like a cotton swab or foam paintbrush, to avoid missed grime.
You need
- used dryer sheet (1)
How
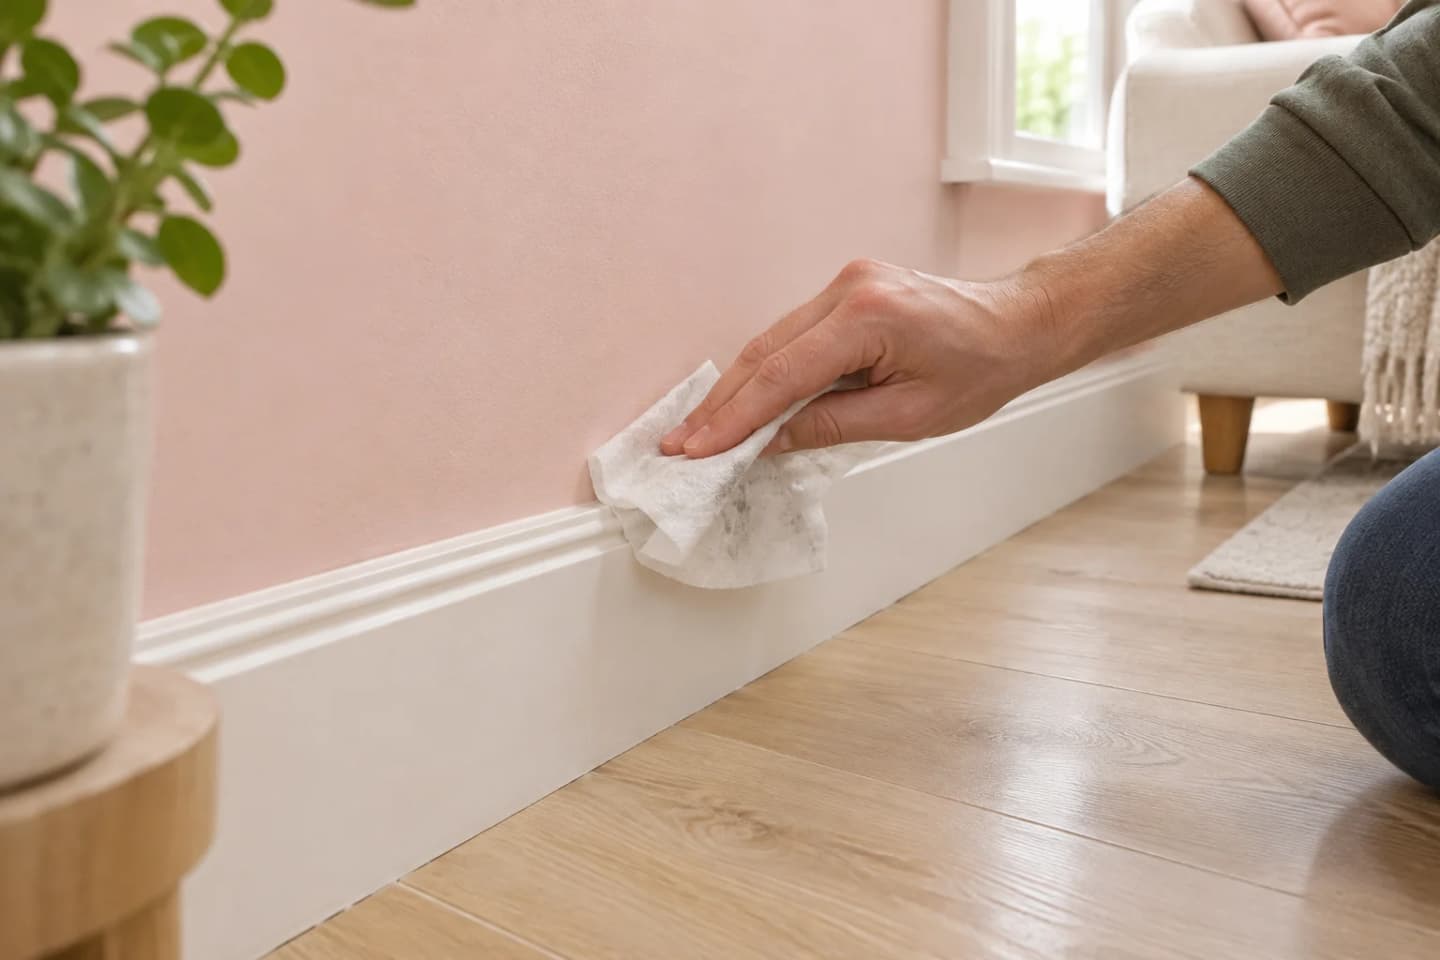
Rub a used dryer sheet along the baseboard to pick up dust and pet hair while leaving a light anti-static coating that slows future buildup. Work in long strokes from one end to the other, flipping the sheet when it gets dirty.
2. Vacuum baseboards with a brush attachment before wiping
4 minYou need
- vacuum with brush attachment (1)
How
Run the brush attachment slowly along the top and front of the baseboard to lift loose dust and hair before any wet cleaning. This keeps you from smearing grit into a paste when you wipe later.
3. Clean painted baseboards with a dish soap solution
8 minYou need
- dish soap (1 teaspoon)
- warm water (2 cups)
- microfiber cloth (1)
How
Mix the dish soap into the warm water in a bowl, dip the cloth, wring it out well, and wipe the baseboard from top to bottom. Rinse the cloth with plain water and go over the surface again to remove any soap residue.
4. Reach corner gaps with a cotton swab
5 minYou need
- cotton swab (2)
- warm water (2 tablespoons)
How
Dampen a cotton swab with warm water and run it along the inside corners and grooves where baseboards meet, picking up trapped dust. Switch to a fresh swab once it gets dirty.
5. Use a foam paintbrush to dust carved baseboard trim
5 min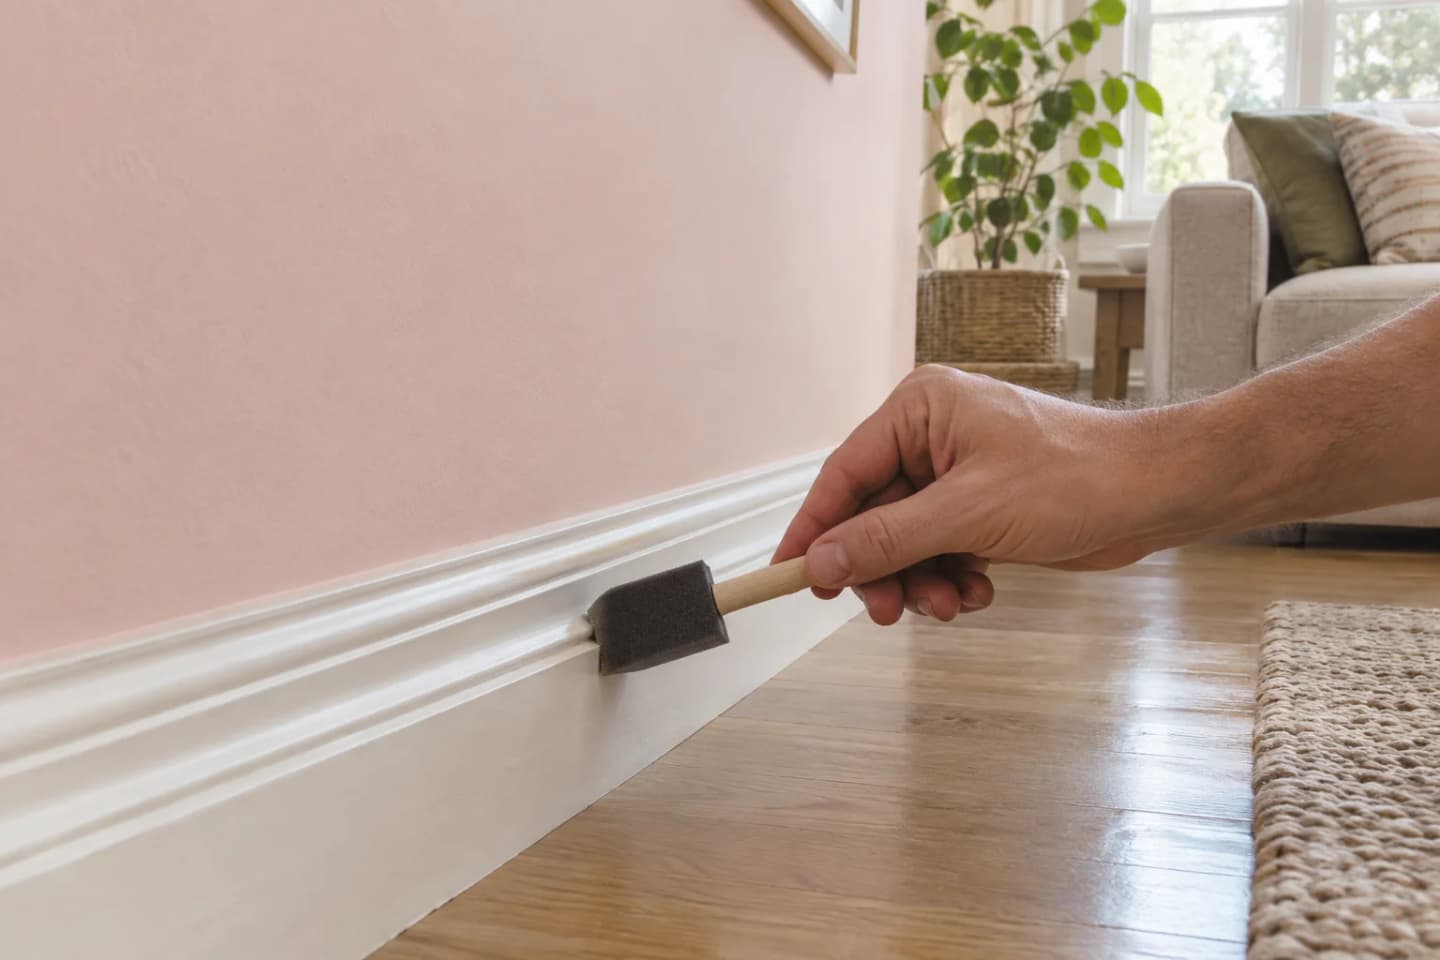
You need
- foam paintbrush (1)
How
Run a dry foam paintbrush along decorative grooves and ridges to flick dust out of the crevices. Follow with a vacuum pass or a damp cloth wipe to collect the loosened dust.
Kitchen
Kitchen baseboards need more soak and scrub time than other rooms because grease clings harder than plain dust. You'll know a spot is done when the cloth glides without dragging or catching on residue. Treat sticky buildup near the stove before tackling lighter splashes elsewhere.
6. Degrease kitchen baseboards with a baking soda paste
10 minYou need
- baking soda (2 tablespoons)
- water (1 tablespoon)
- soft cloth (1)
How
Mix the baking soda and water into a thick paste and spread it over greasy spots on the baseboard with the cloth. Let it sit for 5 minutes, then wipe off with a clean damp cloth, rinsing and repeating on stubborn spots.
7. Cut through kitchen grime with a diluted dish soap wipe-down
10 minYou need
- dish soap (1 tablespoon)
- warm water (4 cups)
- sponge (1)
How
Mix the dish soap into the warm water in a bucket and wipe the baseboard with the dampened sponge to lift cooking grease and splatters. Rinse the sponge with plain water and wipe the baseboard again to remove soap film.
8. Freshen tile-adjacent baseboards with a vinegar rinse
6 minYou need
- white vinegar (1 cup)
- water (1 cup)
- microfiber cloth (1)
How
Mix equal parts vinegar and water in a spray bottle and lightly mist painted or sealed wood baseboards near tile floors. Wipe immediately with the cloth to cut through grease film and light limescale splashes.
Avoid using on natural stone baseboards or flooring, since the acid can etch the surface.
9. Lift sticky spots with a warm water and oxygen bleach soak
12 min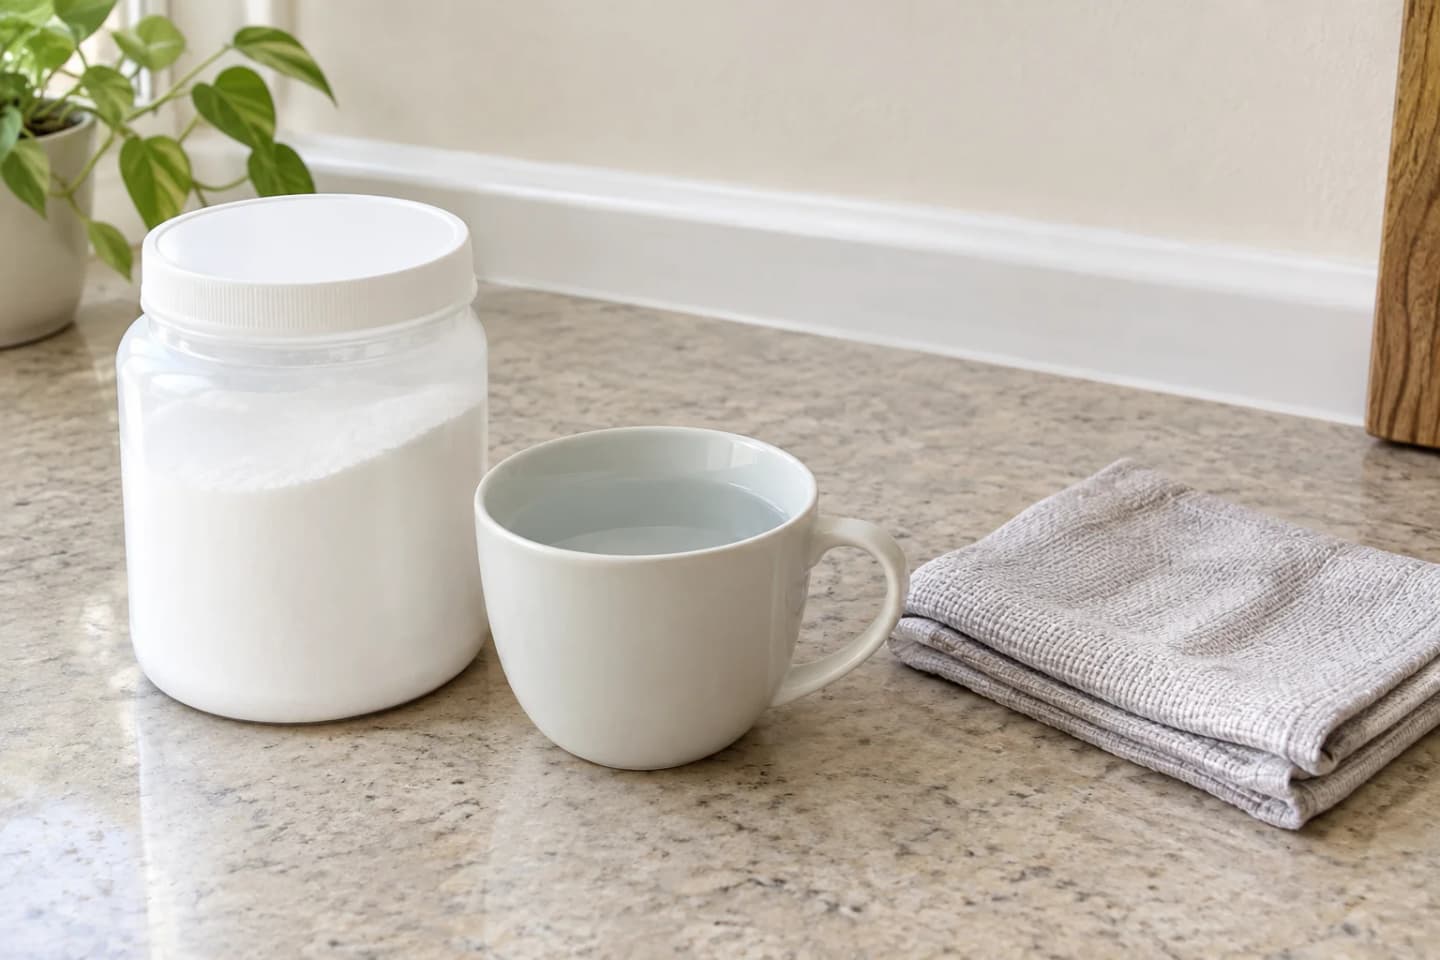
You need
- oxygen bleach (1 tablespoon)
- warm water (2 cups)
- cloth (1)
How
Dissolve the oxygen bleach in warm water, soak the cloth, and lay it over sticky or stained patches on the baseboard for 5 minutes. Wipe clean and rinse with a plain damp cloth afterward.
10. Scrub baked-on grease with a toothbrush and dish soap
8 minYou need
- dish soap (1 teaspoon)
- warm water (1 cup)
- old toothbrush (1)
How
Mix the dish soap into the warm water, dip the toothbrush, and scrub along the base where grease tends to collect near cabinets and the stove. Wipe away residue with a clean damp cloth.
Bathroom
Moisture makes mildew a real risk here, so a quick daily wipe matters more than in drier rooms. Tight spots like behind the toilet call for a brush instead of a cloth to avoid missing the strip entirely. For the fuller room routine beyond baseboards, there's a dedicated guide elsewhere on the site.
Full guide: The Right Order to Clean a Bathroom (and the Products That Work) →
11. Disinfect bathroom baseboards with a diluted bleach solution
10 minYou need
- bleach (1 tablespoon)
- water (1 quart)
- cloth (1)
How
Mix the bleach into the water in a bucket, dip the cloth, wring it out, and wipe painted baseboards to kill mold and mildew near the shower or tub. Rinse with a separate cloth and plain water afterward, and let the area air dry.
Work in a ventilated room, avoid combining with any other cleaning product, and keep the solution off fabrics and natural stone.
12. Remove soap scum splashes with a vinegar wipe
6 minYou need
- white vinegar (1 cup)
- water (1 cup)
- cloth (1)
How
Mix equal parts vinegar and water in a spray bottle, spray along baseboards near the tub or sink, and let sit for 2 minutes before wiping. This loosens dried soap scum and light mineral spots from splashing water.
Avoid use on natural stone baseboards or flooring; use a pH-neutral cleaner there instead.
13. Dry wipe bathroom baseboards daily to prevent buildup
2 min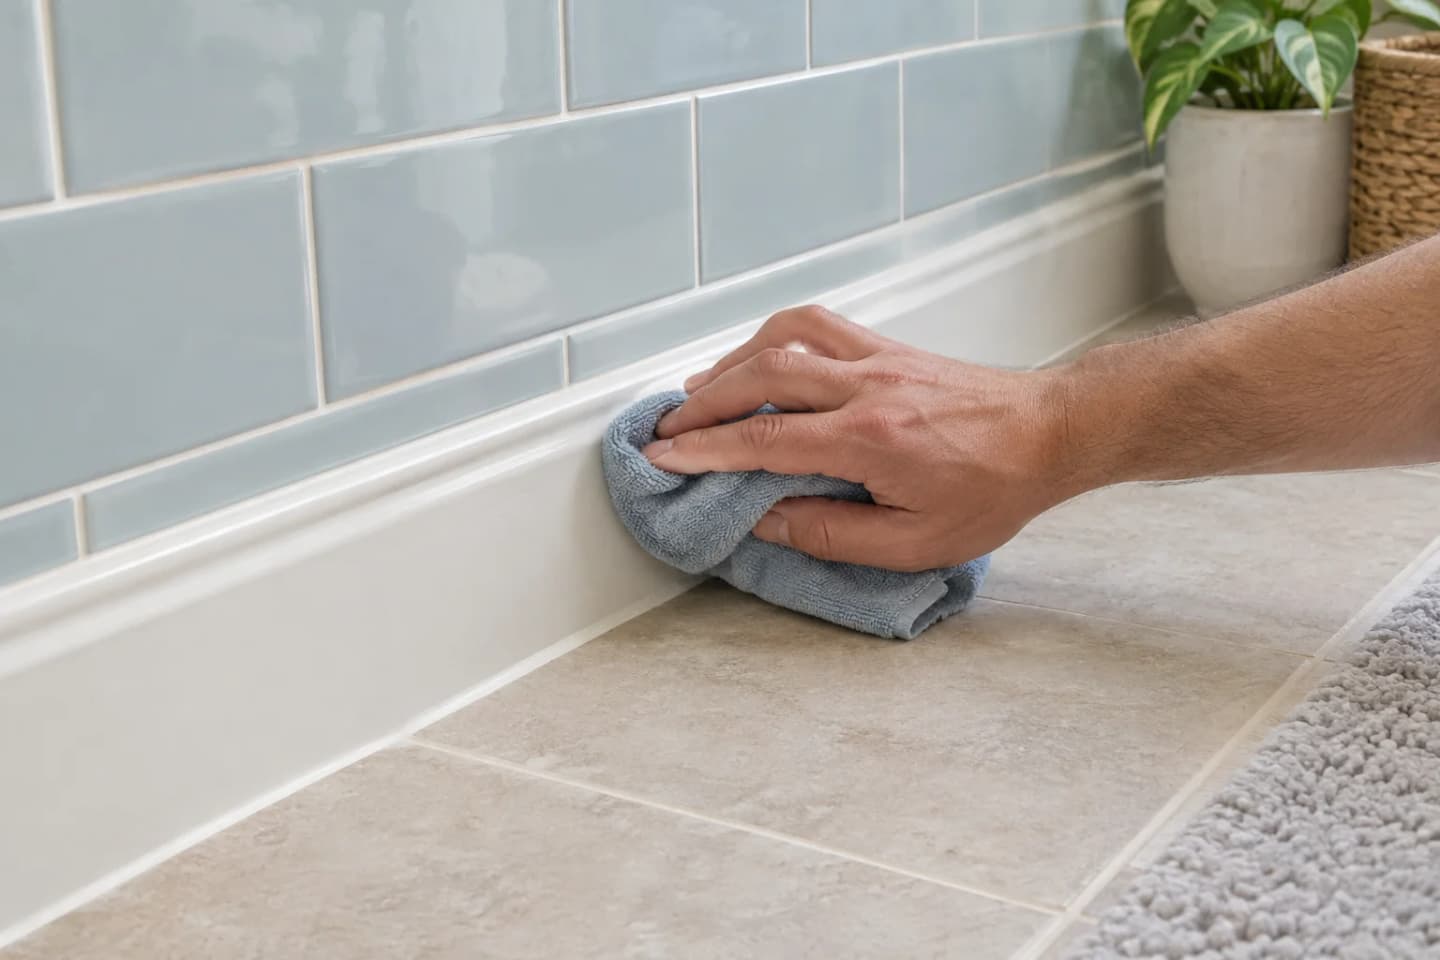
You need
- microfiber cloth (1)
How
After a shower, quickly wipe down nearby baseboards with a dry microfiber cloth to catch condensation and splashes before they turn into grime. This daily habit cuts down on deeper cleaning later.
14. Reach behind the toilet baseboard with a long-handled grout brush
7 minYou need
- grout brush (1)
- dish soap (1 teaspoon)
- warm water (1 cup)
How
Mix the dish soap into warm water, dip the grout brush, and scrub the narrow baseboard strip behind the toilet that's hard to reach with a cloth. Wipe away suds with a damp cloth afterward.
Bedroom
Pet hair and dust settle more in bedrooms, so a damp rubber glove often works faster than a cloth alone. Finish with a dry buff only after the surface is fully dry, or you risk smearing streaks back on. Furniture edges deserve a vacuum pass before any wet wiping begins.
15. Dust bedroom baseboards with a damp dryer sheet
5 minYou need
- dryer sheet (1)
- water (1 teaspoon)
How
Lightly dampen a dryer sheet with a few drops of water and wipe along the baseboard to pick up dust and reduce static that attracts more lint. Flip to a clean side as needed.
16. Clean painted bedroom baseboards with a mild soap solution
8 minYou need
- dish soap (1 teaspoon)
- warm water (2 cups)
- soft cloth (1)
How
Mix the dish soap into the warm water, dampen the cloth, wring it out well, and wipe the baseboard from one end to the other. Go over with a water-only rinse cloth to remove any soap film.
17. Pick up pet hair along baseboards with a damp rubber glove
5 min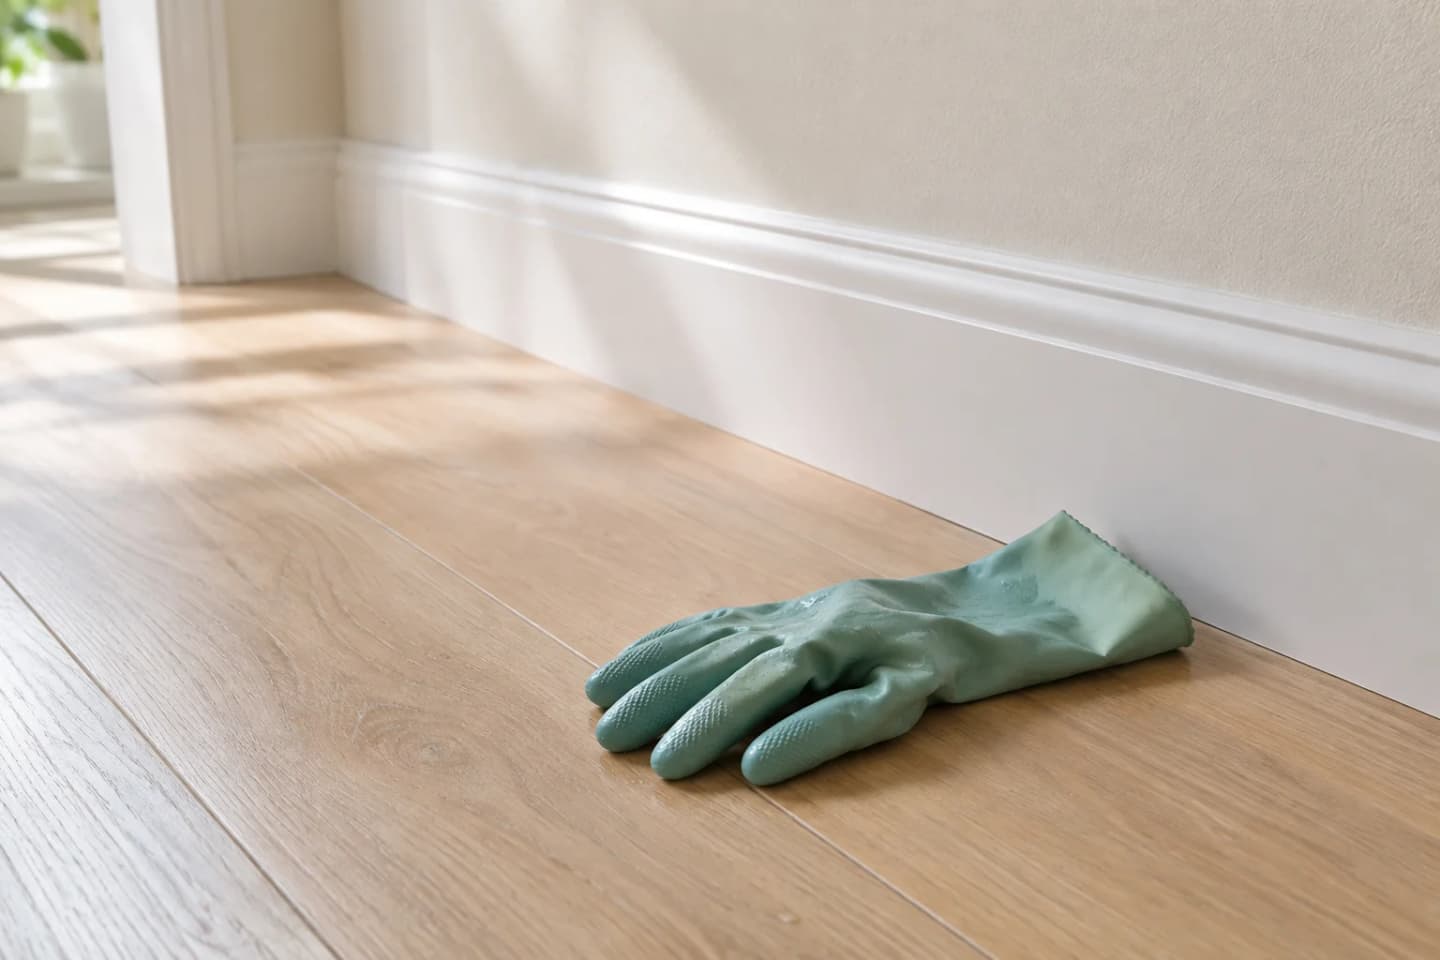
You need
- rubber glove (1 pair)
- water (1 tablespoon)
How
Dampen a rubber glove slightly and run your hand along the baseboard; the texture grabs pet hair and dust that cloths often miss. Rinse the glove under running water and repeat as needed.
18. Polish wood baseboards with a dry microfiber buff
4 minYou need
- microfiber cloth (1)
How
After wiping the baseboard clean and letting it dry, buff it with a dry microfiber cloth to bring back a light shine and remove any streaks. This final pass also picks up any remaining dust.
19. Vacuum under bedroom furniture edges before wiping baseboards
5 minYou need
- vacuum with crevice tool (1)
How
Use the crevice tool to vacuum along the floor-baseboard junction near beds and dressers where dust bunnies collect. Do this before wet wiping so you are not pushing debris into a damp cloth.
Why Won't This Baseboard Cleaning Hack Work? Checking the Amount, the Surface, and the Dwell Time
Most failures trace back to one of three things: how much product you used, what the baseboard is made of, or how long you let it sit before wiping.
If a grime-cutting spray leaves streaks or residue, you likely used too much. Baseboards need a light mist, not a soaking: oversaturate painted wood and the excess pools in corners and seams, drying into a hazy film. Cut back to a few spritzes per 3-foot section and wipe with a barely damp cloth.
If a hack works on painted wood but hazes or dulls a different baseboard, check the material. Vinyl and tile-adjacent baseboards tolerate vinegar-based solutions fine, but painted or stained wood can show water spots if you work too wet, and MDF baseboards swell if liquid sits in the seam along the floor.
Dwell time trips up the heaviest buildup. A hack meant to loosen a month of dust won't touch scuffed-in grime or old wax residue in the two minutes it takes on lighter jobs. For caked-on spots, let the solution sit 3 to 5 minutes before wiping, and go back over stubborn marks with a second pass instead of pressing harder the first time. For the full supply list these fixes draw from, see this cleaning supplies list.
Turning the Fastest Fixes into a 5-Minute Baseboard Routine
Out of 19 hacks spread across four zones, 9 take 5 minutes or less, with the quickest done in 2 minutes. That's the shortlist worth keeping on hand, not the full lineup. Pick three or four of those fastest fixes, the dryer sheet wipe, the sock-and-spray-bottle pass, the vacuum brush attachment swipe, and run them in sequence through one zone at a time rather than tackling the whole house in one go. A realistic routine looks like this: Monday, living room baseboards while you're already vacuuming; Wednesday, kitchen baseboards right after you wipe counters, since you have cleaner in hand anyway; Friday, bedrooms, quick pass with a dryer sheet to cut dust buildup before the weekend. Each session stays under 5 minutes because you're reusing tools and solutions already out for other tasks, not starting from scratch. The habit sticks when it's attached to something you already do daily, like vacuuming or wiping counters, rather than treated as a separate chore. If you want the baseboard pass folded into a bigger weekly plan, a weekly cleaning schedule gives you a structure to slot it into.
Frequently asked questions
What is the best way to clean baseboards?
Can you use dryer sheets for cleaning baseboards?
Should you clean walls and baseboards the same way?
How often should you clean baseboards?
Why do my baseboards still look dirty after wiping them?
How this article was made
Edited by Claire Mercier, Editor. The guides are written with AI assistance.