Clean Dryer, Dry Faster: A Step-by-Step Safety Guide
Part of Appliance Cleaning · article 13 of 13
On this page
What supplies and safety precautions do you need before cleaning your dryer?
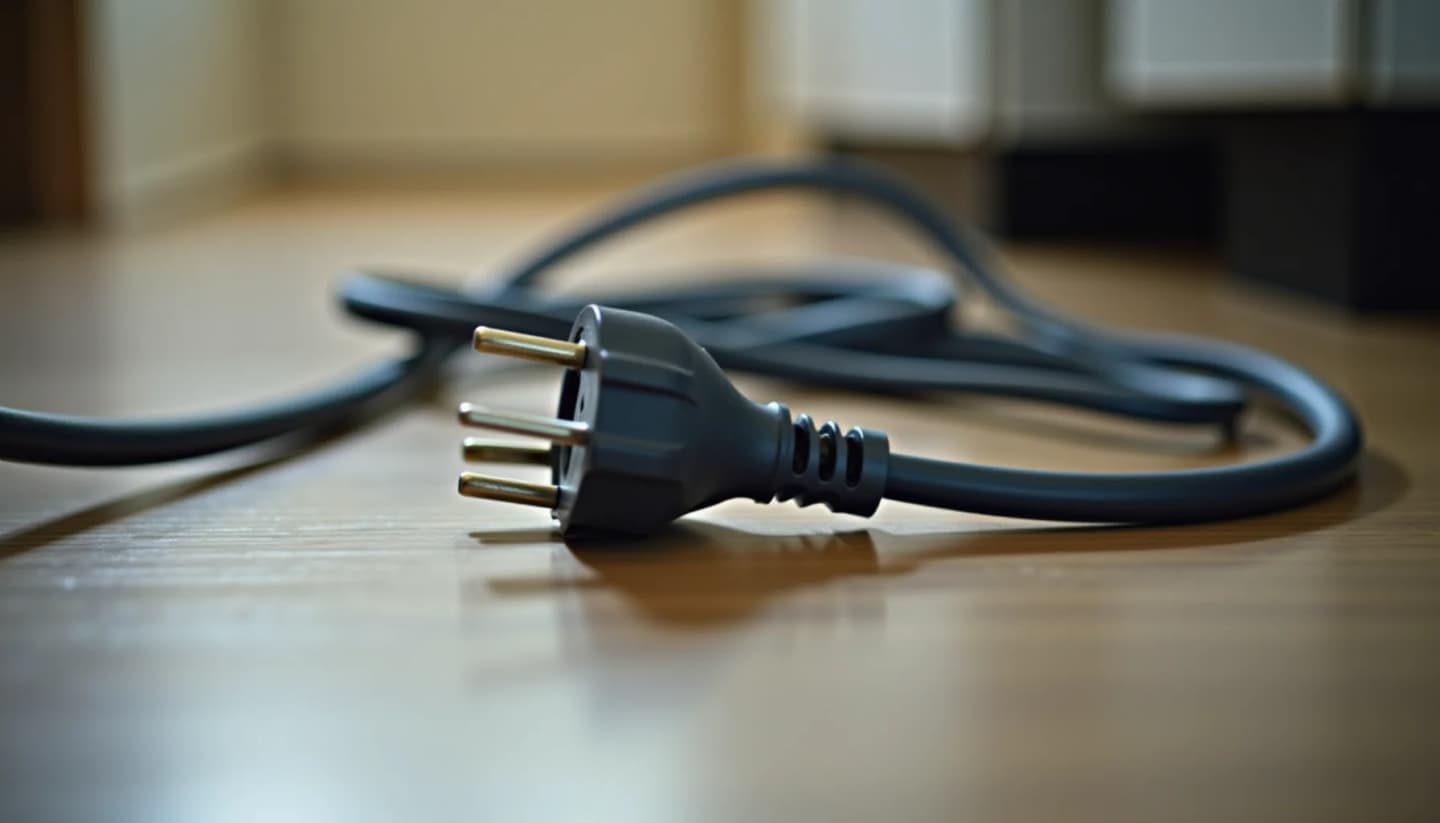
Before you touch anything inside or behind the dryer, unplug the appliance from the wall outlet. If your dryer runs on natural gas, also turn the gas supply valve to the off position. These two steps are non-negotiable: lint is extremely flammable, and working around an energized or live-gas appliance is an unnecessary risk.
Once the power is off, gather your supplies. You will need:
- A dryer vent cleaning kit, which typically includes flexible rods that screw together and a lint brush head sized for 4-inch duct work, the standard diameter used in most US homes
- A vacuum cleaner with a narrow crevice tool and a flexible hose attachment for pulling lint from the lint trap housing
- A long-handled lint trap brush (sometimes sold separately) for the slot itself
- Microfiber cloths, at least two or three
- A small bucket of warm water mixed with a few drops of dish soap
- A can of compressed air for blowing dust out of tight corners around the drum seal
- Nitrile or rubber gloves to protect your hands from grime and sharp metal edges inside the duct
Check that your flexible rod kit fits the brand of dryer you own before starting. Some kits use a proprietary connector that strips easily on off-brand rods, which can leave a rod section stuck inside the duct.
Finally, work in a well-ventilated area or open a nearby window. Disturbed lint dust is fine enough to irritate eyes and airways, so keep a dust mask handy if you are sensitive to particulates.
How do you clean the lint trap and its housing?
Unplug the dryer and pull it away from the wall
Cut power at the outlet before touching any part of the dryer. Slide the unit forward so you have clear access to the back panel and the exhaust duct connection.
Remove and clean the lint trap
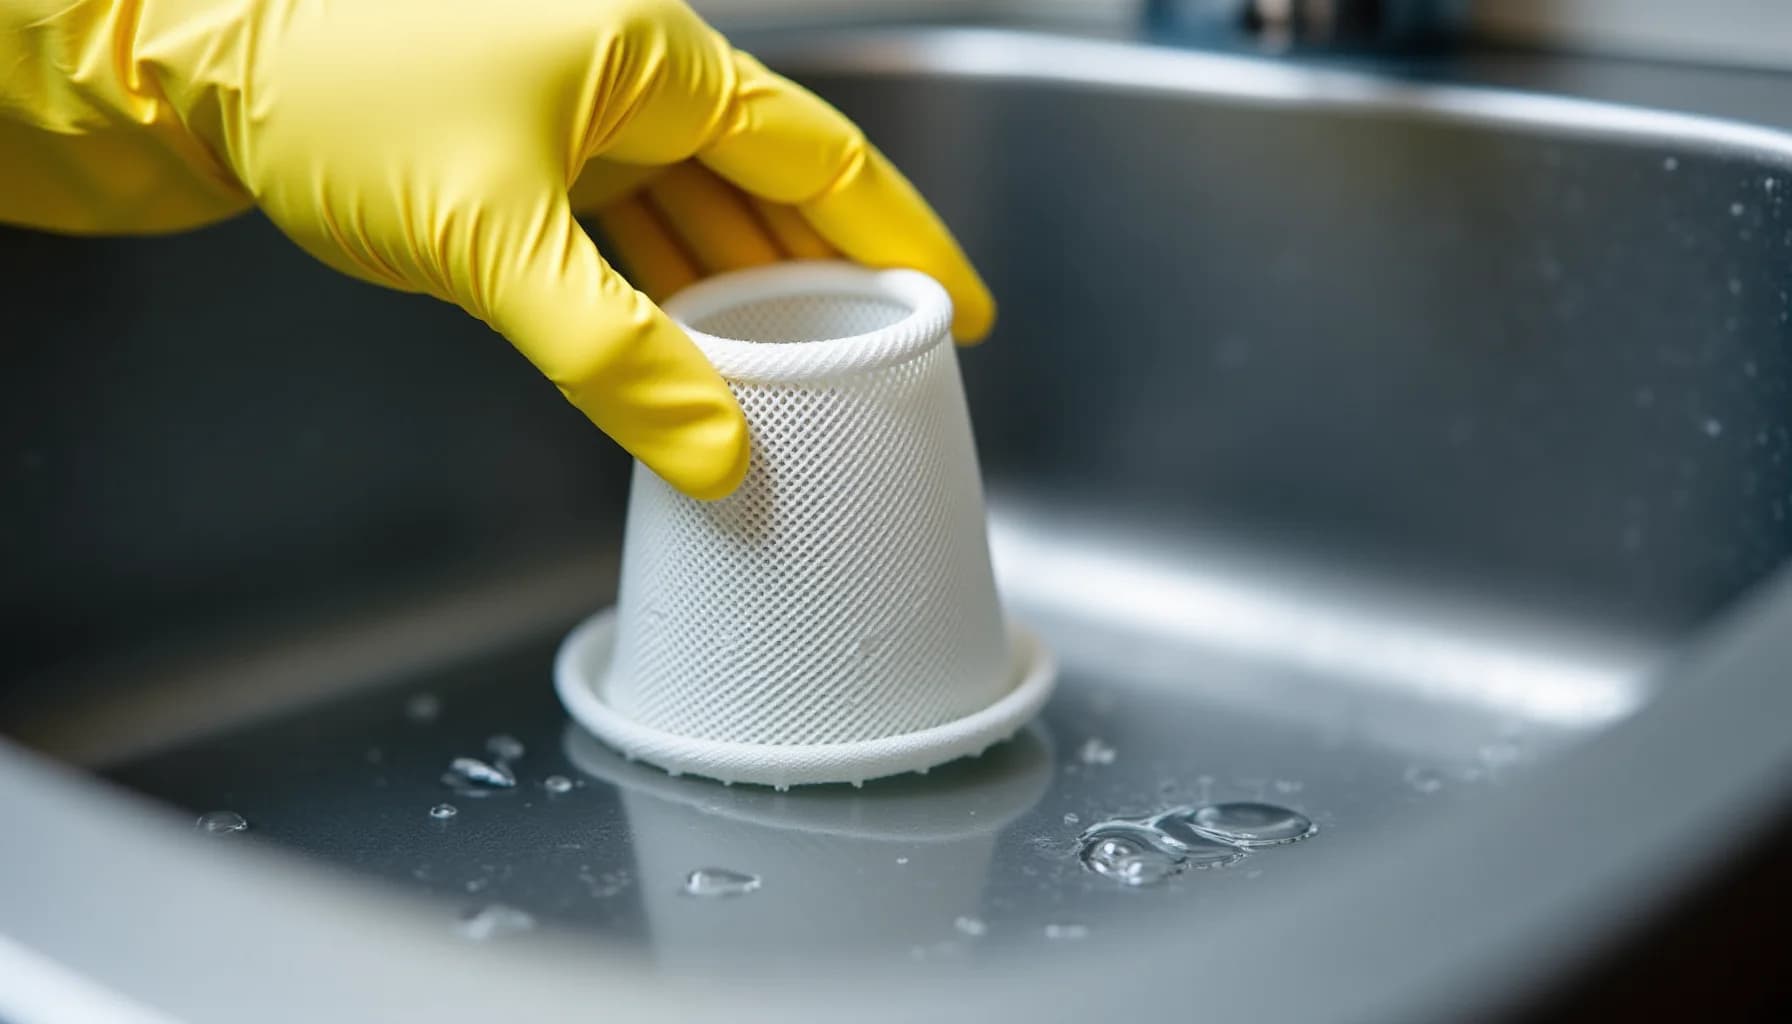
Pull the lint screen out of its slot and peel off the accumulated lint by hand. Rinse the screen under warm water with a soft brush to clear detergent residue that restricts airflow, then let it dry completely before reinserting it.
Vacuum inside the lint trap housing
Attach a narrow crevice tool to your vacuum and reach down into the slot where the screen sits. Remove the compacted lint that bypasses the screen over time, as this buildup is a leading cause of dryer fires.
Disconnect and clean the exhaust duct
Loosen the clamp securing the flexible duct to the back of the dryer and pull the duct free. Use a long-handled dryer duct brush, available at hardware stores, to push lint out from both ends of the duct before reconnecting it firmly.
Clear the exterior vent cap
Go outside and locate the vent cap on your home's exterior wall or roof. Remove any lint, debris, or bird nesting material blocking the flap so hot, moist air can exhaust freely during each cycle.
Wipe down the drum and reconnect everything
Dampen a microfiber cloth with warm water and mild dish soap, then wipe the inside of the drum to remove residue from dryer sheets or fabric softener. Reconnect the exhaust duct, push the dryer back into position, and plug it in before running a short air-only cycle to confirm normal airflow.
How do you wash the inside of a dryer drum?
Start with the drum fully unplugged and cooled. Reach inside and remove any loose debris, forgotten tissues, coins, or lint clumps by hand before introducing any moisture.
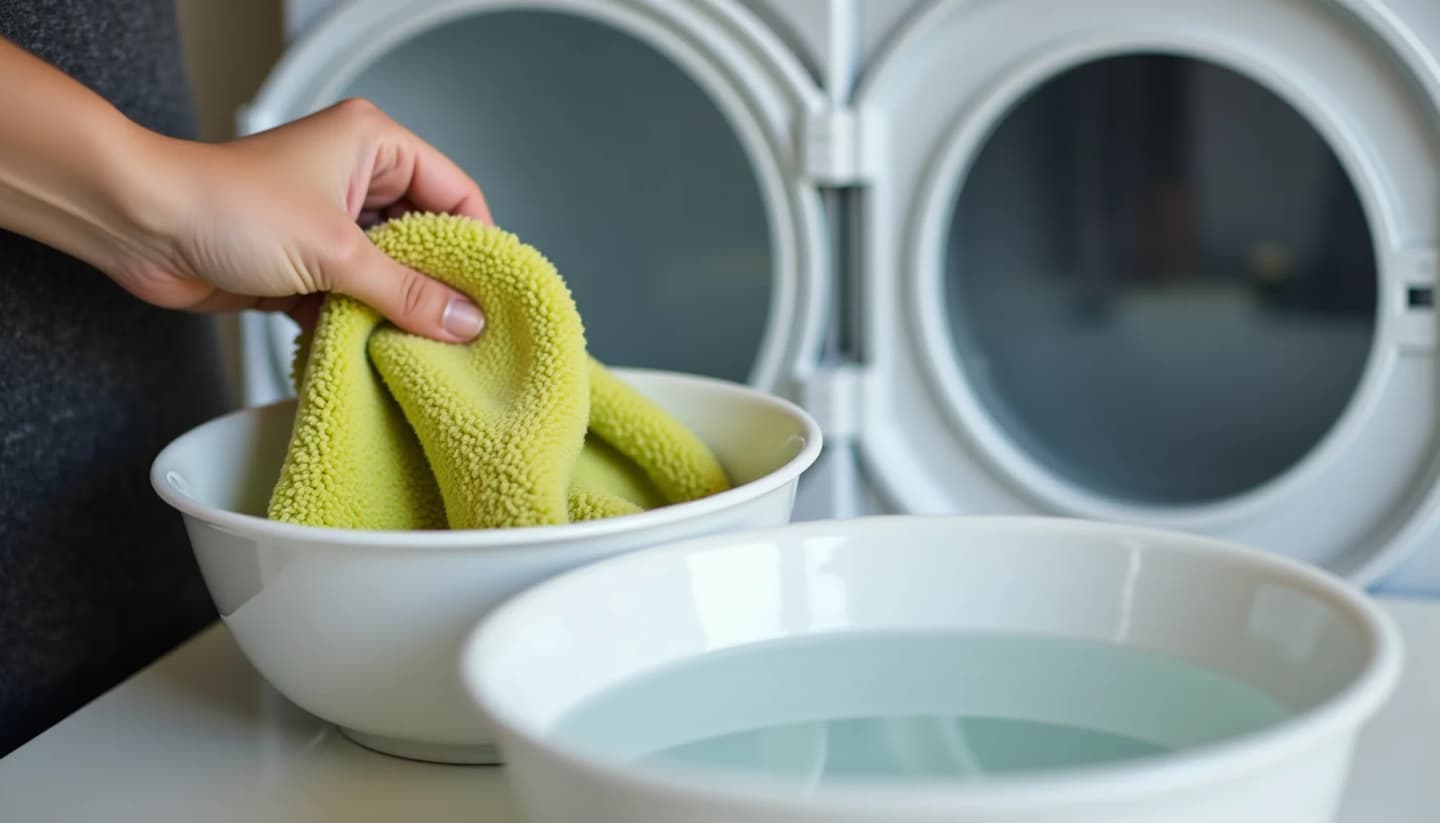
For routine cleaning, mix one tablespoon of dish soap into two cups of warm water. Dampen a microfiber cloth with the solution, wring it out thoroughly so it is damp rather than wet, then wipe the entire interior surface of the drum: the back wall, the side walls, the door gasket area, and the drum fins or baffles. Pay particular attention to the fins, since fabric softener residue and dryer sheet wax tend to accumulate there and create a sticky film that traps lint.
For stubborn residue, crayon marks, or gum transferred from clothing, go back over the affected spot with the damp soapy cloth. Work in small circular passes. Avoid bleach and any solvent-based spray inside the drum; both can degrade the drum coating and leave chemical traces that damage clothes.
Once you have wiped the entire drum, go back over every surface with a second cloth dampened with plain water only. This rinse step is not optional: any soap left behind will transfer to laundry and can leave oily spots on fabric. After rinsing, leave the dryer door open and allow the drum to air dry completely, at least 20 to 30 minutes. If you want to speed up drying, run the dryer on an air-only or no-heat cycle for 10 to 15 minutes before loading clothes.
Check the door seal as part of this process. Wipe the rubber gasket with the damp soapy cloth and inspect it for cracking or tears. A damaged seal lets warm air escape, which cuts drying efficiency noticeably.
How do you unclog and clean the exhaust vent and ductwork?
The exhaust vent and ductwork carry moist, lint-laden air from the back of your dryer to the outside of your home. When that path gets restricted, drying times stretch and heat builds up inside the drum. Cleaning this system once a year, or more often if you dry heavy loads frequently, keeps the airflow strong.
Start by pulling the dryer away from the wall far enough to reach the duct connection at the back of the machine. Unplug the power cord, and if you have a gas dryer, turn off the gas supply valve. Loosen the clamp or foil tape holding the flexible duct to the dryer's exhaust port and carefully detach it.
Take that section of duct outside and shake it out. For anything stuck inside, a long-handled dryer vent brush (typically 24 to 36 inches) works well. Insert it, rotate it slowly, and pull lint out in sections. If your ductwork runs a long distance through the wall, a brush kit with extension rods lets you push through the entire run from the dryer end.
Go outside and find the exterior vent cap. Remove the cover and inspect the flapper damper; lint often mats against it and holds it partly open or completely shut. Clear the flapper by hand, then run the brush from the outside inward to dislodge any packed lint inside the wall section. A standard shop vacuum with a hose extension can pull out what the brush breaks loose.
Once both ends are clear, reattach the duct with a metal clamp rather than tape, which tends to peel off over time. Push the dryer back, restore power and gas, then run the dryer on air-only for a few minutes while standing at the exterior vent cap to confirm strong, unobstructed airflow.
How do you clean the outside of a dryer cabinet and control panel?
Start with the power cord unplugged from the wall outlet. This is not optional. A dryer control panel contains electrical components inches behind its face, and any liquid that seeps through a gap or crack can short those components permanently. Replacement control boards on many mid-range machines cost $150 to $350 in parts alone, and on some models the board is discontinued, making the mistake irreversible.
Dampen a microfiber cloth with warm water and a small amount of mild dish soap. Wring it until it is barely moist, not wet. Wipe the cabinet surfaces in sections, then follow immediately with a dry cloth. Never spray any liquid directly onto the panel. Spraying puts moisture directly over the button gaps, dial shafts, and display windows, any one of which can funnel liquid onto the circuit board underneath.
Avoid abrasive scrubbers on painted steel cabinets. A scratched finish exposes bare metal, which rusts within weeks in a humid laundry room. The same rule applies to touchpad or LCD display surfaces: a scouring pad or even a rough paper towel leaves micro-scratches that permanently cloud the display. The same logic applies to cleaning an electric stove top without scratches, where abrasion causes the same irreversible surface damage.
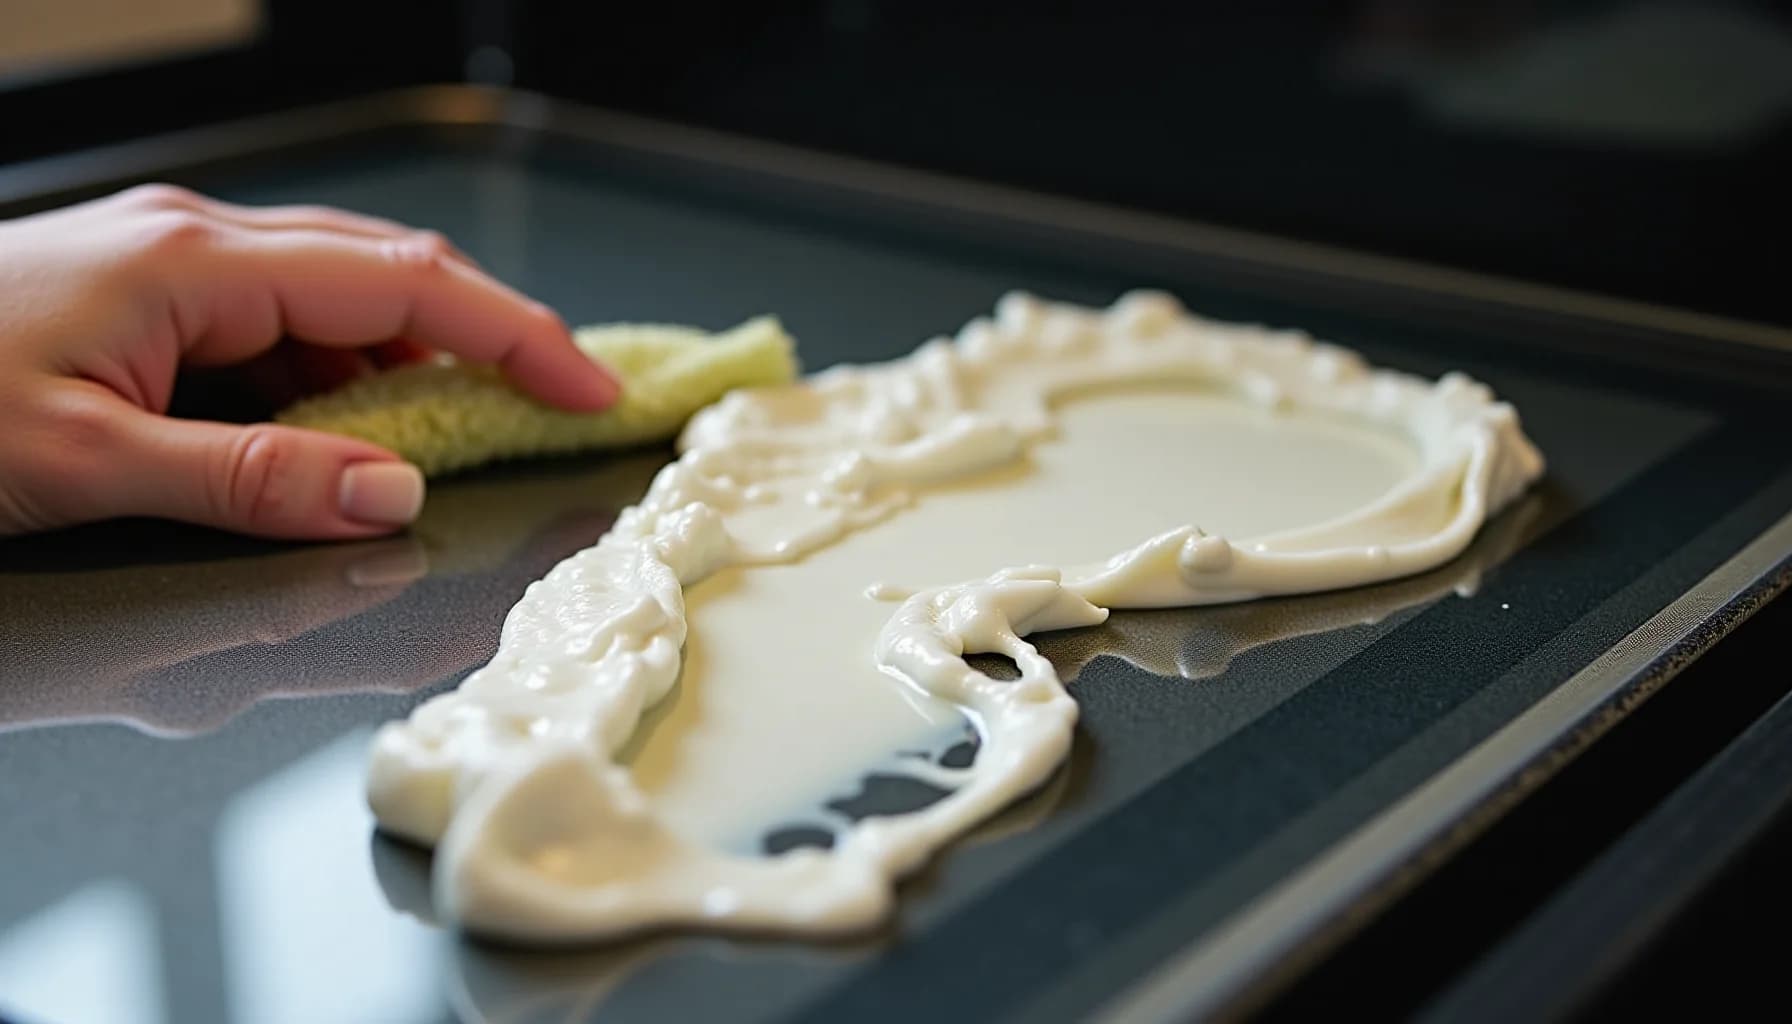
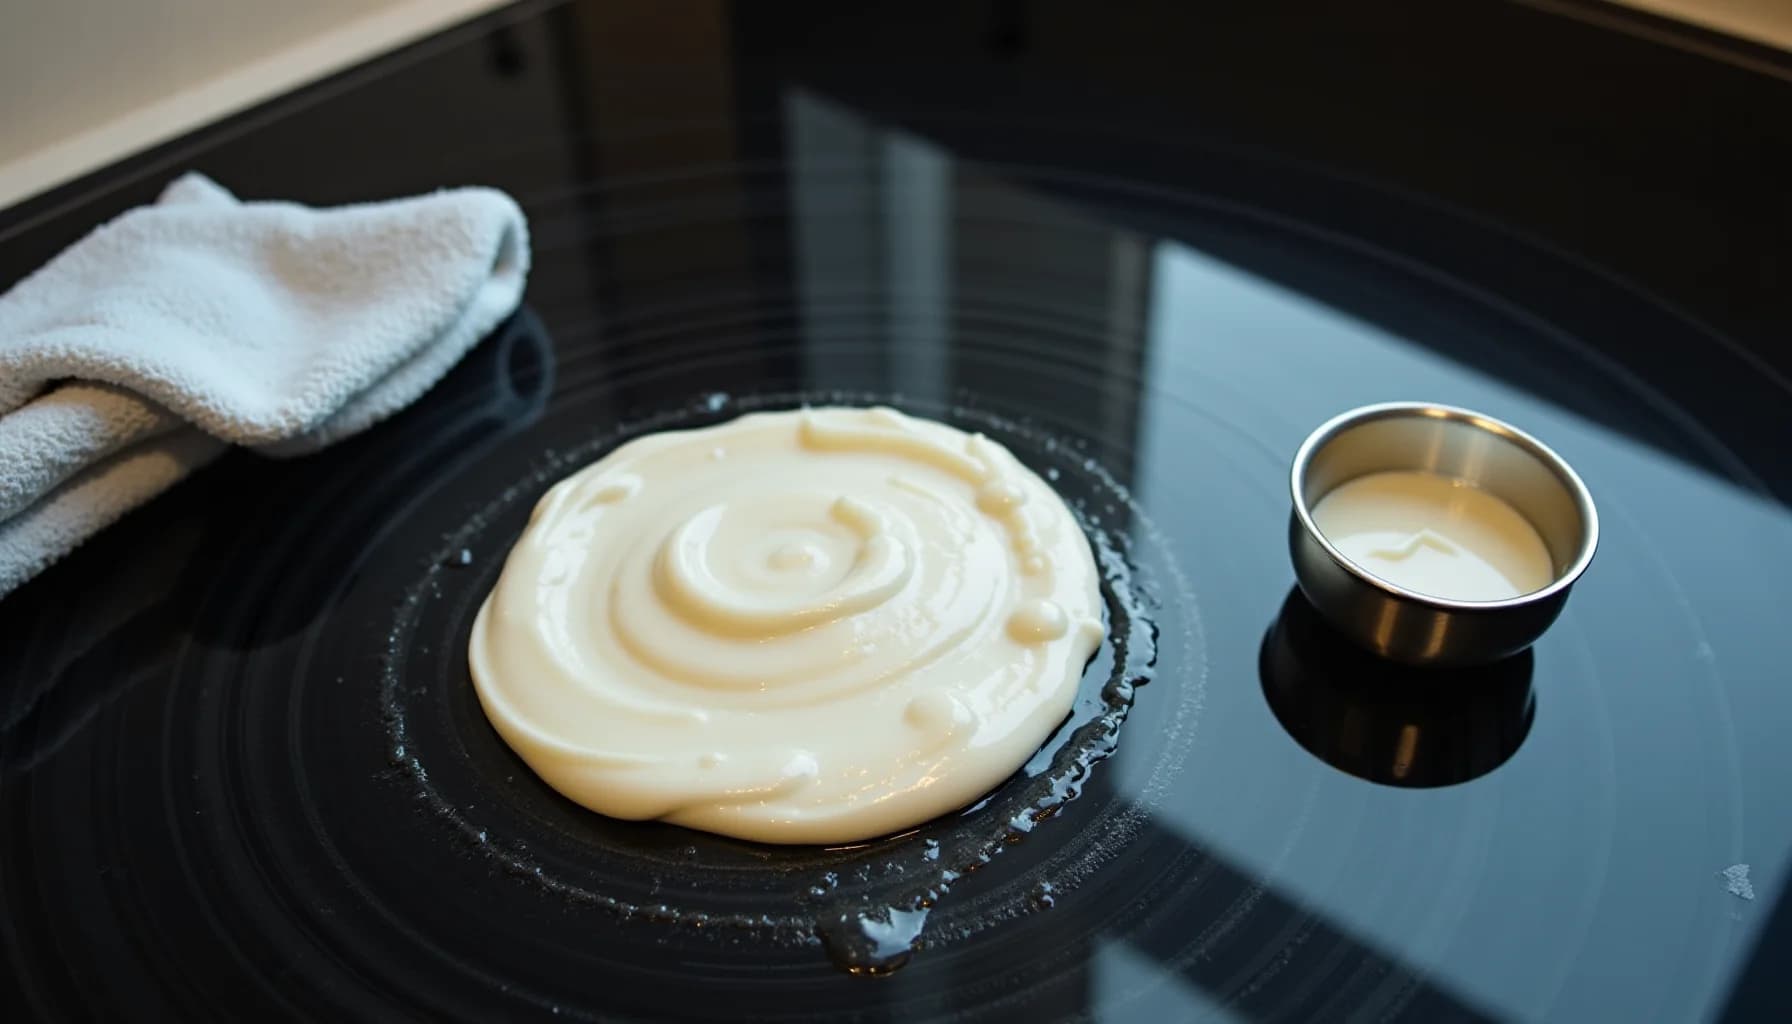
For stubborn residue on the cabinet, a paste of baking soda and water on a soft cloth works without abrading. Do not use acetone or nail-polish remover; both strip paint and plastic coatings on contact.
If you notice a cracked control panel housing, a display that flickers after cleaning, or buttons that stick and do not spring back, stop and call a qualified appliance technician. These are signs of existing damage that cleaning will not fix and that continued DIY handling may worsen.
How often should you clean your dryer?
Think of dryer maintenance less as a chore and more as a recurring calendar item, the same way you schedule oil changes or filter replacements.
After every single load: Clear the lint screen completely. Slide it out, roll the lint off with your fingers, and slot it back in. This takes ten seconds and is the single highest-impact habit you can build.
Monthly: Wash the lint screen with warm soapy water and a soft brush. Dryer sheets leave an invisible waxy film on the mesh that restricts airflow even when the screen looks clean. Rinse thoroughly, let it dry fully before reinstalling, and wipe down the drum interior with a damp cloth.
Every three to six months: Disconnect the exhaust duct from the back of the machine and clear it of accumulated lint. If your duct run is longer than 10 feet, or includes multiple bends, lean toward every three months rather than six.
Once a year: Pull the dryer away from the wall and inspect the full duct length from machine to exterior vent cap. Check that the exterior flap opens freely and closes snugly when the dryer is off. A stuck-open vent cap lets cold air and pests inside; a stuck-closed one blocks exhaust entirely.
Setting phone reminders for the monthly and quarterly tasks removes the reliance on memory, which is where most maintenance habits quietly collapse.
Frequently asked questions
How often should I clean my dryer lint trap?
How do I deep clean the lint trap screen?
How do I clean the dryer vent duct?
How often should the dryer vent duct be fully cleaned?
How this article was made
Researched and written with AI assistance. What gets published is a human editorial decision. Grounded in 9 cited sources.
Edited by Claire Mercier, Editor. The guides are written with AI assistance.
Sources (9)
- Dryer Fire Safety | Mass.gov
- Clothes Dryer Fire Safety | USFA.FEMA.gov
- Dryer Fire Safety
- How to Properly Maintain Gas Dryer Lint Traps | Town Appliance
- Dryer Lint Cleaning Tips (DIY) | Family Handyman
- How to Clean a Dryer Vent | Lowe’s
- How To Clean Lint From Your Dryer Vent (Simple Tips)
- How to Clean a Dryer in 9 Steps | Whirlpool
- Fabric Softeners and Enhancers: A Comprehensive Guide | The American Cleaning Institute (ACI)