Clean Faucet Head Buildup in Under an Hour With Vinegar
Part of Kitchen Sinks & Steel · article 11 of 11
Unscrew the aerator from your faucet tip, soak it in white vinegar for 20 to 30 minutes, then scrub it with an old toothbrush and rinse it clean. This fix costs nothing beyond a splash of vinegar and works best if you tackle it before mineral deposits fully harden, which is more likely if your home has hard water buildup around the kitchen sink or other fixtures.
Why does your faucet aerator keep clogging?
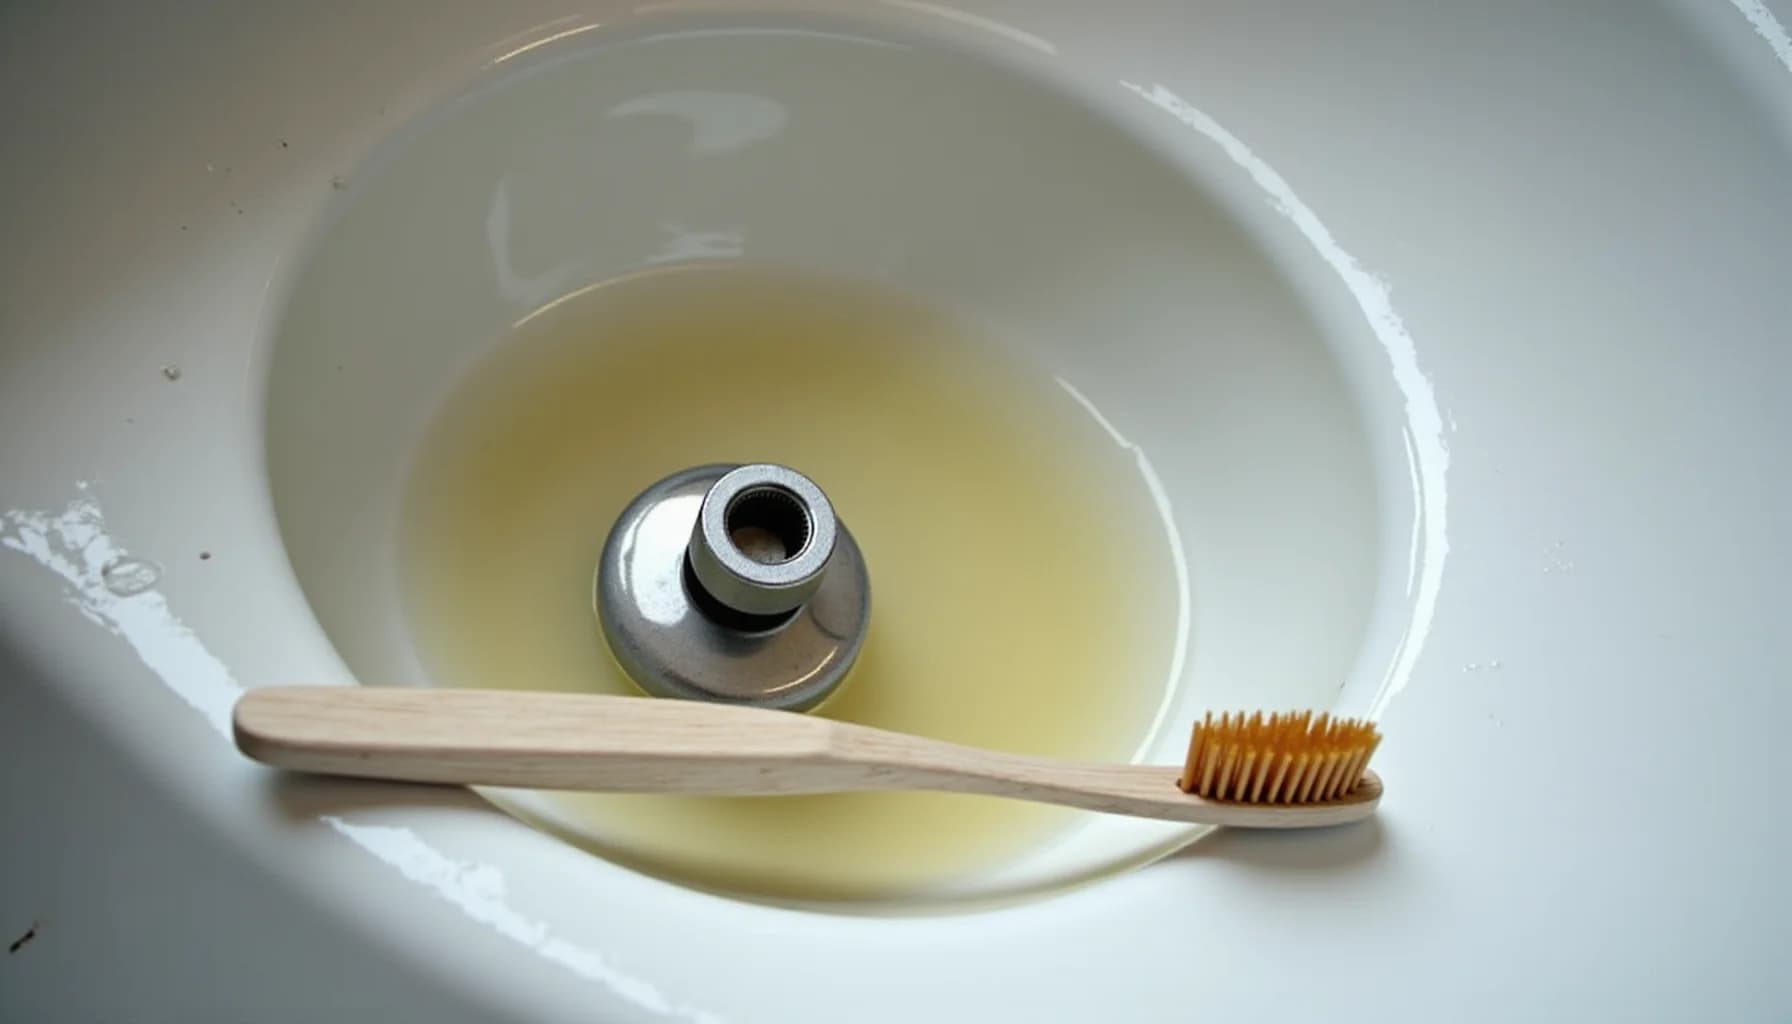
The short answer is hard water. About 85% of US homes receive water with elevated levels of dissolved calcium and magnesium, and every time that water flows through your aerator and evaporates, it leaves a thin layer of those minerals behind. Over months and years those layers compress into the mesh screen and the small plastic flow restrictor inside, slowly choking off the opening until your faucet feels like it has lost half its pressure. It hasn't, at least not in the pipes. The supply pressure from your plumbing is almost always fine; the restriction is happening right at the tip of the spout, in a component the size of a bottlecap.
This is worth understanding because it changes how you diagnose the problem. A faucet that suddenly starts spraying sideways, producing a weak or uneven stream, or delivering visibly cloudy or discolored water at first isn't signaling a plumbing emergency. It's signaling a dirty aerator. The clog can build gradually over months of normal hard-water use, or it can appear almost overnight if nearby plumbing work, such as a water main repair or a service line replacement, shakes loose sediment and rust particles that then collect in the mesh.
Bacteria can also establish themselves in a heavily clogged aerator, which gives urgency to cleaning beyond just water pressure. The debris trapped in the screen creates a surface where microbial growth becomes possible over time.
The practical upshot: if your kitchen sink faucet suddenly seems weak after any construction work on your street or building, the aerator is the first place to check, not the shutoff valve or the pressure regulator.
How do you remove, clean, and reassemble a faucet aerator?
Before you touch the aerator, check what type you have. Most standard faucets have an externally threaded aerator you can see and grip at the tip of the spout. Turn it counterclockwise by hand; if it won't budge, wrap the jaws of pliers with a cloth or use a rubber jar-lid grip to get traction without scratching the finish. Some faucets have a hidden, recessed aerator that sits flush inside the spout end. These require a small aerator key, sold at most hardware stores for a couple of dollars, and often have a brand-specific size, so check your faucet's documentation before you buy one. A third style uses a coin slot: insert a quarter, turn, and it comes out.
Once the aerator is off, set all the pieces on a white towel in the order you removed them. Take a photo before disassembling anything further. The mesh screen, flow restrictor, rubber washer, and housing all have to go back in the same sequence, and the parts are small enough to lose easily.
Soak the disassembled parts in undiluted white vinegar. Five minutes will loosen lighter sediment; for heavy mineral caking, give it 20 to 30 minutes. If the aerator is still attached because it won't unscrew, fill a small zip-lock or plastic bag with vinegar, hold it over the faucet tip so the aerator submerges, and secure the bag with a rubber band or twist tie. Leave it for 10 to 20 minutes, then try again.
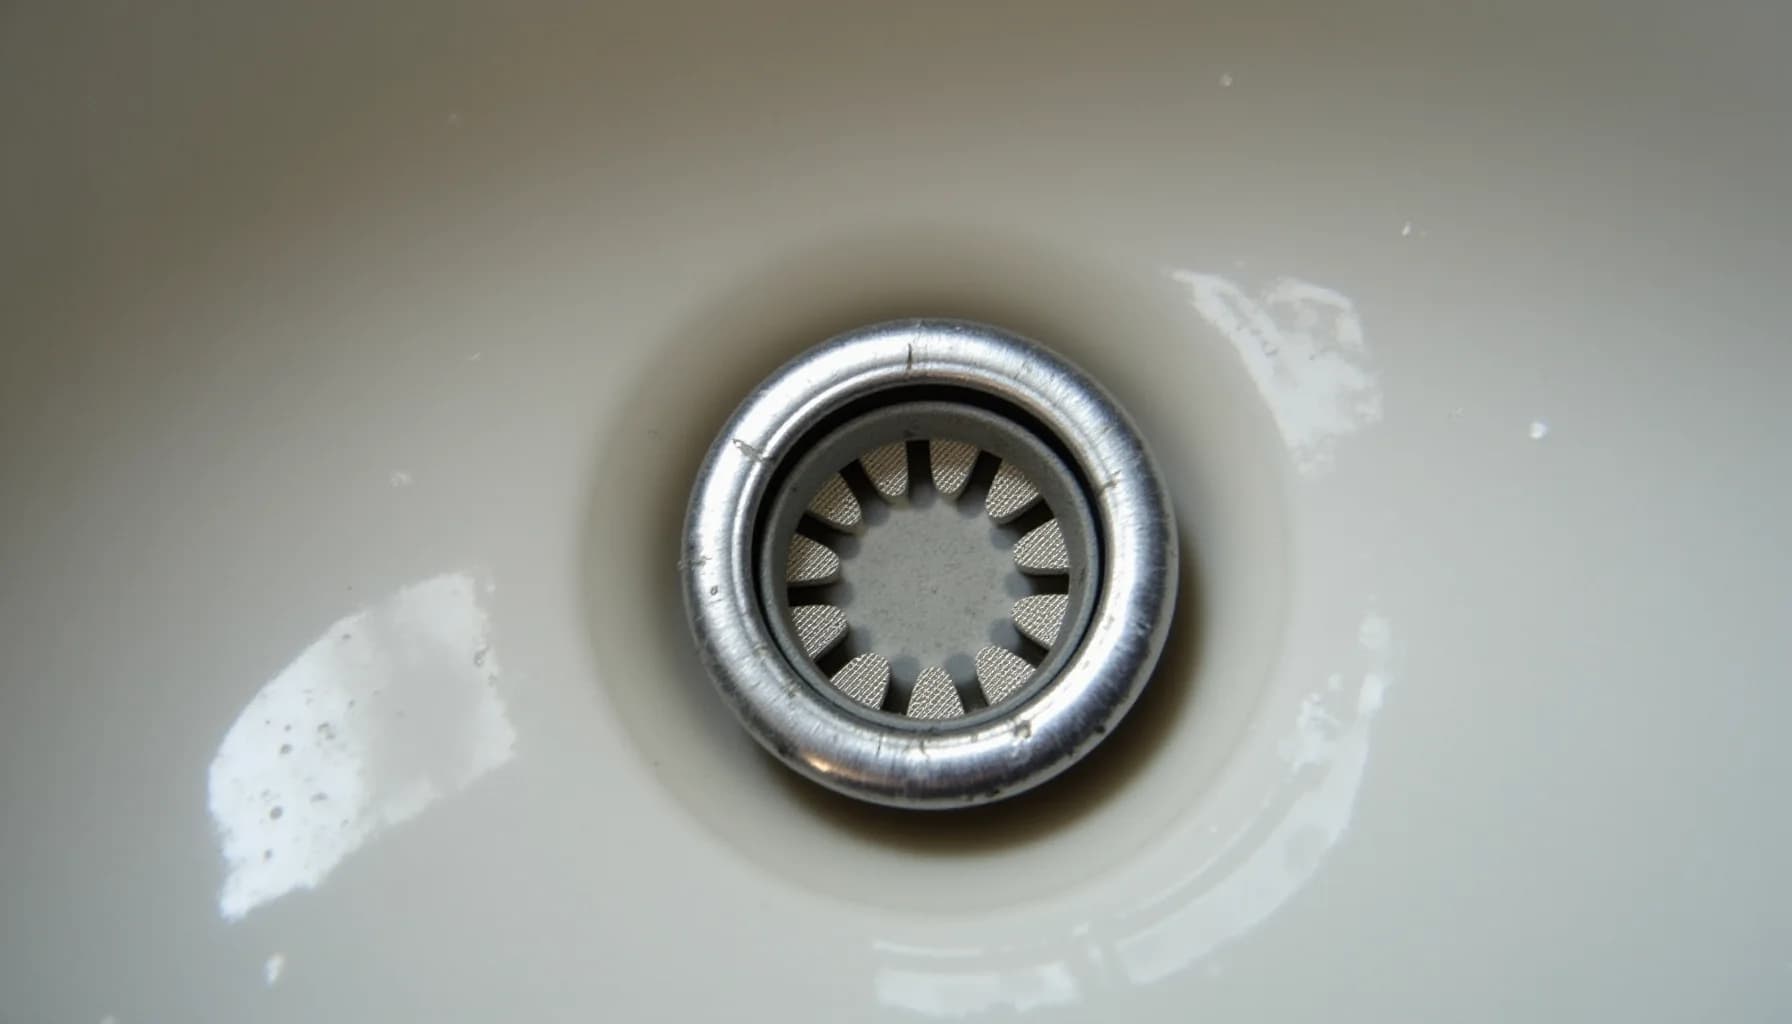
After soaking, scrub each component with an old toothbrush. For very light buildup, a rinse under running water alone can be enough. Reassemble the parts in reverse order using your photo as a reference, then screw the aerator back on clockwise, hand-tight.
If cleaning doesn't restore normal flow, the internal plastic parts or mesh may have degraded beyond what vinegar can fix. Replacement aerators run $3 to $8 at any hardware store, making a swap the logical next step rather than repeated cleaning attempts.
How this article was made
Researched and written with AI assistance. What gets published is a human editorial decision. Grounded in 8 cited sources.
Edited by Claire Mercier, Editor. The guides are written with AI assistance.
Sources (8)
- faucet aerator 09.23.25
- island grantee job aid install low flow faucet aerator
- Keep faucet aerators clean
- Pfister Faucet Aerator Removal Tool
- Clean/Decalcify a Faucet Aerator - PEP BB plumbing.sand.tiny.cleanfaucet (pep-plumbing-hot-water forum at permies)
- How To Clean a Clogged Faucet Aerator - This Old House
- How to Clean a Faucet Aerator for Better Water Flow - Bob Vila
- How to Clean a Faucet Aerator Effectively: A Comprehensive Guide - Ruvati USA