How to Remove Scratches from Stainless Steel Without Making It Worse
Part of Kitchen Sinks & Steel · article 6 of 6
On this page
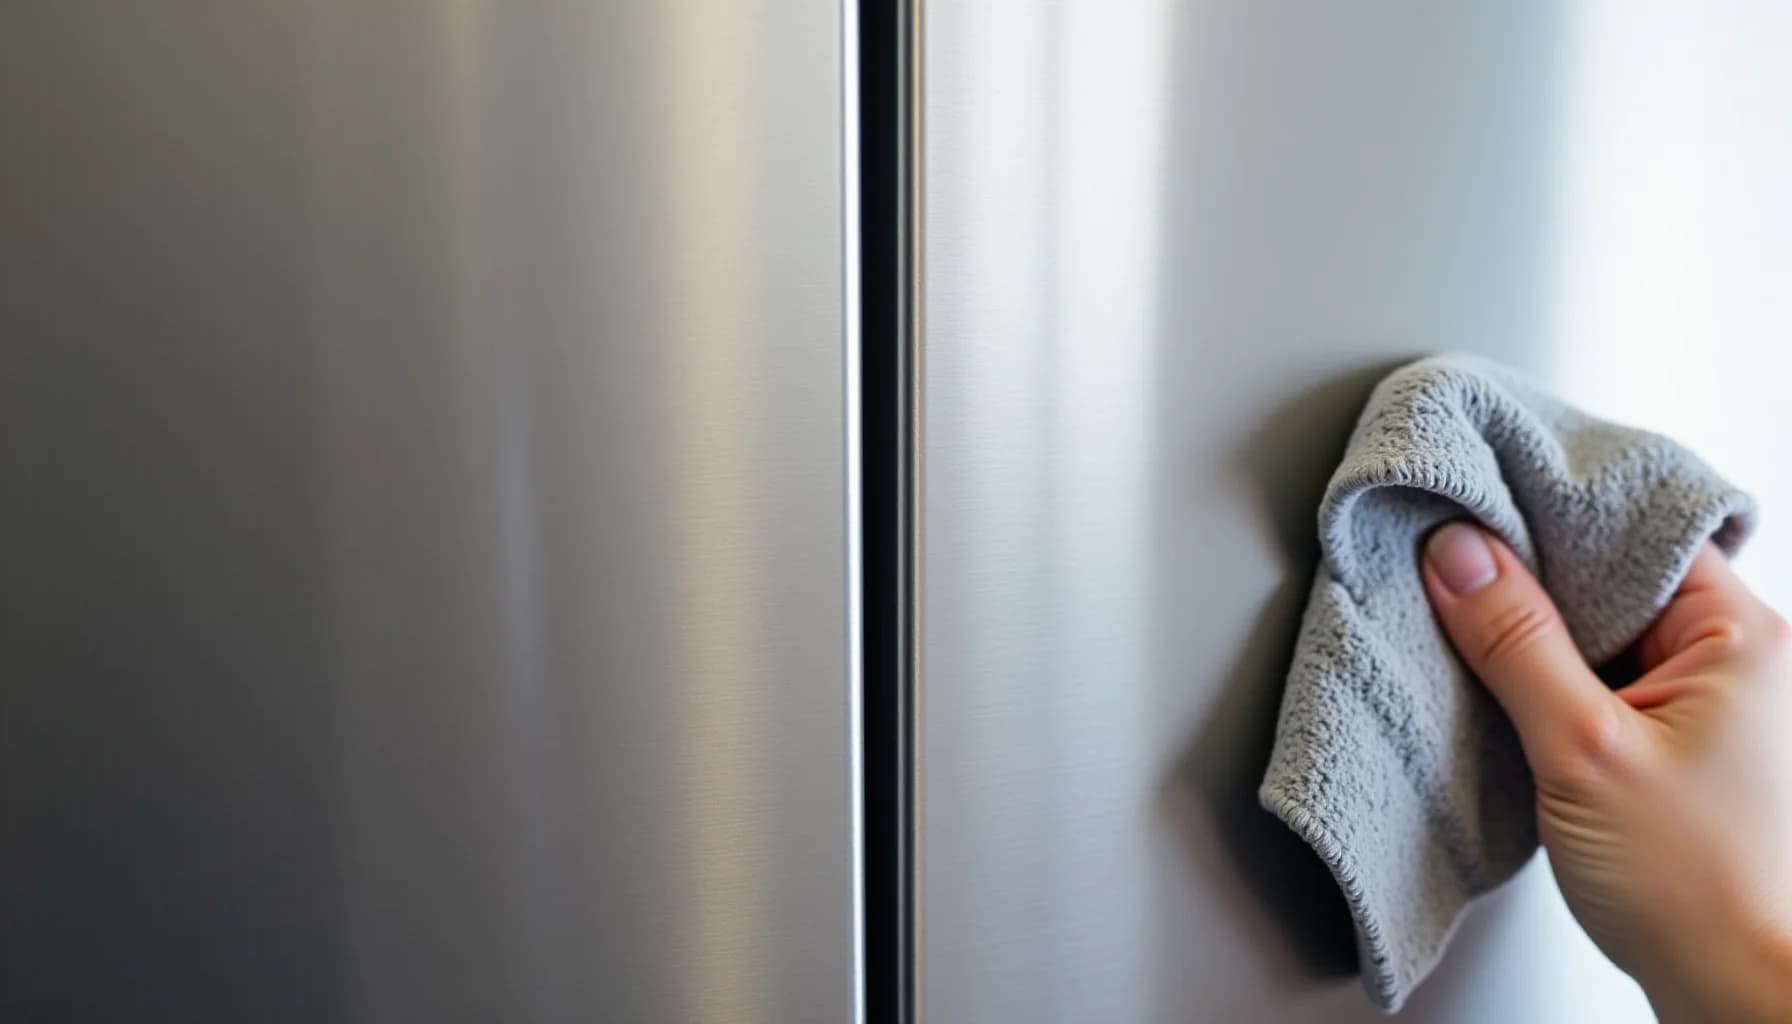
Scratched stainless steel can usually be repaired at home, but the single factor that determines whether you improve it or make it worse is grain direction. Stainless steel has fine brush marks running in one direction across its surface; always rub with those marks, never across or against them. Circular motions are equally damaging because they introduce cross-patterns that stay visible under directional light. Before touching the scratch, find the grain direction on your appliance and confirm, using your owner's manual, that the surface is not clear-coated. Coated finishes, common on fingerprint-resistant panels, require different handling entirely. For light scratches, use non-gel whitening toothpaste or a thick baking soda-and-water paste, rubbing gently along the grain for 30 to 60 seconds with a microfiber cloth. Commercial options such as Bar Keepers Friend, Rolite Metal Polish, or 3M Super Duty Rubbing Compound also work well at this stage. Skip steel wool entirely: it frays, leaves behind metal particles, and those particles rust. Avoid bleach and any chloride-containing cleaners, which can pit and corrode the metal. The toothpaste-and-olive-oil combination that circulates in DIY circles has been reported to cause additional scratching, so skip that too.
How do you find the grain direction on stainless steel?
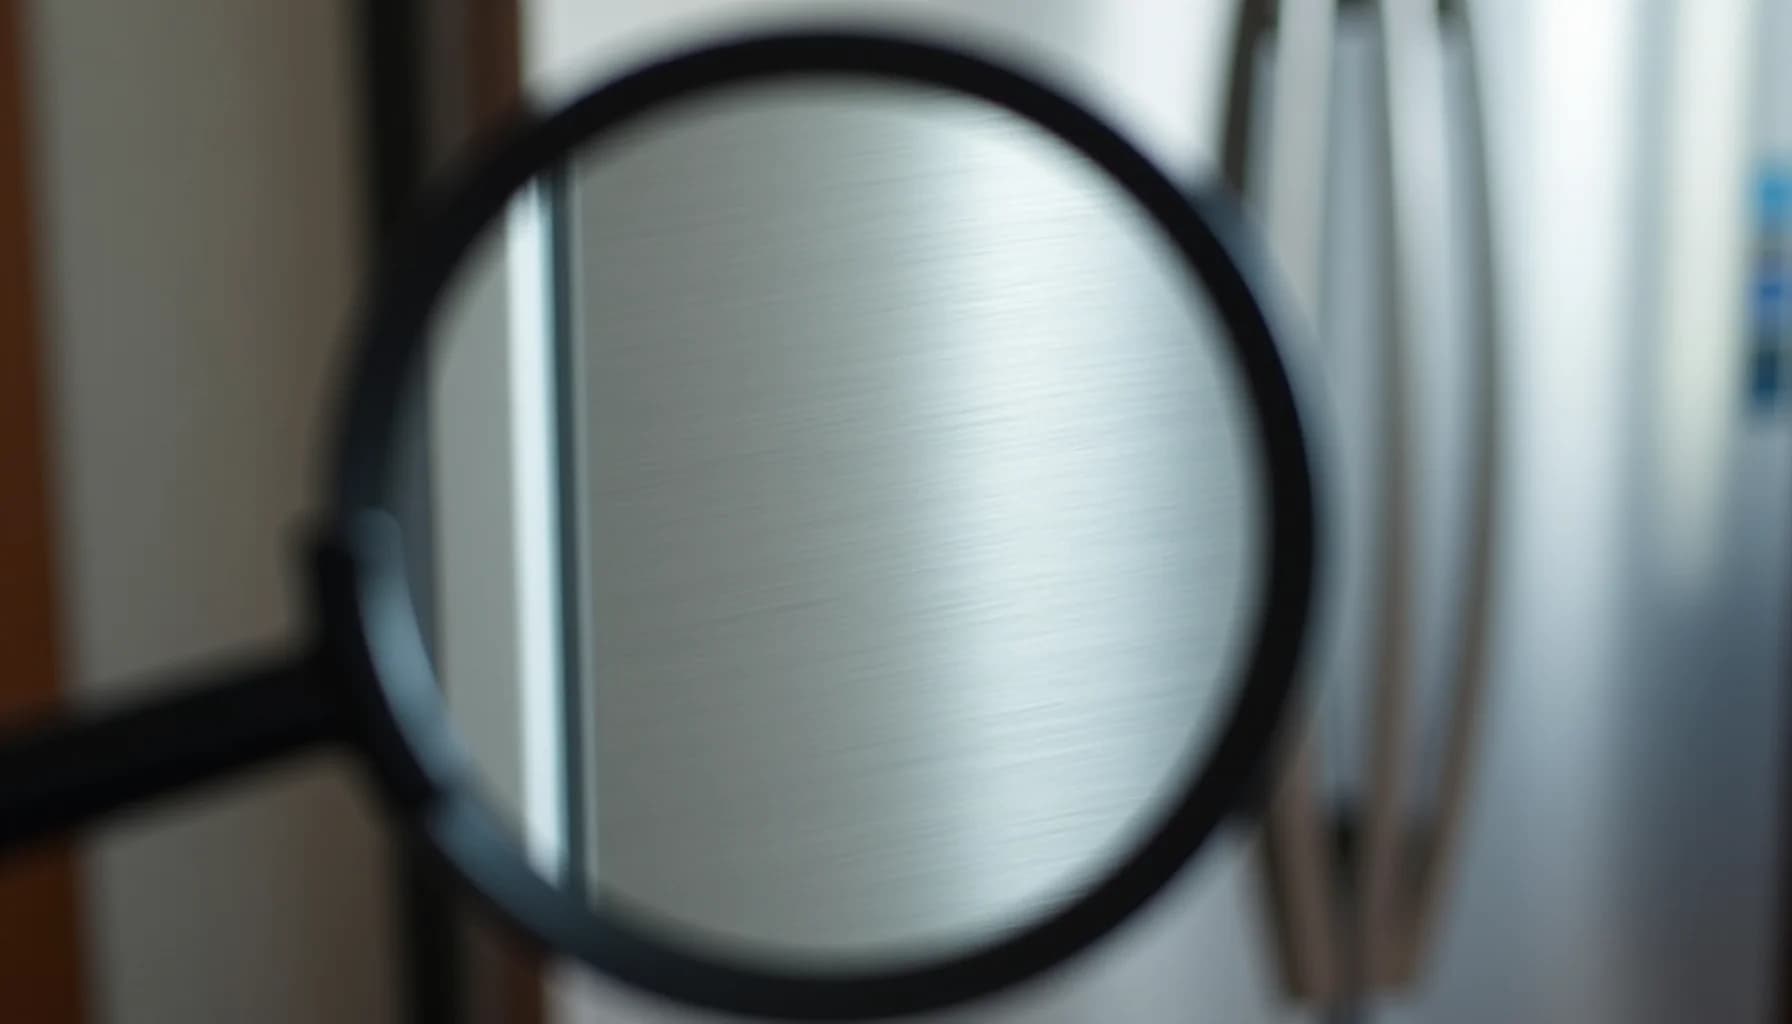
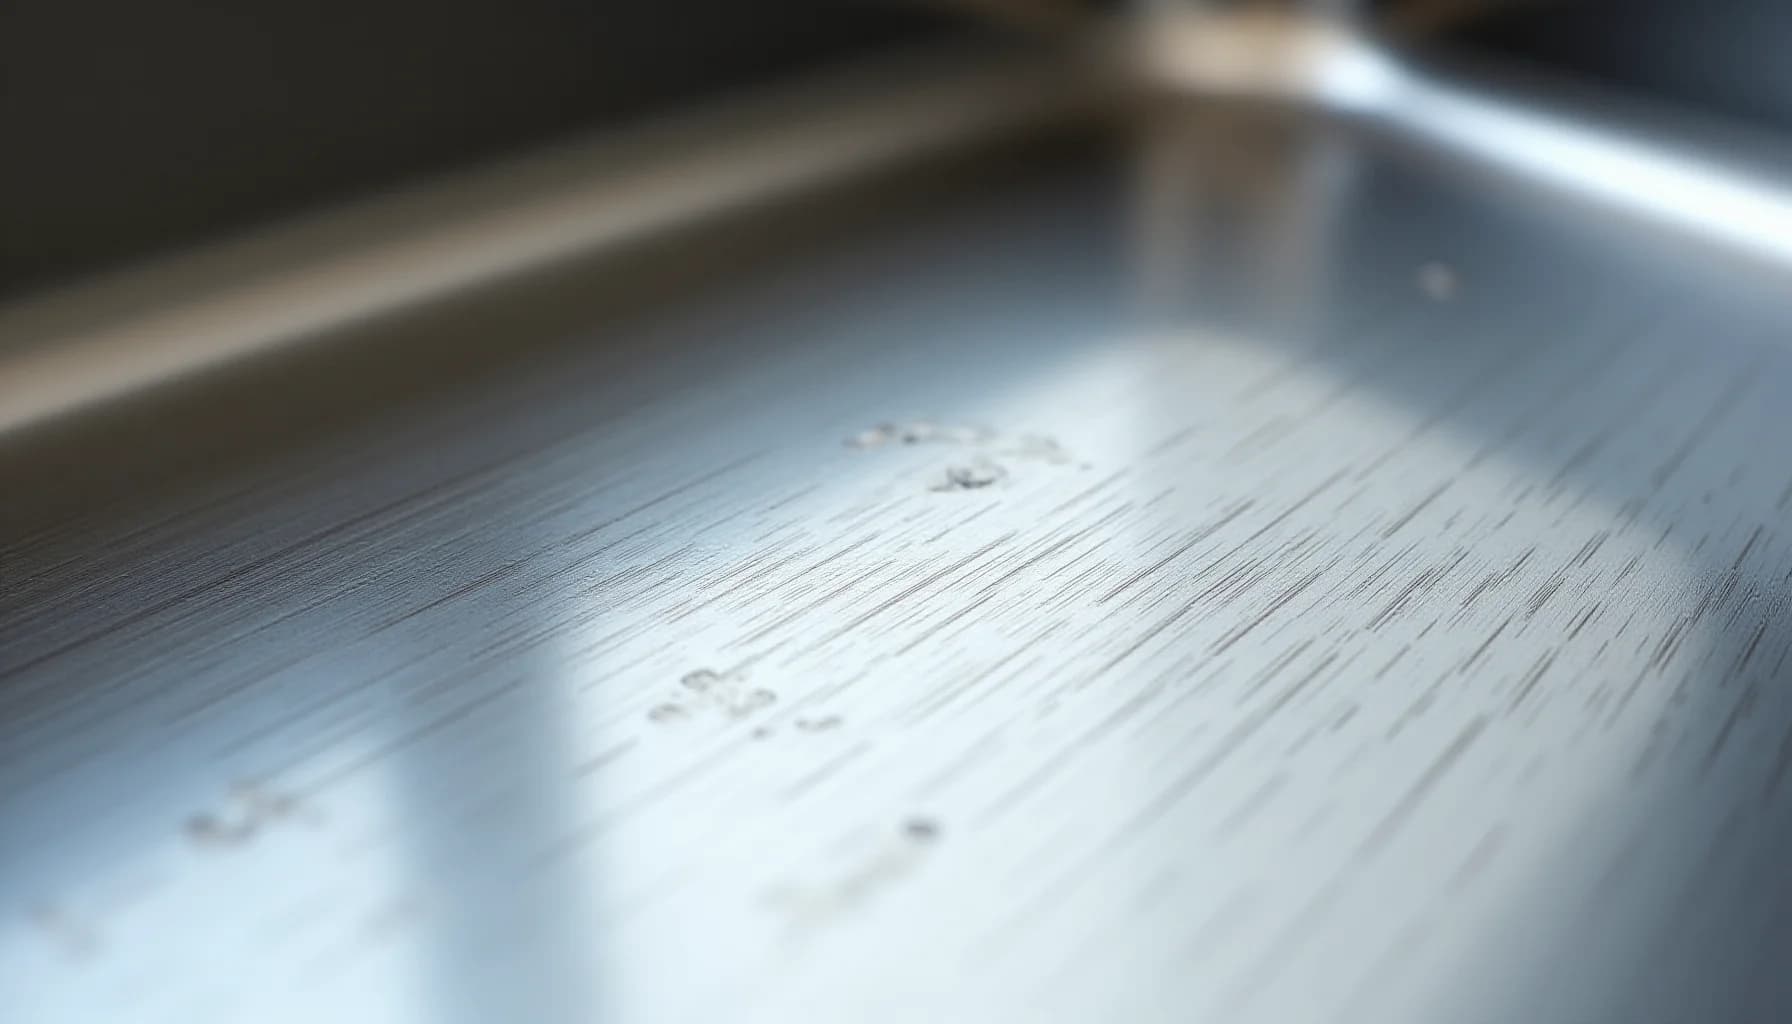
Look at your refrigerator door or dishwasher panel in raking light, angled from the side. You will see faint, parallel lines running either horizontally or vertically across the surface. Those lines are the grain, left behind during the brushing process used to finish the steel. On most kitchen appliances the grain runs horizontally, but this varies by manufacturer and even by panel, so always confirm before you touch anything with an abrasive.
If the lines are hard to read under your kitchen lighting, hold a flashlight low and parallel to the surface. The grain will become obvious almost immediately. A more detailed walkthrough of this identification process is covered in how to find the grain direction on stainless steel appliances.
Once you know the direction, every single pass with a cloth, scouring pad, sandpaper, or polishing compound must run parallel to those lines. The reason this matters so much comes down to optics. Brushed stainless reflects light along a consistent axis. When you rub in the same direction as the grain, your strokes blend into that existing pattern and become invisible. When you rub across the grain or in circles, you cut new lines at a different angle. Under any directional light, those cross-pattern marks scatter light differently from the surrounding surface, making them stand out far more than the original scratch did.
Circular motions are a particular problem because they create an arc of intersecting angles that no amount of follow-up polishing can fully disguise. Keep your strokes straight, keep them short, and keep them aligned with the grain on every pass.

How deep is that scratch, and can you fix it yourself?
Check the owner's manual before you start
Confirm whether your appliance has a clear coat or fingerprint-resistant coating, because abrasive methods will damage those surfaces. If the manual advises against polishing, stop here and follow its guidance instead.
Find the grain direction
Look at the surface in good light until you see faint parallel brush lines running in one direction, either side to side or top to bottom. Every product, pad, or cloth you use must move only along those lines, never across them or in circles, because cross-direction strokes alter how light reflects and make scratches look worse.
Run the fingernail test to gauge scratch depth
Drag your fingernail lightly across the scratch. If it glides over without catching, the scratch is light and the mildest methods will likely fix it. If your nail catches in the groove, the scratch is moderate to deep and will need more aggressive treatment.
Test your chosen method in a hidden spot
Apply a small amount of your product or paste to an inconspicuous area, rub along the grain, and check the result before working on the visible scratch. This one step can save you from creating a larger problem on a prominent panel.
Treat light scratches with toothpaste or baking soda paste
For fine scratches, apply a small amount of non-gel whitening toothpaste or a thick paste of baking soda mixed with water to a microfiber cloth. Rub along the grain for 30 to 60 seconds, then wipe clean with a damp microfiber cloth and dry thoroughly.
Step up to a commercial scratch-remover compound for stubborn light scratches
Products such as Bar Keepers Friend or a dedicated stainless steel polish fill and smooth fine lines without heavy abrasion. Apply a small amount to a microfiber cloth and work it along the grain, then wipe away any residue completely.
Use a scouring pad with cooking oil for moderate scratches
Put a few drops of olive oil on a scouring pad or scrubbing sponge, then rub firmly along the grain. Note that applying olive oil together with toothpaste at the same time has been found to cause additional scratching, so keep these two approaches separate.
Sand deep scratches with wet fine-grit sandpaper
Soak 400 to 600-grit sandpaper in water, then work it along the grain only, never in circles. Move in short, even strokes; re-wet the paper as needed. Wipe the area clean and dry it completely when you finish. Very deep gouges may only be reduced, not fully erased, without professional refinishing.
Clean, dry, and buff after every repair
Wipe the repaired area with a clean, damp microfiber cloth along the grain, then dry it immediately to prevent mineral deposits. Going forward, dry and buff stainless steel surfaces after each use, clean always in the grain direction, and keep steel wool and chloride-containing cleaners away from the surface entirely.
Is your stainless steel clear-coated or bare metal?
Before reaching for any abrasive compound or scouring pad, there is one question you need to answer: is your stainless steel surface bare metal, or does it have a clear protective coating over it?
The reason this matters is straightforward. Abrasive scratch-removal methods, including toothpaste, baking soda paste, and sanding, work by physically abrading the metal surface. If your appliance panel has a synthetic clear coat or fingerprint-resistant finish on top, those methods will cut through or cloud that coating before they ever touch the steel underneath. The result is often worse than the original scratch.
Fingerprint-resistant panels are the most common place you will find a clear coat. Many refrigerators and dishwasher fronts marketed as "smudge-proof" or "fingerprint-resistant" achieve that property through a thin surface treatment rather than through the steel itself. If your appliance carries either of those terms in its product description, treat that as a strong signal that a coating is likely present.
The most reliable way to confirm is to check your owner's manual. Look for language about the surface finish, protective coatings, or cleaning restrictions. Manuals for coated appliances often specify which cleaners are safe and will sometimes explicitly warn against abrasive products. If you no longer have the paper manual, the manufacturer's website typically hosts a PDF version searchable by model number.
You can also do a quick visual check. Bare brushed stainless steel has a consistent linear sheen. A clear-coated panel often looks slightly more uniform or has a faint plastic quality to it under angled light, though this is harder to judge without a comparison surface.
If you confirm a coating is present, stop and follow the manufacturer's guidance only. Proceeding with any abrasive method on a coated surface is the one repair mistake that cannot be undone at home.
How do you remove light scratches from stainless steel at home?
Before reaching for any product, run a fingernail lightly across the scratch. If it glides straight over without catching, you're dealing with a surface-level mark, and the methods below are well-suited to it. If the nail snags, the scratch cuts deeper into the metal and needs a different approach.
Once you've confirmed the scratch is light, identify which direction the grain runs on your appliance. Every stroke you make, from start to finish, must follow that grain. Working perpendicular to it, or in circular motions, creates cross-pattern marks that remain visible under directional lighting and are often harder to fix than the original scratch.
Non-gel whitening toothpaste is a good first attempt. Squeeze a small amount onto a clean microfiber cloth, never a regular towel, and rub firmly along the grain for 30 to 60 seconds. Wipe the residue away with a damp cloth, then dry the area completely. Toothpaste works because it contains mild abrasives that smooth fine surface marks without cutting deeply into the metal. It handles very light scratches and routine upkeep well, but has real limits on anything more significant.
Baking soda paste follows the same logic. Mix baking soda with just enough water to form a thick, spreadable paste, apply it to the scratch with a microfiber cloth, and rub along the grain using gentle, even pressure. The abrasion is slightly coarser than toothpaste but still gentle enough for light work. Rinse and dry thoroughly afterward.
Non-abrasive commercial polishes, such as Bar Keepers Friend or Rolite Metal Polish, are formulated specifically for stainless steel and tend to produce more consistent results than household pastes. Apply a small amount to a microfiber cloth and work along the grain, using light pressure. Test any product on a hidden area first, since some finishes respond differently.
Whichever method you use, skip the combination of toothpaste and olive oil together. That pairing has been found to cause additional scratching rather than reduce it.
How Do You Remove Deeper Scratches from Stainless Steel?
When a scratch catches your fingernail, light-touch methods won't cut it. You need controlled abrasion, and the approach you pick depends on how deep the damage runs.
Scouring pad with cooking oil. Pour a small amount of olive oil onto a scouring pad or scrubbing sponge. Work it over the scratch using short, firm strokes that follow the grain exactly. The oil lubricates the surface and reduces the risk of adding fresh marks while the pad does the abrasive work. Wipe the area clean with a microfiber cloth between passes and reassess. This is a good first step for moderate scratches before moving to sandpaper.
Fine-grit wet sandpaper. For scratches that resist the pad, soak 400- to 600-grit sandpaper in water for a few minutes before use. The water further softens the abrasive action and keeps debris from dragging across the surface. Apply light, even pressure and move only along the grain, never in circles and never perpendicular to it. Circular strokes leave cross-hatch marks that catch directional light and look worse than the original scratch. Start with 400-grit; if the scratch diminishes but doesn't fully blend, work up to 600-grit to refine the finish.
Commercial scratch-removal kits. These kits work by stepping through progressively finer grits in sequence, coarser pads first to lift the damage, then finer ones to restore a smooth, uniform surface. A single kit is typically rated for around 20 to 25 repairs, so it stretches across multiple appliances or repeat incidents. Follow the kit's sequence without skipping steps; jumping straight to the fine pad leaves visible unevenness.
Throughout all three methods, test in an inconspicuous spot first, and accept that very deep gouges may be reduced but not fully erased without professional refinishing.
| Scratch Type | Best Abrasive | Grit / Grade | Key Avoid |
|---|---|---|---|
| Deep but narrow scratch | Fine-grit sandpaper (wet) | 400–600 grit | Circular strokes; going against grain |
| Widespread deep scratching | Commercial scratch removal kit | Coarse to fine (kit sequence) | Skipping grits; rushing progression |
| Deep scratch on coated surface | No abrasive — consult manual | N/A | Any sanding or compound; voids protection |
| Rough, gouged surface | Scouring pad with olive oil | N/A (pad abrasion) | Steel wool; bleach-based cleaners |
| Deep scratch near mirror finish | Professional refinishing preferred | varies | DIY sanding — high distortion risk |
What tools and materials do you need before you start?
Gathering the right supplies before you touch the surface saves you from reaching for the wrong thing mid-repair. Start with microfiber cloths; regular terrycloth towels or paper towels can leave fine marks of their own on stainless steel, so microfiber is the only sensible choice here. Have at least two on hand, one for applying product and one for buffing dry.
For light scratches, your household pantry may already have what you need. Non-gel whitening toothpaste works as a mild abrasive, and a small bowl of baking soda mixed with water into a thick paste is an equally gentle option. You will also want a soft-bristled toothbrush or a cloth applicator to work these pastes into the scratch without spreading the abrasion wider than necessary.
If the scratch is deeper and warrants more aggressive treatment, pick up fine-grit sandpaper in the 400 to 600 grit range, soaked in water before use. A scouring pad or scrubbing sponge is useful for intermediate scratches, and a small amount of olive oil helps lubricate the pad during that process. For broader or more numerous scratches, a commercial scratch removal kit, such as the type that steps up through multiple grits to restore the surface finish, is worth having. These kits are typically rated for around 20 to 25 individual repairs.
On the product side, Bar Keepers Friend, 3M Super Duty Rubbing Compound, and Rolite Metal Polish are all purpose-made for stainless steel work. Pull out your appliance's owner's manual too, because knowing which cleaners are safe on stainless steel matters just as much as knowing which abrasives to reach for.
What mistakes will make stainless steel scratches worse?
Four mistakes account for most of the irreversible damage homeowners do while trying to fix a scratch.
Steel wool is the most destructive. As it scrubs, it sheds tiny metal fragments that embed in the stainless steel surface. Those particles are not stainless, and they rust. Within days you can end up with orange staining that looks like the steel itself has corroded, and removing embedded rust fragments is far harder than fixing the original scratch.
Bleach and chloride-based cleaners cause a different kind of permanent harm. Chloride attacks the passive layer that makes stainless steel resistant to corrosion in the first place. Use a bleach product on a scratch, where the surface is already compromised, and you risk pitting the metal, not just discoloring it. Pitting cannot be buffed out at home. For a full breakdown of which cleaners corrode stainless steel and why, see which cleaners are safe on stainless steel (and which wreck it).
Circular scrubbing motions introduce cross-grain marks that catch light differently from the original brushed finish. Under directional lighting, those circular swirls become more visible than the scratch you started with.
The toothpaste-and-olive-oil combination is widely repeated online, but at least one practitioner has found it causes additional scratching rather than reducing it. Use them separately if at all, not mixed.
If a scratch is deep enough that multiple passes with 400 to 600-grit wet sandpaper leave it visibly unchanged, stop. At that point the gouge likely needs professional refinishing, which involves re-establishing the grain across a wider area to keep the repair invisible.
Frequently asked questions
How do I know if a scratch is light enough to fix at home?
Why does grain direction matter so much when removing scratches?
Can I use toothpaste and olive oil together to fix a scratch?
Is stainless steel with a fingerprint-resistant coating treated the same way?
How do you keep stainless steel scratch-free over time?
The single most effective thing you can do is make grain-aligned wiping a reflex rather than an afterthought. Every time you wipe down the refrigerator door, dishwasher panel, or sink surround, move the cloth in straight lines that follow those fine brush marks. Using a soft microfiber cloth, rather than a regular kitchen towel or paper towels, keeps that daily contact gentle. Pair that habit with drying and buffing the surface afterward, and you prevent the mineral deposits that can etch the finish and force heavier cleaning later.
Two specific behaviors cause most of the scratches homeowners end up trying to fix. Chopping or cutting food directly on a stainless steel countertop or stovetop drags knife edges across the surface repeatedly, each pass leaving its mark. Use a cutting board every time, without exception. Placing hot pots and pans in a stainless steel sink also stresses the surface finish over time, so use a trivet or set them on the counter instead.
Keep chloride-containing cleaners, including bleach-based sprays, away from stainless steel entirely. They contribute to corrosion that makes the surface rougher and more scratch-prone over time. Stick to cleaners known to be safe on stainless steel and you reduce the odds of ever needing to reach for the sandpaper.
How this article was made
Researched and written with AI assistance. What gets published is a human editorial decision. Grounded in 8 cited sources.
Edited by Claire Mercier, Editor. The guides are written with AI assistance.
Sources (8)
- How to Remove Scratches From Stainless Steel - Bob Vila
- How to Remove Scratches From Stainless Steel | Kramer Inc
- How to Remove Scratches and Polish Stainless Steel | Family Handyman
- How To Remove Scratches From Stainless Steel - This Old House
- 5 Ways to Remove Scratches From Stainless Steel - Tampa Steel & Supply
- How to Remove Scratches from Stainless Steel Luxury Appliances | Blog
- Three Ways To Fix and Polish Scratches From Stainless Steel • GrownUp Dish
- How to Get Scratches Out of Stainless Steel?