How to Clean a Stainless Steel Sink Without Wrecking It
Part of Kitchen Sinks & Steel · article 1 of 6
On this page
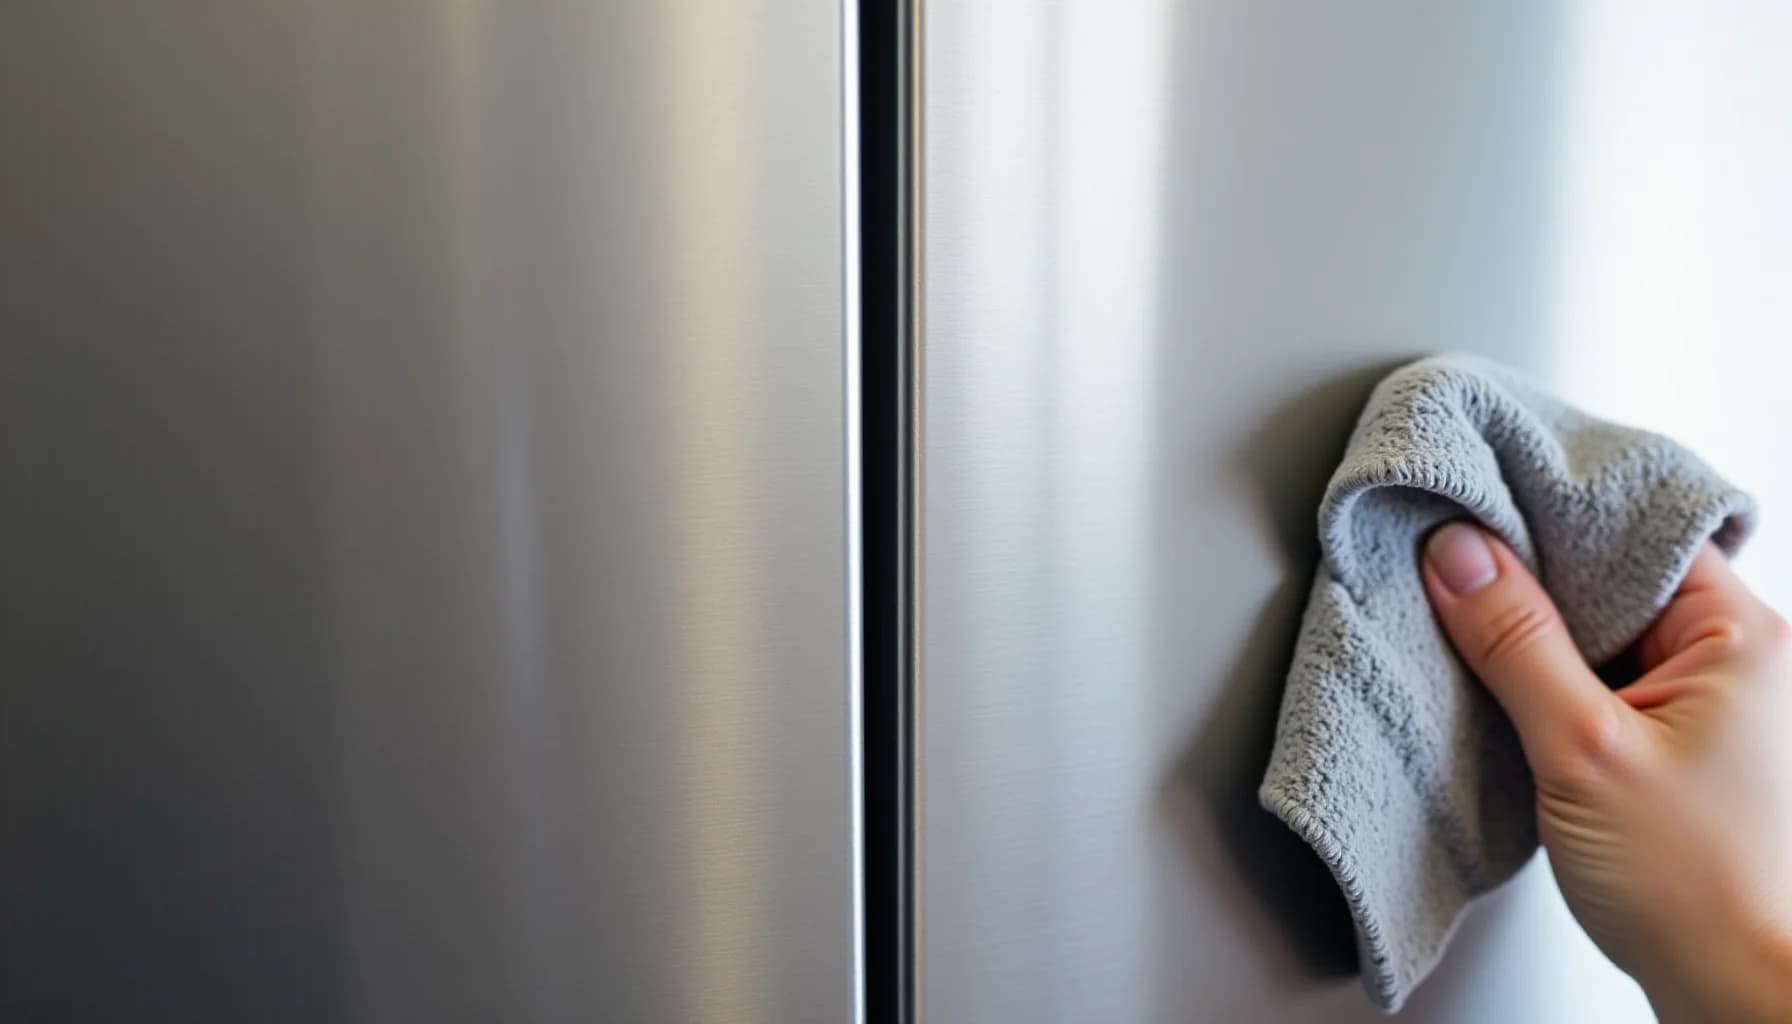
Baking soda, white vinegar, dish soap, and a microfiber cloth handle the vast majority of stainless steel sink cleaning, and the biggest threat to your sink's finish is not what you use but how you use it. Before scrubbing anything, identify the grain: those faint parallel lines running either horizontally or vertically across the basin. Every stroke must follow that direction. Wiping across it forces soils into the metal and leaves micro-scratches that accumulate into a dull, hazy finish over months. Never use bleach; chlorine in sodium hypochlorite breaks down the chromium oxide layer that makes stainless steel corrosion-resistant and causes permanent pitting. Hydrogen peroxide is the safe disinfecting alternative. After every wash, dry the basin completely with a microfiber cloth, since even plain water leaves mineral deposits if it dries on the surface.
How do you find the grain direction and why does every scrub stroke have to follow it?
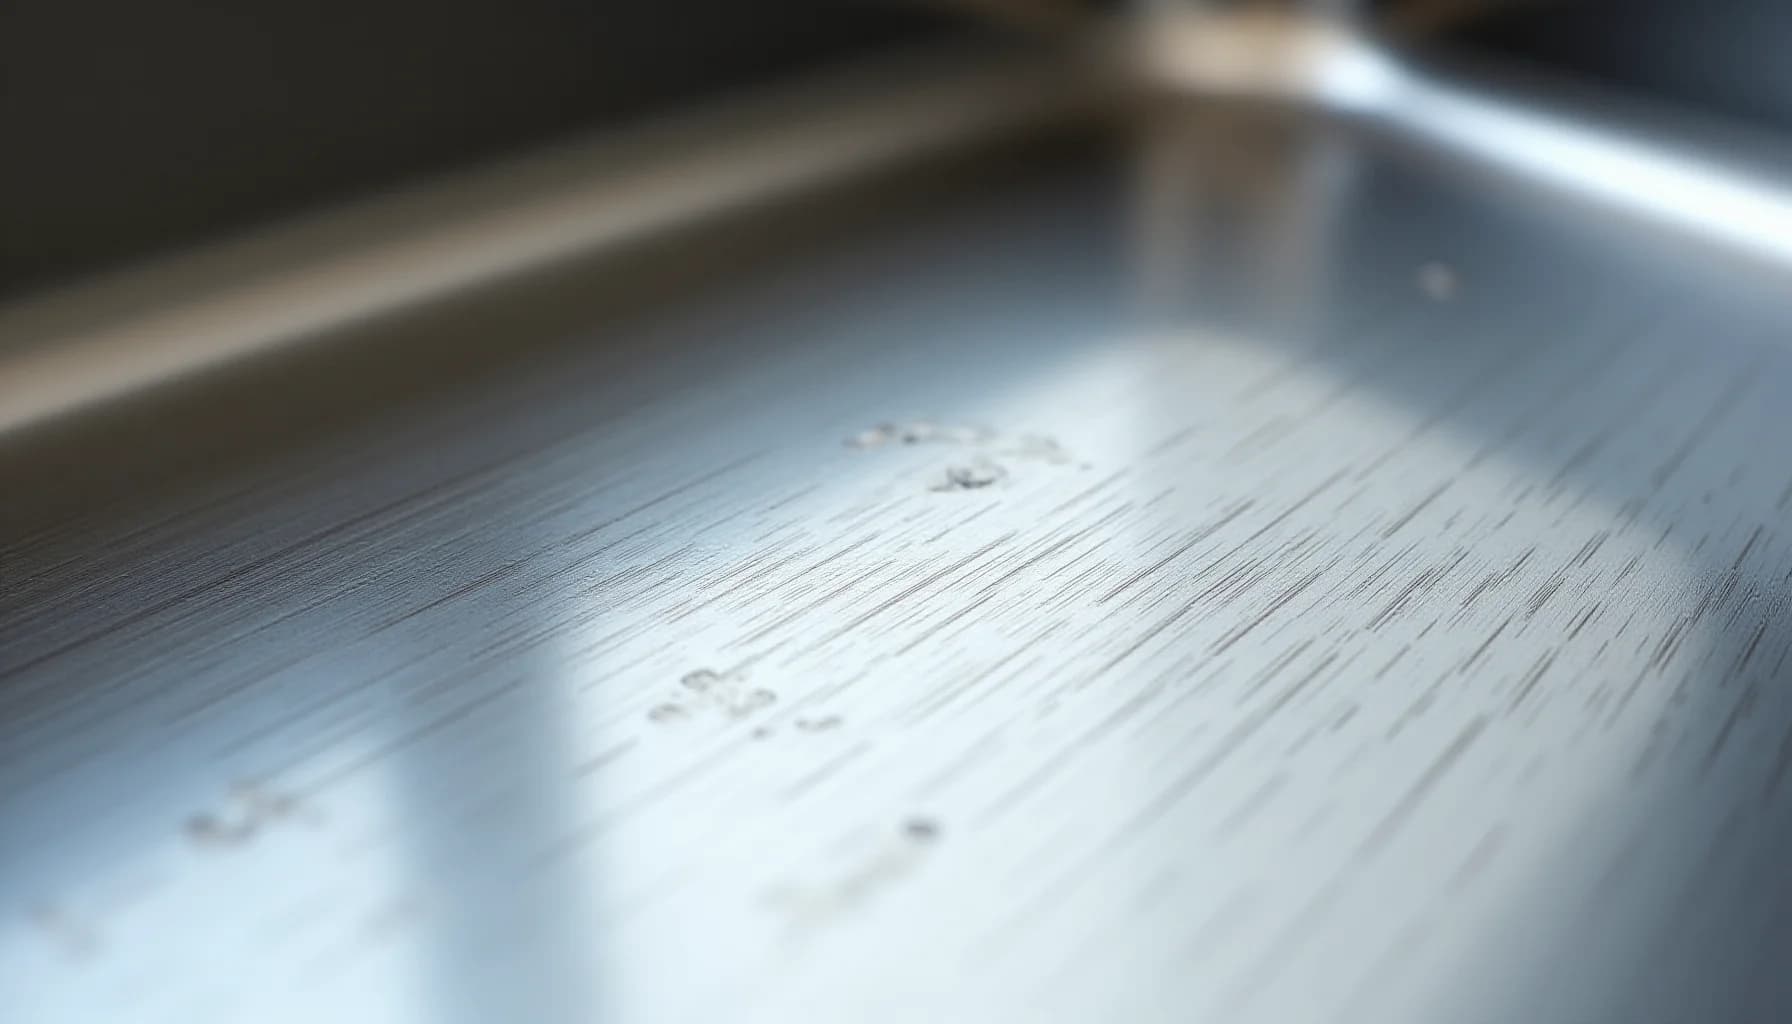
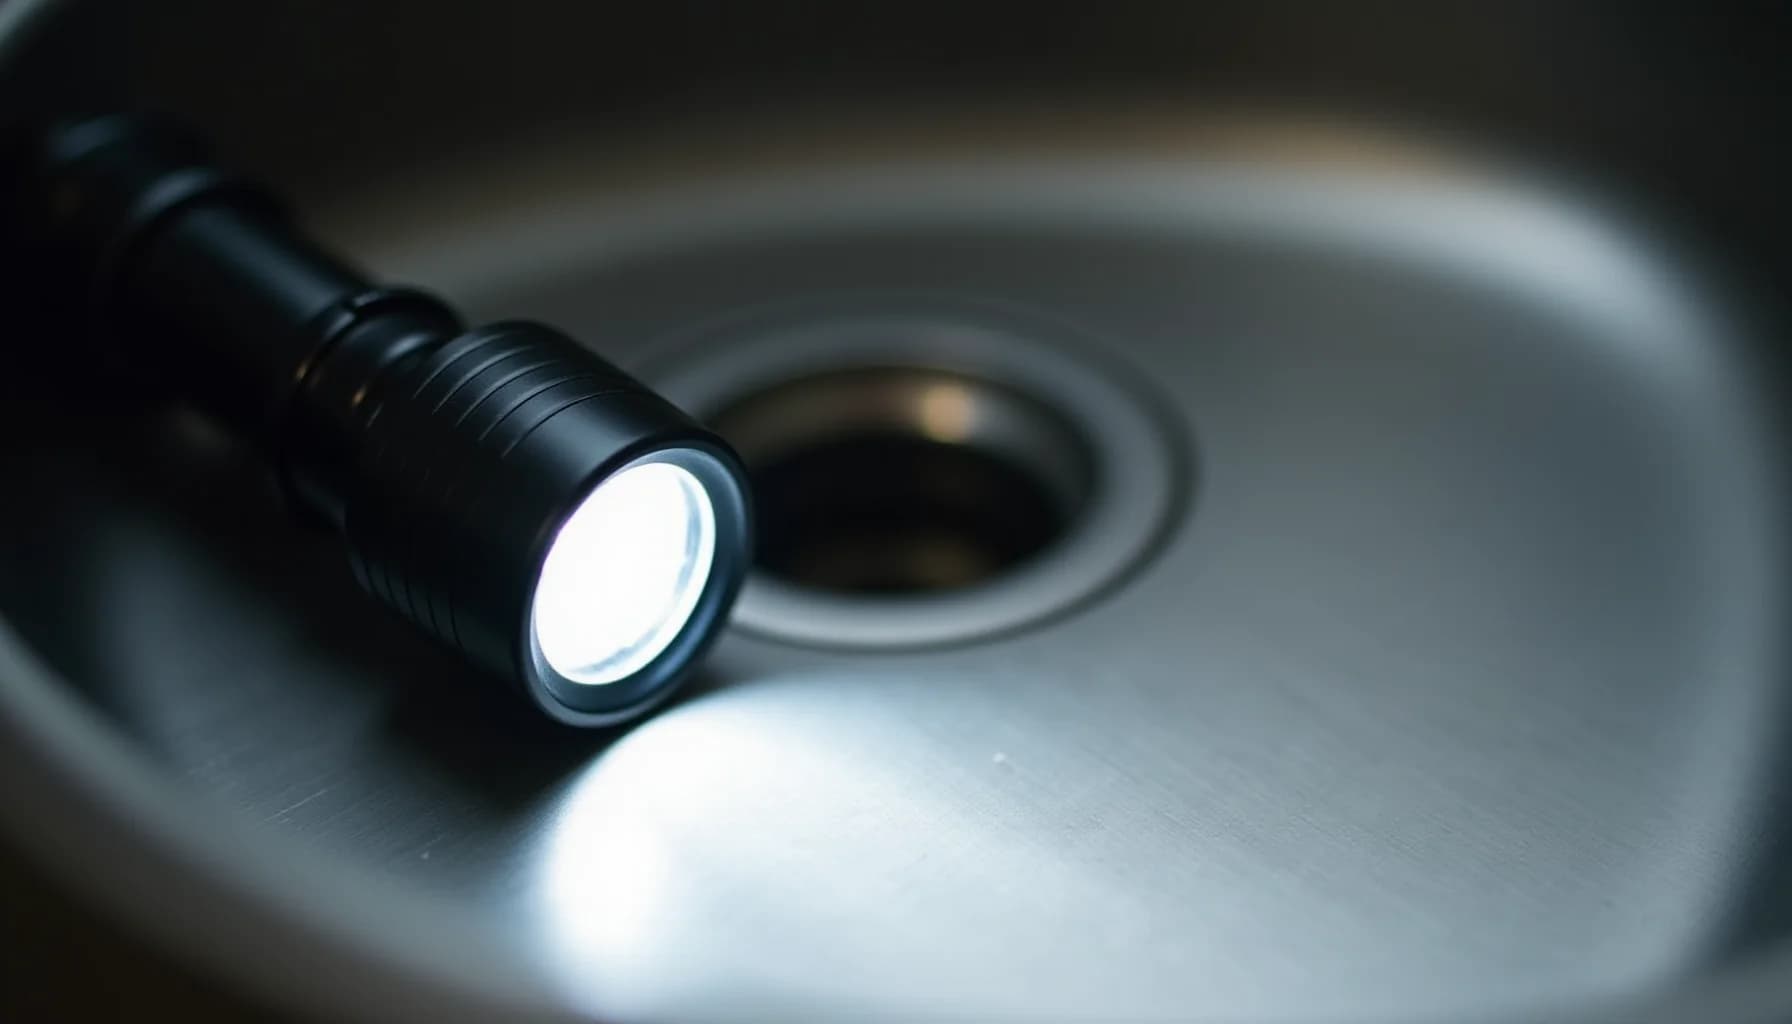
Look closely at your sink's surface in good raking light, angling a flashlight across the basin if the overhead lighting is flat. You will see faint parallel lines running either side to side or top to bottom across the steel. Those lines are the grain, a directional pattern created when the sheet metal was brushed during manufacturing. On most drop-in and undermount kitchen sinks the grain runs horizontally, but confirm it on your specific sink before you pick up a sponge.
Once you have spotted the direction, every scrub stroke has to travel parallel to those lines, back and forth or up and down, never at a diagonal or in circles. The reason is structural. Stainless steel's surface is not perfectly flat; it has microscopic ridges that run along the grain. When you wipe with the grain, your cloth or non-abrasive sponge skims over the tops of those ridges. When you wipe across them, the abrasive motion catches the sides of each ridge and drags a tiny scratch through the finish. A single cross-grain stroke is invisible to the naked eye, but repeat it every time you clean and, after several months, those micro-scratches accumulate into a dull, hazy web of fine lines. That gray, tired look many homeowners blame on hard water or age is usually nothing more than compounded cross-grain abrasion.
The same principle applies whether you are using baking soda, Bar Keepers Friend, or a microfiber cloth for a final dry. For a deeper look at identifying grain on other steel surfaces in your kitchen, finding the grain direction on stainless steel appliances follows the same method.
How often should you clean a stainless steel sink?
Clear the basin and rinse with warm water
Remove all dishes, sponges, and debris, then run warm water across every surface to flush loose food particles and grime before any cleaning product touches the steel.
Find the grain, then dust the damp surface with baking soda
Look closely for faint horizontal or vertical lines running across the sink: that is the grain direction, and every scrubbing stroke must follow it. Shake a light, even coat of baking soda over the damp basin, pressing extra powder onto greasy spots or stained areas.
Scrub strictly with the grain using a soft cloth or nonabrasive sponge
Work back and forth in short strokes that run parallel to the grain lines; never wipe across them, because cross-grain strokes leave micro-scratches that accumulate over months into a dull, hazy web. For routine buildup, a little dish soap mixed into the baking soda is enough; for stubborn water spots or grease, spray white vinegar over the baking soda, let it fizz for a few minutes, then continue scrubbing with the grain.
Rinse thoroughly, then dry immediately with a microfiber cloth
Flush away all baking soda and vinegar residue completely, since both can leave a white film or, in the case of vinegar, discolor the finish if left to sit. Dry every inch of the basin right away, because even plain water leaves spots and mineral scale if allowed to air-dry, especially in hard-water areas.
Tackle stubborn stains with a paste or a vinegar and cream of tartar mix
For weekly deep cleaning or persistent stains, make a paste of baking soda and water, apply it to the affected area, scrub gently with the grain, and rinse fully. For very tough spots, combine one cup of distilled white vinegar with a quarter cup of cream of tartar, apply, scrub with the grain, then rinse and dry at once.
Restore the shine with a few drops of olive oil or stainless polish
Once the sink is completely dry, put a few drops of olive oil or a dedicated stainless steel polish on a clean microfiber cloth and wipe in the direction of the grain: this fills in minor micro-scratches and brings back a reflective finish. Avoid bleach and any product containing chlorine or ammonia at every stage, as chlorine permanently breaks down the protective oxide layer on the steel, causing irreversible pitting corrosion.
What products and tools are safe for stainless steel sinks?
Baking soda is the workhorse of stainless steel sink care. It breaks down grease and lifts stains without scratching the metal, because its particle size is fine enough to clean but not aggressive enough to leave marks. Sprinkle it on a damp surface, scrub gently with a soft cloth or non-abrasive sponge, and it does the heavy lifting. Bar Keepers Friend is the other product worth keeping under the sink: like baking soda, it is non-abrasive and effective on stubborn buildup.
White vinegar earns a place in the routine for water spots and mineral scale. Spray it on, let it fizz for a few minutes, then rinse promptly and dry the basin. The key word is promptly. Vinegar is acidic, and leaving it sitting on the surface for an extended period can discolor the finish. Use it, rinse it off, and the sink is fine.
For disinfecting, hydrogen peroxide or rubbing alcohol are safe options. Apply, let sit for a few minutes, then rinse and dry.
The tool matters as much as the product. Always use a soft cloth, a microfiber cloth, or a non-abrasive sponge. Steel wool, wire brushes, and abrasive scouring pads are off the table entirely. Steel wool scratches the finish and, worse, leaves behind tiny iron particles that rust and create new staining problems on top of whatever you were trying to fix.
Three product categories cause real, permanent damage and belong nowhere near a stainless steel sink: chlorine bleach (including any cleaner that lists sodium hypochlorite as an ingredient), ammonia-based cleaners, and harsh scouring powders. For a full breakdown of why chlorine bleach in particular is so destructive, the chemistry behind bleach and permanent pitting corrosion is worth understanding before you reach for any disinfecting product.
A few common household remedies, dish soap, baking soda, and vinegar, occasionally leave a white film residue if the sink is not rinsed thoroughly afterward. That is a technique problem, not a product problem. Rinse completely and dry with a microfiber cloth after every cleaning session and the residue issue disappears.
How do you deep clean a stainless steel sink with baking soda, dish soap, and vinegar?
Start by clearing everything out of the sink and rinsing the basin with warm water to flush loose food debris down the drain. This takes about thirty seconds and makes every subsequent step more effective.
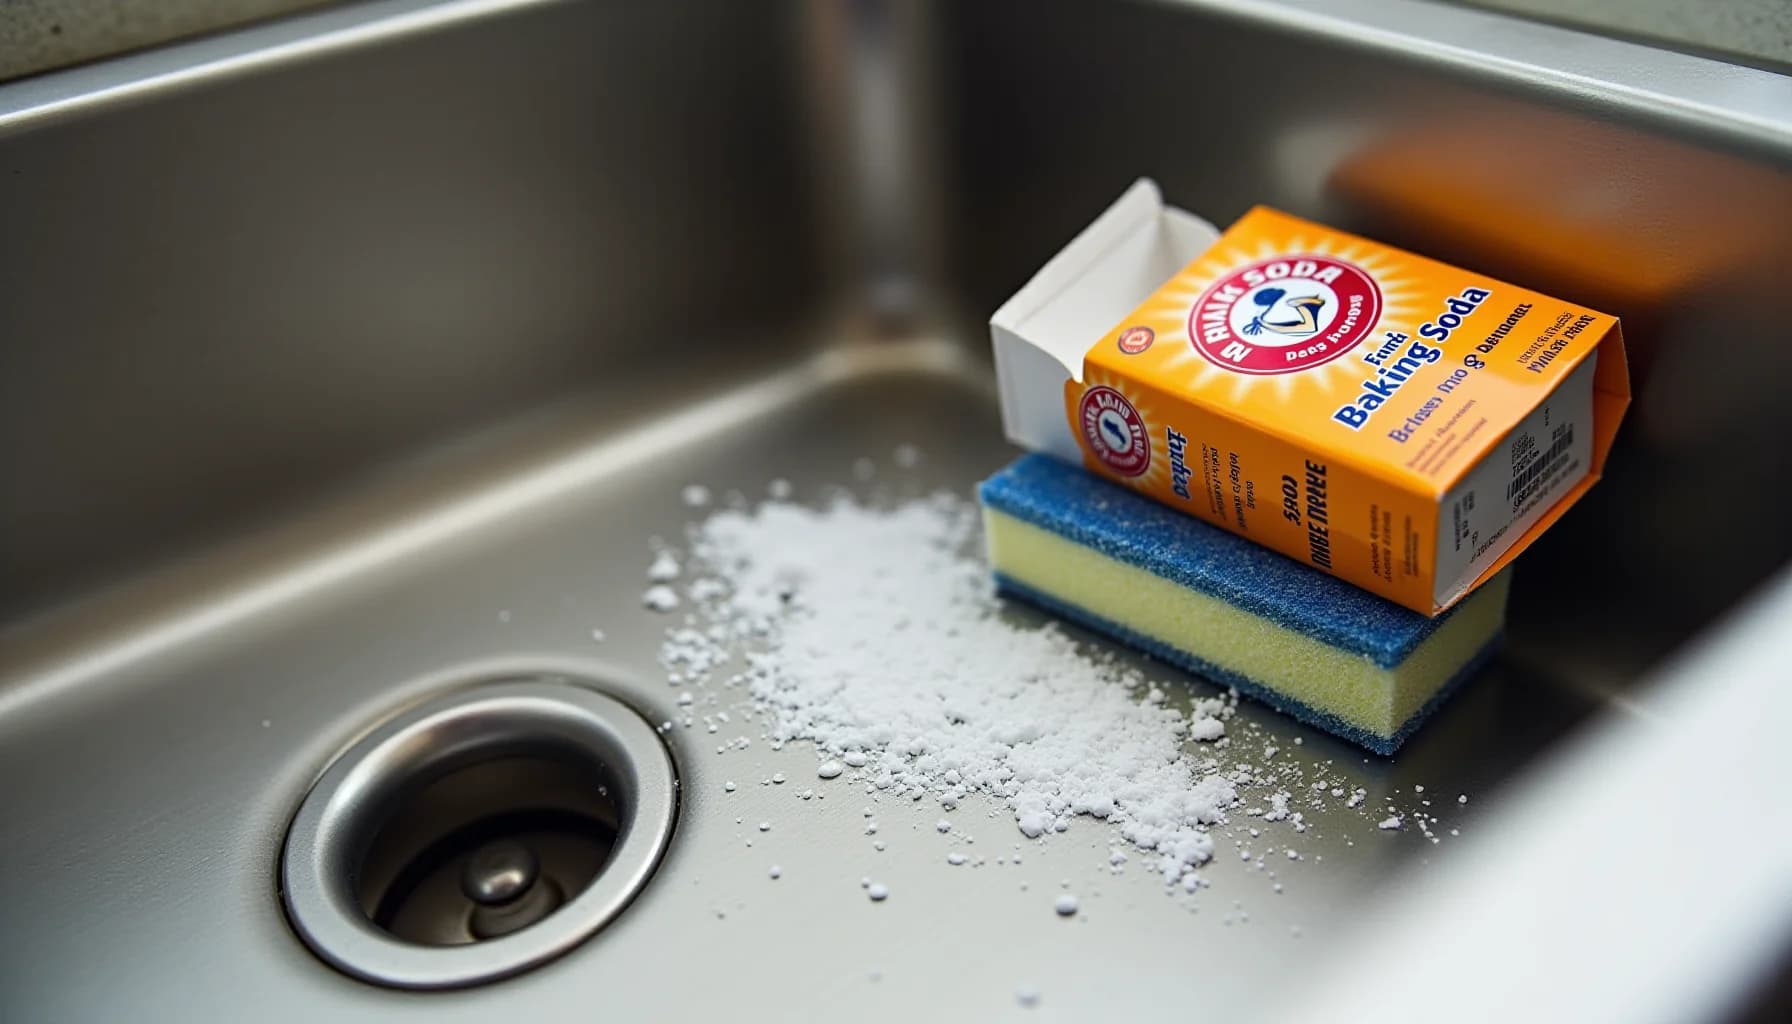
Next, while the surface is still damp, shake a generous layer of baking soda directly into the basin. Baking soda is mildly abrasive enough to lift grease and staining but won't scratch the steel. Add a small squeeze of dish soap to the baking soda for extra grease-cutting power on heavily used sinks. Using a soft cloth or non-scratch sponge, scrub the paste into the steel. Here is where technique matters more than product: before you scrub a single stroke, confirm which direction the grain runs. The grain appears as faint parallel lines running either horizontally or vertically across the basin. Every scrubbing stroke must follow those lines, not cross them. If you're unsure how to read those lines, the guide on how to find the grain direction on stainless steel walks through it in detail.
Once you've worked the baking soda paste across the entire surface, spray white vinegar directly over it. The mixture will fizz; that reaction helps lift mineral deposits and loosens whatever the baking soda has already loosened. Let it sit for two to three minutes, then scrub once more, again strictly with the grain.
Rinse thoroughly with warm water. This step is critical: leftover baking soda dries into a white film, and residual vinegar, if left on the surface, can begin to dull the finish over time. Rinse until the water runs completely clear.
Finally, dry the entire basin with a clean microfiber cloth. Don't leave the drying to air alone. Residual water, especially in hard-water areas, leaves mineral spots that compound into scale over weeks. A dry sink after every clean is the difference between a sink that stays bright and one that slowly goes chalky.
Why does your stainless steel sink still look spotted after cleaning?
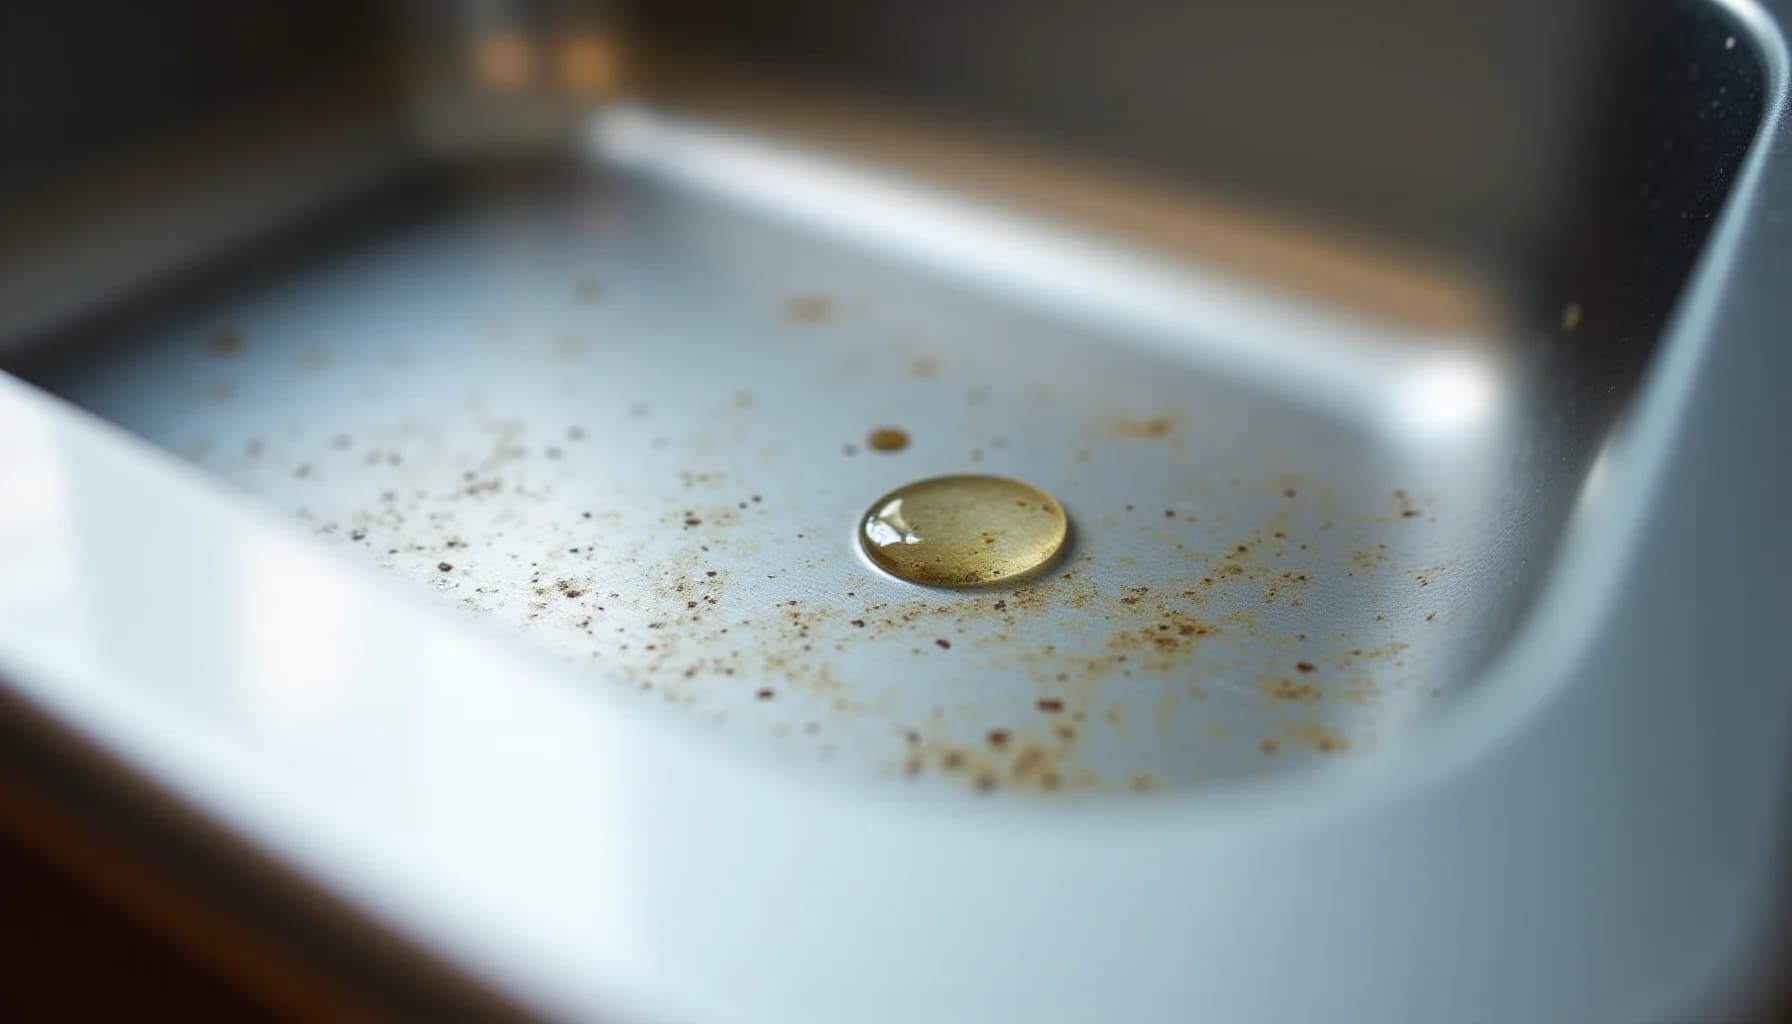
The culprit is almost always water left to dry on its own. Every drop that sits in the basin carries dissolved minerals, and when the water evaporates, those minerals stay behind as a white, chalky film. In hard water areas, where mineral concentrations are higher, this happens faster and the deposits bond more stubbornly to the steel surface. A sink that gets wiped dry after each use simply never gives those minerals the chance to settle.
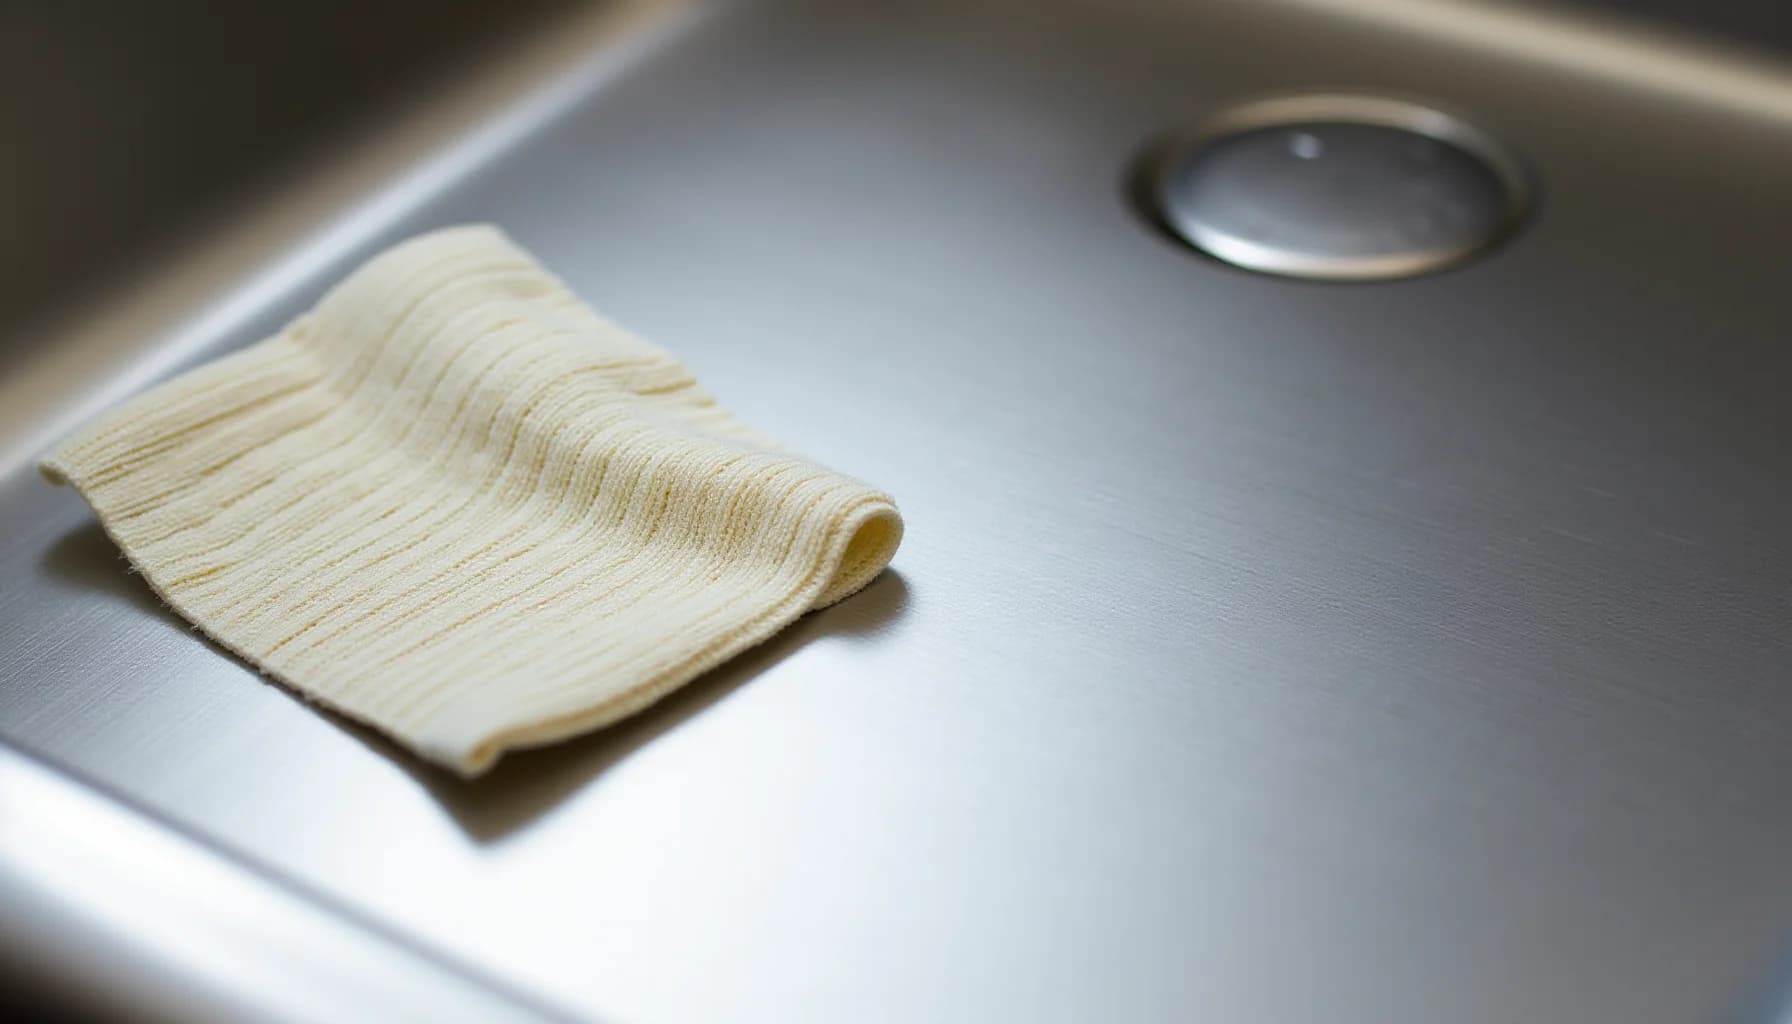
The fix is unglamorous but effective: keep a dedicated microfiber cloth on the counter and run it across the entire basin after you rinse, paying particular attention to the flat bottom where water pools. A microfiber cloth is worth choosing deliberately here, because it pulls moisture away rather than just pushing it around, and it won't leave lint or scratch the finish the way a paper towel can.
Skipping this step once or twice won't ruin anything, but if you let spots accumulate over weeks, they gradually etch into the steel's surface in a way that requires actual scrubbing to reverse. At that point you're spending ten minutes removing what thirty seconds of drying would have prevented. If the scale buildup has become so thick that it won't shift after two rounds of white vinegar and light scrubbing, and you're tempted to reach for something harsher, stop. Aggressive chemical treatments at that stage risk the finish more than the scale does. A plumber or kitchen restoration specialist can assess whether a professional descaling treatment is the safer path forward.
Frequently asked questions
Can I use bleach to clean my stainless steel sink?
How do I know which direction the grain runs on my sink?
How often should I clean my stainless steel sink?
Why does my stainless steel sink look dull even after I clean it?
How do you disinfect, restore shine, and remove stubborn stains without bleach?
Bleach is off the table entirely for disinfection, but that leaves two reliable options. Spray the basin with hydrogen peroxide (standard 3% from the drugstore), let it sit for a few minutes, then rinse and dry. Alternatively, wipe the surface down with rubbing alcohol, give it the same brief dwell time, then rinse. Both approaches kill pathogens without attacking the chromium oxide layer that keeps stainless steel corrosion-resistant. For a fuller breakdown of which disinfectants are genuinely safe here, see which cleaners are safe on stainless steel.
Stubborn water spots and mineral buildup respond well to white vinegar, but technique matters more than people expect. Spray it on, let it fizz for two to three minutes, then rinse immediately and dry completely. Do not walk away and forget it. Prolonged acid contact can discolor the finish. For truly set-in scale, mix one cup of distilled white vinegar with a quarter cup of cream of tartar into a paste, apply it, scrub gently with the grain, and rinse thoroughly.
Shine restoration is straightforward once the sink is clean and fully dry. Put a few drops of olive oil on a microfiber cloth and wipe in the direction of the grain. The oil fills micro-scratches and brings the reflective finish back without any specialist product. Make this a weekly habit after your deep clean and the sink will consistently look far newer than its age.
How this article was made
Researched and written with AI assistance. What gets published is a human editorial decision. Grounded in 8 cited sources.
Edited by Claire Mercier, Editor. The guides are written with AI assistance.
Sources (8)
- For Safety, Stainless Steel Kitchen Sinks Clean Best
- How to Clean a Stainless Steel Sink | Simple Green | US
- The Easy Way To Clean A Stainless Steel Sink | Young House Love
- How to Clean a Stainless Steel Sink - Bob Vila
- How to Clean & Care for Stainless Steel Sinks | Sterling Plumbing
- The Best Guide on How to Clean a Stainless Steel Sink Effortlessly - Ruvati USA
- How To Properly Clean A Stainless Steel Sink | Champia
- How to clean a stainless steel sink in 7 easy steps