How to Clean a Kitchen Sink and Keep It That Way
Part of Kitchen Sinks & Steel · article 5 of 7
On this page
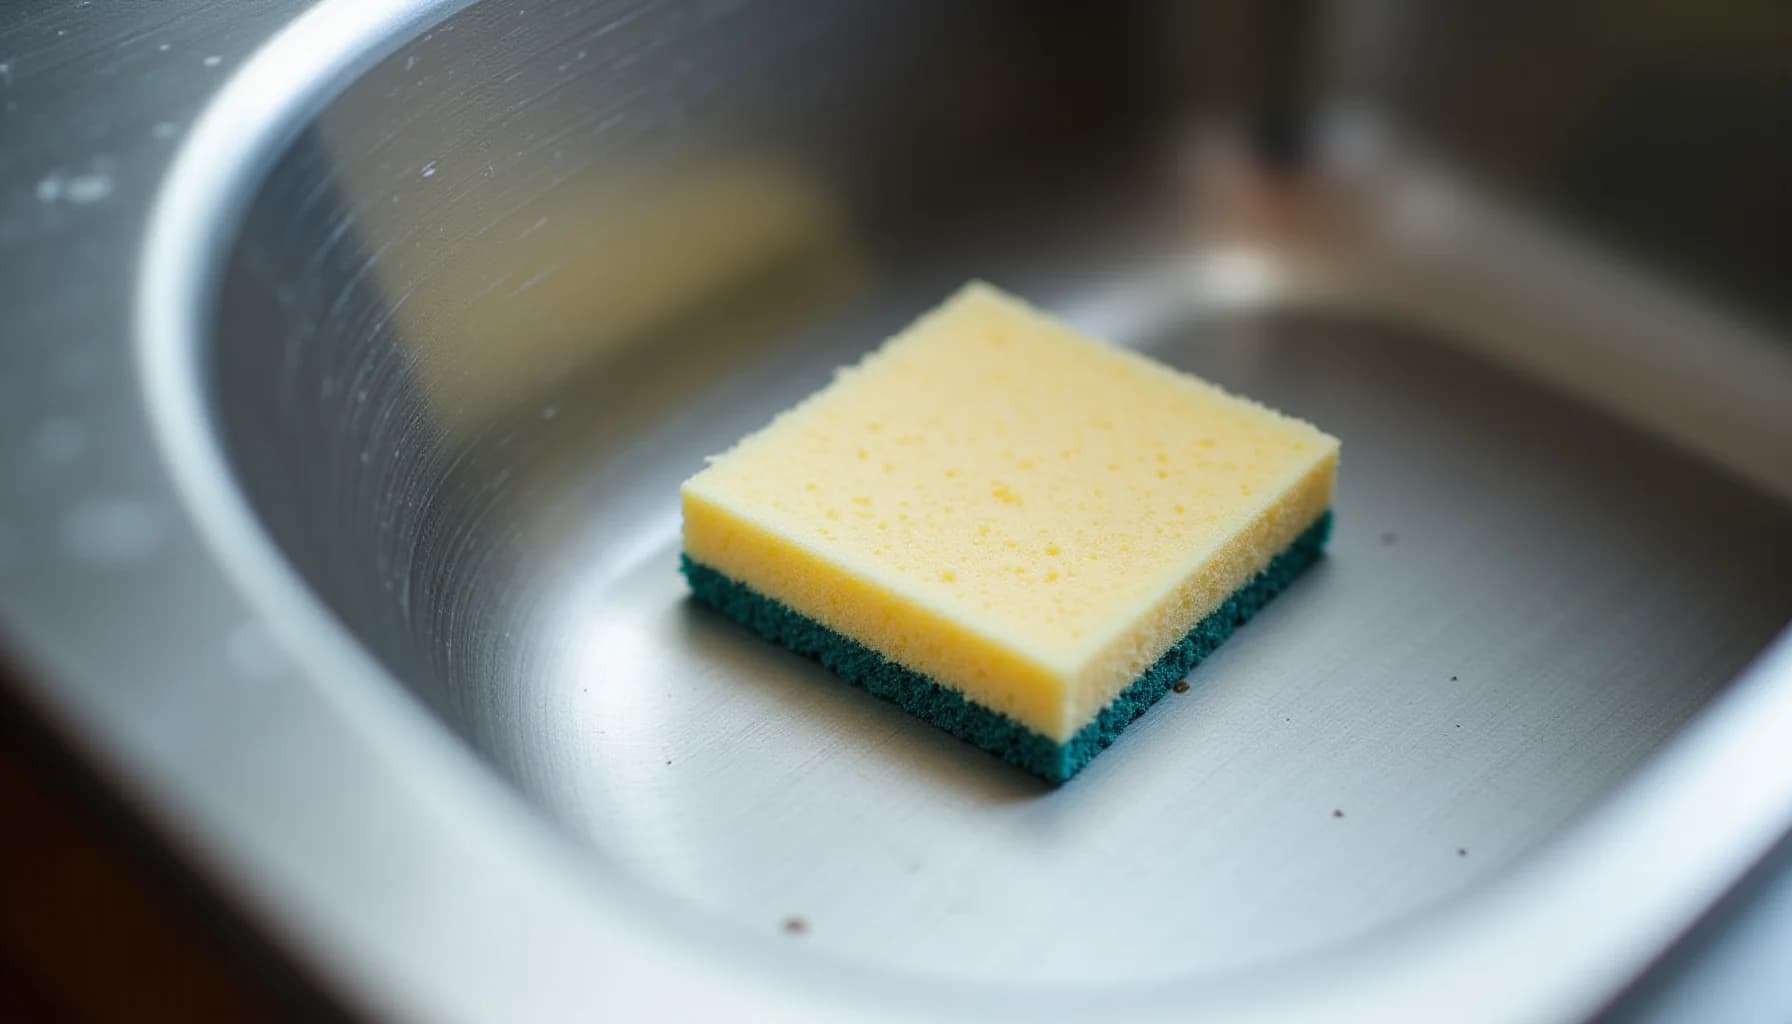
Scrub your kitchen sink weekly with dish soap and a soft sponge, rinse thoroughly, then dry it with a cloth to stop water spots and mineral buildup from forming. For stainless steel sinks, a paste of baking soda and a few drops of dish soap works well; apply it, scrub with the grain of the metal, and rinse clean. If you want a deeper clean, stainless steel sinks have specific needs worth knowing before you reach for the wrong product. Avoid steel wool, abrasive scrubbing pads, and bleach, which pit and discolor stainless steel permanently. For porcelain or composite sinks, Bar Keepers Friend powder is effective on staining but should not sit on the surface longer than a minute.
What supplies and cleaners do you need for your sink material?
Your supply list should change depending on what your sink is made of, because the wrong cleaner on the wrong material causes permanent damage, not just a bad shine.
Stainless steel sinks respond well to a few drops of dish soap and warm water for daily cleaning, with Bar Keepers Friend (the powder form) kept on hand for stubborn mineral deposits and staining. Avoid steel wool pads entirely; use a soft microfiber cloth or a non-scratch nylon scrub pad instead. Bleach is off the table: it permanently pits the surface. If you want a full breakdown of what's safe and what isn't, which cleaners are safe on stainless steel covers every common product type.
Porcelain and cast iron sinks need gentle abrasives only. Powdered cleaners like Bon Ami work without scratching the glaze. Avoid anything containing hydrochloric acid, which strips the enamel. A soft-bristle brush handles the basin; a toothbrush-size scrubber reaches the drain rim.
Composite granite sinks are porous and stain easily. Stick to pH-neutral dish soap for routine cleaning and a dedicated composite sink cleaner (Stone Care International makes one) for deeper work. Mineral oil applied monthly helps repel water spots.
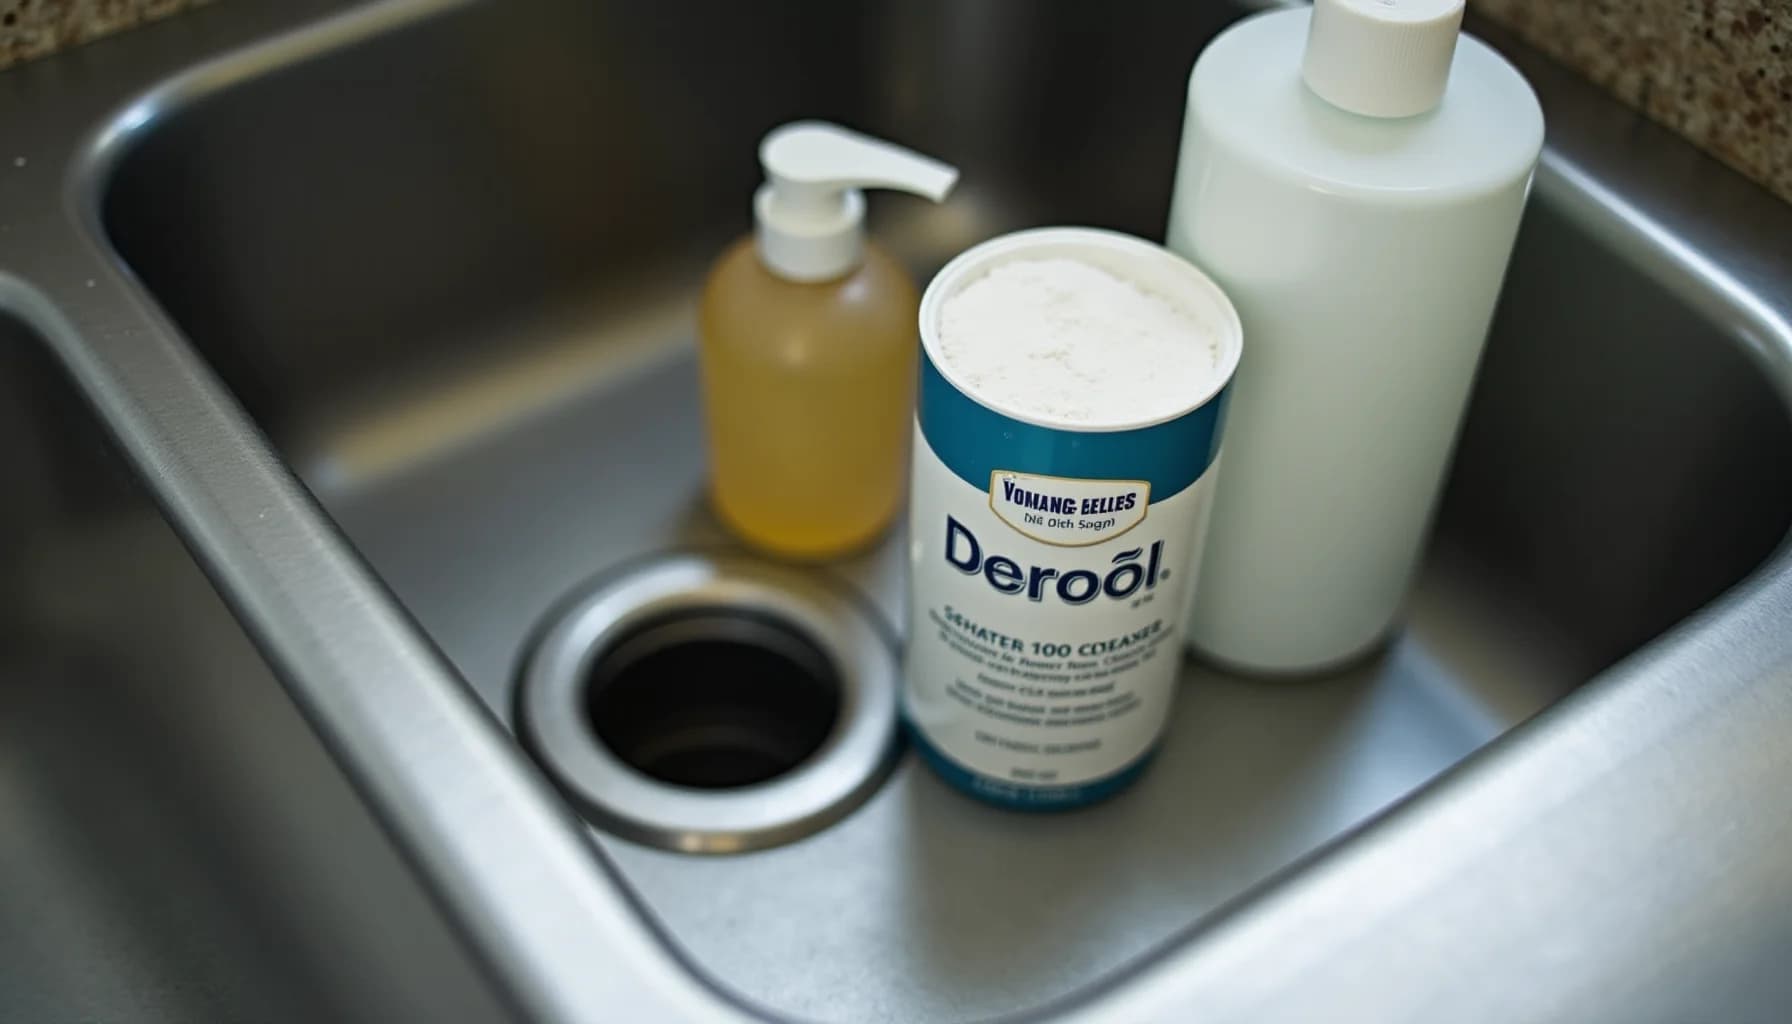
Across all materials, keep these on hand: dish soap, white vinegar (diluted 50/50 with water for hard water buildup), baking soda, non-scratch scrub pads, microfiber cloths, and an old toothbrush for the faucet base and drain edges. Buy the specialty product for your sink material and use everything else as a supporting cast.
How do you prep your sink before deep cleaning?
Clear and rinse the sink
Remove all dishes, sponges, and debris from the sink, then rinse the basin with hot water to loosen surface grime and food particles.
Scrub with baking soda
Sprinkle a generous layer of baking soda across the basin and scrub in circular motions using a non-scratch sponge, paying extra attention to the drain area and corners.
Disinfect with a vinegar spray
Fill a spray bottle with undiluted white vinegar and coat the entire sink surface, letting it fizz with the baking soda residue for 5 minutes before rinsing thoroughly with hot water.
Clean the faucet and hardware
Dampen a microfiber cloth with a small amount of dish soap and water, wipe down the faucet, handles, and base, then dry immediately to prevent water spots and mineral buildup.
Clear and deodorize the drain
Pour half a cup of baking soda followed by half a cup of white vinegar down the drain, wait 10 minutes, then flush with a full kettle of boiling water to break up grease and neutralize odors.
Maintain the sink daily
Rinse the basin after each use, wipe it dry with a clean cloth, and do a full scrub once a week to prevent soap scum, stains, and bacteria from building up over time.
How do you scrub away stains and buildup from the basin, sides, and bottom?
Start with the basin floor, since that's where grease, soap scum, and food residue collect most heavily. Sprinkle a generous amount of baking soda directly onto the wet surface, enough to coat it in a thin, even layer, then work it in with a non-scratch scrub pad or a soft-bristle brush using small circular strokes. The mild abrasive action lifts buildup without gouging the finish, whether you're working with stainless steel, porcelain, or composite. For stainless steel sinks in particular, always check the grain direction before scrubbing; cleaning with the grain on stainless steel prevents fine scratches from forming across the surface.
Once the basin floor looks clear, move up the sides. The vertical walls of a kitchen sink collect the same mix of soap residue and hard water minerals but are easier to miss because they're less visible. Apply the same baking soda paste or a drop of dish soap to your scrub pad and work from the rim downward, letting gravity carry loosened debris toward the drain. Pay close attention to the corners where the sides meet the basin floor; buildup tends to pack in there and harden over time.
For stubborn stains, mineral deposits, or discoloration that baking soda alone won't shift, saturate a cloth or paper towel with undiluted white vinegar and lay it directly over the affected spot for 10 to 15 minutes. The acidity breaks down the mineral crust, after which a firm scrub with your pad should clear it cleanly. Rinse thoroughly with warm water so no vinegar residue is left to sit on the surface.
Avoid steel wool, rough abrasive powders, and any pad labeled for heavy-duty use. These strip protective finishes on porcelain and create micro-scratches on stainless steel that trap future grime and speed up corrosion.
How do you clean and unclog the kitchen sink drain and stopper?
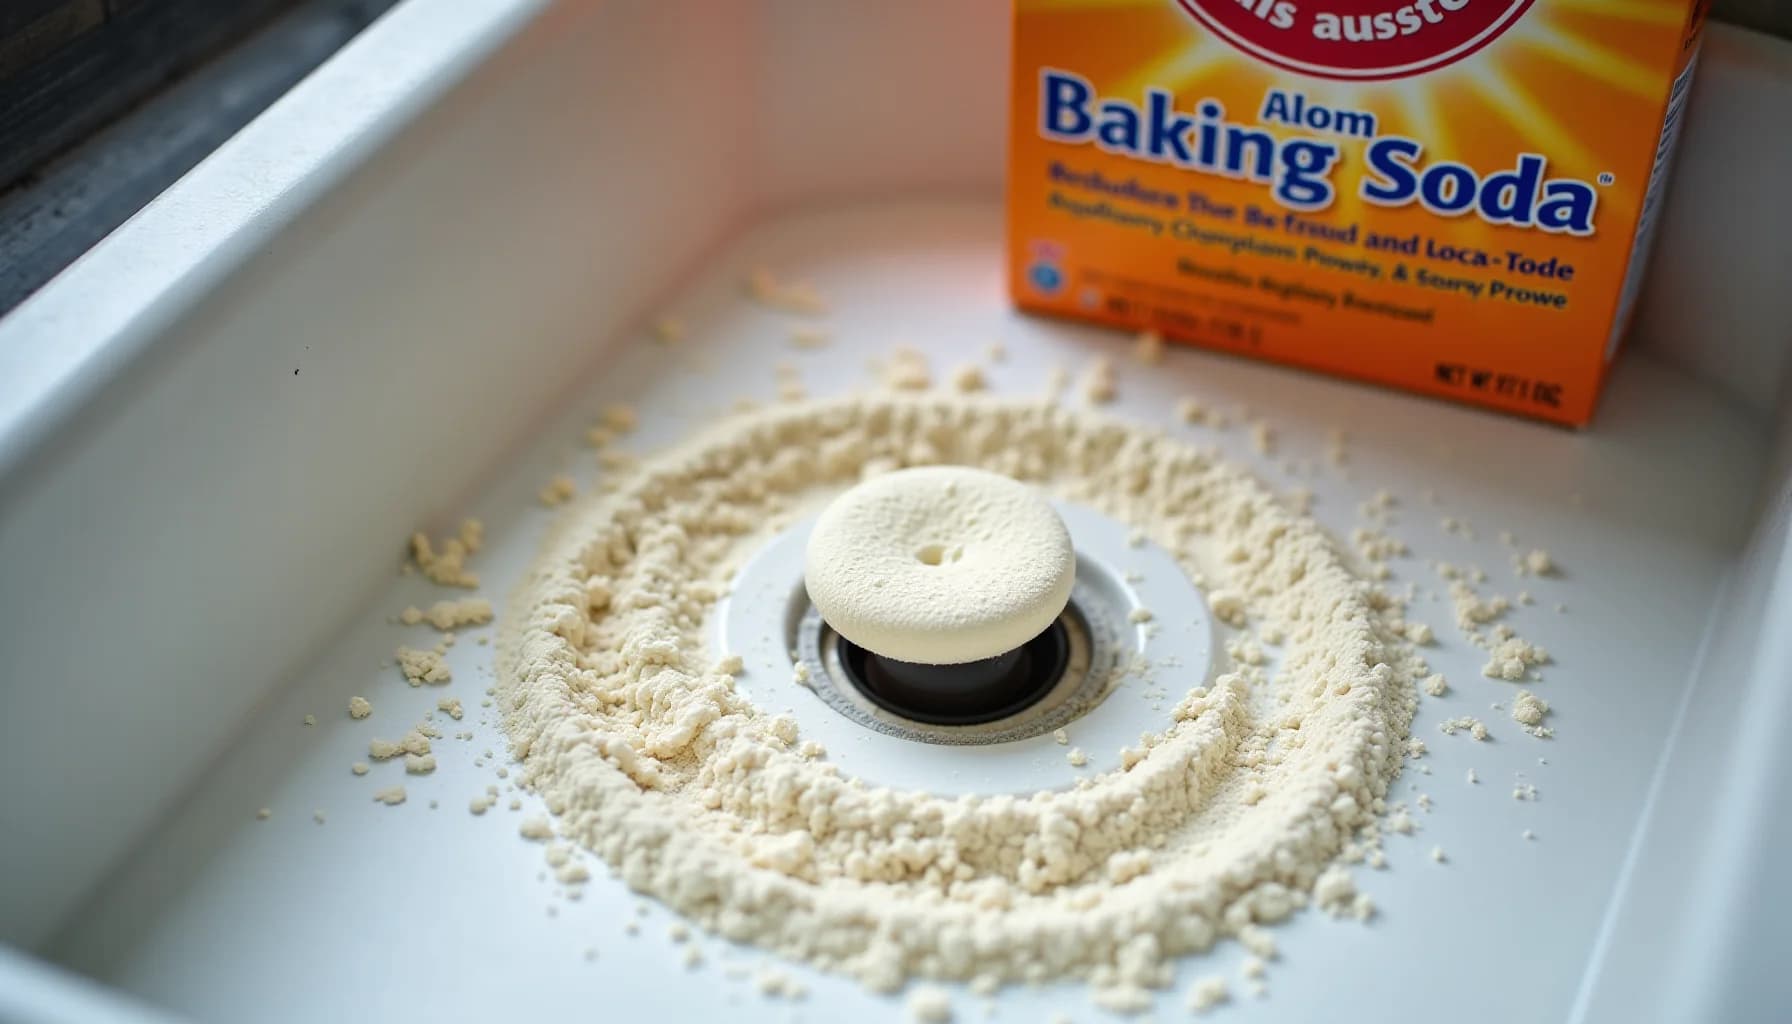
Start with the stopper, because it collects the most grime and is the easiest part to overlook. Pull it out, then use an old toothbrush to scrub off the hair, soap scum, and grease that cling to the shaft and the underside of the cap. Rinse it thoroughly before setting it aside.
Next, treat the drain opening itself. Pour ½ cup of baking soda directly down the drain, followed slowly by ½ cup of white distilled vinegar. The fizzing reaction breaks up light grease deposits and deodorizes at the same time. Cover the drain opening with a rag or stopper for five minutes to keep the reaction working inside the pipe rather than bubbling back up, then flush with the hottest tap water you can run for at least 30 seconds.
For a partial clog that baking soda and vinegar cannot shift, try a drain snake before reaching for liquid drain cleaners. A hand-cranked 25-foot snake costs under $30 at any hardware store and can reach the P-trap and beyond. Feed it slowly, turn the handle when you feel resistance, and pull the clog out rather than pushing it deeper. Chemical drain openers are a last resort: many contain sodium hydroxide at concentrations corrosive enough to damage older pipes with repeated use, and they do nothing for a fully blocked drain.
Once the drain is clear, clean the drain cover or strainer basket. Soak it for 10 minutes in a small bowl of hot water mixed with a squirt of dish soap, then scrub with the toothbrush. A buildup of mineral deposits around the drain rim responds well to a cloth soaked in undiluted white vinegar held against the area for a few minutes before scrubbing.
How do you sanitize and deodorize your kitchen sink after scrubbing?
Once the scrubbing is done, the sink still needs sanitizing. A clean-looking surface is not a sanitized one. Spray the entire basin, including the sides and the drain collar, with undiluted white vinegar and let it sit for five minutes. Vinegar lowers the surface pH enough to kill a significant share of common bacteria without leaving any residue that touches your food prep.
After rinsing the vinegar away, sprinkle about two tablespoons of baking soda directly into the drain and follow it with half a cup of white vinegar. The fizzing reaction breaks up the organic film clinging to the pipe walls just below the drain opening, which is usually the actual source of persistent sink odor. Let it work for ten minutes, then flush with the hottest tap water you can run.
Two mistakes cause serious harm at this stage. First, never mix bleach with vinegar or any acid-based cleaner in the basin at the same time. The combination releases chlorine gas at concentrations that can cause lung injury in an enclosed kitchen. If you choose to use a diluted bleach solution on a porcelain or composite sink instead of vinegar, rinse the basin completely before switching products. Second, if your sink is stainless steel, read why bleach permanently pits stainless steel before reaching for that bottle: the damage is chemical and cannot be polished out.
If odor returns within 24 hours after this treatment, the source is likely a failing drain trap or biofilm deeper in the drain line. That is the point to stop and call a licensed plumber.
Frequently asked questions
What is the best everyday cleaner for a kitchen sink?
How do I get rid of stains in a stainless steel sink?
How often should I deep clean my kitchen sink?
How do I keep my sink drain from smelling bad?
How do you dry and polish a kitchen sink to prevent buildup?
Moisture is the root cause of most sink buildup, so drying the basin after each use is the single most effective habit you can build. Keep a dedicated microfiber cloth folded near the sink and spend ten seconds wiping down the basin, rim, and faucet base before you walk away. That one step prevents the water spots, soap scum rings, and mineral deposits that accumulate into a visible mess over days.
Once a week, go a step further. After your regular cleaning, apply a small amount of mineral oil or a dedicated stainless steel polish to a soft cloth and buff it across the basin following the grain of the steel. If you're unsure which direction the grain runs, finding the grain direction on stainless steel takes about thirty seconds and prevents the micro-scratches that come from rubbing the wrong way. A thin oil layer leaves a light barrier that causes water to bead and roll toward the drain rather than sit and evaporate into deposits.
Pay extra attention to the area around the drain and the caulk line where the sink meets the counter. These spots trap standing water longest and show buildup first. Wiping them dry weekly costs almost nothing but keeps the whole sink looking consistently clean rather than requiring a heavy scrub every time company comes over.
How this article was made
Researched and written with AI assistance. What gets published is a human editorial decision. Grounded in 8 cited sources.
Edited by Claire Mercier, Editor. The guides are written with AI assistance.
Sources (8)
- FCS%20News%20 %20April.May%202023
- How to Clean a Kitchen Sink | Dawn
- How to Clean Your Kitchen Sink & Drain in 5 Steps
- How to Clean Your Kitchen Sinks and Drains - Complete Guide
- The Easy Way To Clean A Stainless Steel Sink | Young House Love
- How to Clean and Maintain a Kitchen Sink | BLANCO
- Kitchen Sink Smell Bad? Try This 3-Step Hack to Fix It Instantly
- www.nbcnews.com