How to Clean a Kitchen Sink Drain: What Actually Works
Part of Kitchen Sinks & Steel · article 6 of 11
On this page
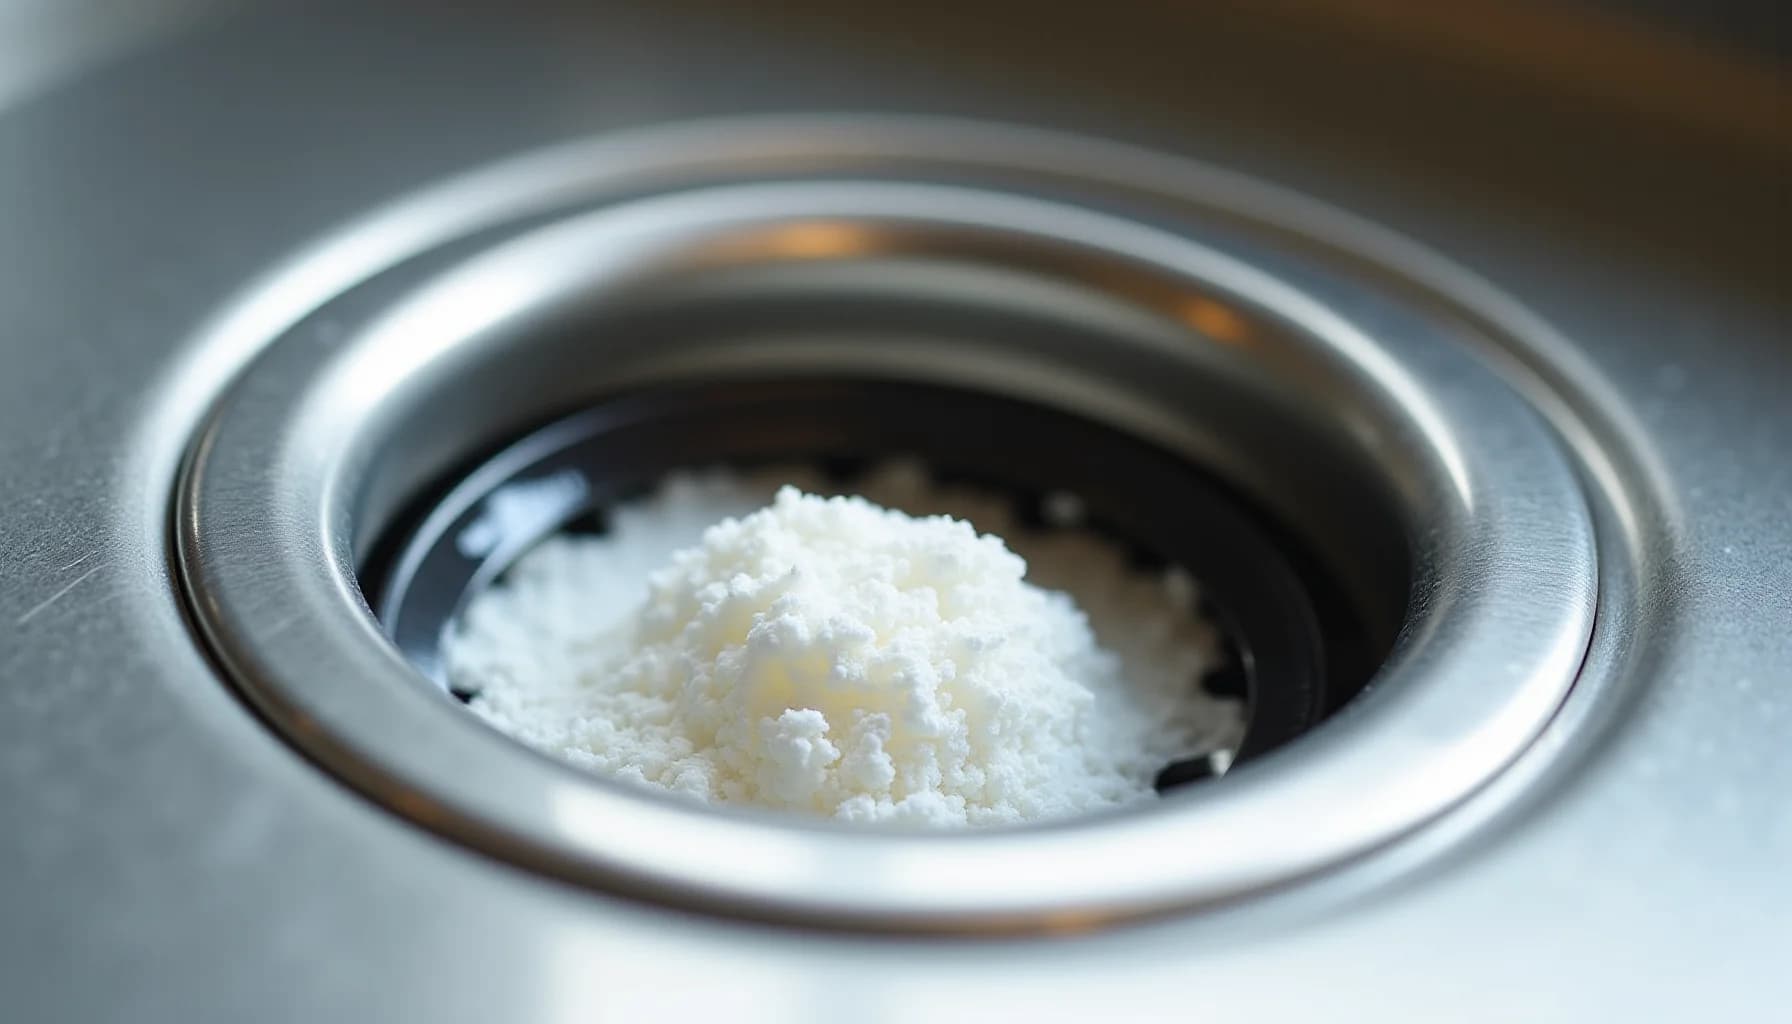
Pour half a cup of baking soda down the drain first, wait a few minutes, then follow with half a cup of white vinegar. The order matters: adding them together neutralizes both ingredients and kills the cleaning effect. Once the fizzing settles, flush with hot tap water. This combination handles minor grease buildup and surface-level soap scum within roughly the first 18 inches of pipe. Beyond that depth, it loses its effectiveness.
Skip bleach entirely. It does not dissolve grease, hair, or food particles, and it is hard on pipes. Chemical drain cleaners such as lye-based products carry similar risks: the heat they generate during the reaction can soften PVC pipes and weaken joints with repeated use. Boiling water shifts grease temporarily but can cause it to re-solidify further down the line, and repeated pours risk warping plastic fittings. For surface grime rather than a clog, a weekly hot-water flush paired with monthly baking soda and vinegar treatments keeps most drains running cleanly. Stubborn blockages that do not respond to these steps need a drain snake or a plumber, not a stronger chemical.
What causes kitchen sink drain buildup, and how often should you clean it?
The main culprits are grease, food particles, soap residue, and, in households where the kitchen sink doubles as a utility basin, hair. Grease is particularly persistent: it flows easily in hot water but cools and solidifies on pipe walls, creating a sticky layer that traps food debris and soap scum over time. That accumulated layer narrows the pipe opening, slows drainage, and eventually produces the sour, stagnant smell that signals a drain that needs attention.
How quickly buildup happens depends entirely on how the sink gets used. A household that rinses dishes, drains pasta water, and runs a garbage disposal several times a day will accumulate residue far faster than one with lighter kitchen traffic. Cooking habits matter too. Frying regularly, washing greasy pans directly in the sink, or letting food scraps slip past the strainer all accelerate buildup.
A practical maintenance schedule has two tiers. Once a week, run hot (not boiling) water through the drain for 30 to 60 seconds after washing up, which flushes loose debris before it has a chance to bond to pipe walls. Once a month, do a deeper clean using baking soda and vinegar or another targeted method. If your kitchen sink sees heavy daily use, monthly deep cleaning may need to become bi-weekly.
The single most effective preventative tool costs almost nothing: a mesh sink strainer that sits over the drain opening. It intercepts food particles before they enter the pipe, cutting the rate of buildup dramatically and reducing how often deeper cleaning is necessary.
Which cleaning method works best for your type of clog?
Remove the strainer and clear visible debris
Lift out the sink strainer or stopper and remove any food particles, grease, or buildup by hand or with a paper towel. This prevents loose debris from being pushed deeper into the pipe during cleaning.
Flush with hot tap water weekly
Run the hottest water your tap produces for 30 to 60 seconds to help shift minor grease buildup near the drain opening. Avoid using boiling water, especially if your pipes are PVC, as repeated exposure to boiling temperatures can soften the pipe material and weaken joints over time.
Apply baking soda first, then vinegar separately
Pour half a cup of baking soda directly into the drain, let it sit for a few minutes, then follow with half a cup of white vinegar. Adding them at the same time neutralizes both ingredients and reduces their effectiveness, so the sequential order matters.
Trap the fizzing reaction and wait
Immediately place a stopper or cloth over the drain opening after adding the vinegar, so the carbon dioxide gas produced by the reaction builds pressure against any soft organic buildup, such as soap scum or light grease, within the first 18 inches of pipe. Let the mixture sit for 15 to 20 minutes, then flush with hot tap water.
Use a plunger or drain snake for blockages that remain
If water still drains slowly, work a cup plunger over the drain with short, firm strokes to dislodge the clog mechanically. For blockages the plunger cannot reach, a handheld drain snake threaded into the pipe can physically break up or retrieve the obstruction.
Clean a garbage disposal with ice, salt, and baking soda
Fill the sink with hot soapy water, unstop the drain, and run the disposal; then add 1 cup of ice and half a cup of salt and run the disposal again. Turn it off, add half a cup of baking soda, let it sit for an hour, follow with half a cup of vinegar, then run cold water while running the disposal for one final minute.
How do you use baking soda and vinegar to clean a kitchen sink drain?
The single most important thing to understand before starting is this: do not mix the baking soda and vinegar together before you pour them in. Combining them at the same time neutralizes both ingredients and kills the cleaning reaction before it can do anything useful. The method only works when they are applied one after the other, in sequence.
Start by boiling a kettle of water and carefully pouring it down the drain to loosen any surface grease sitting near the opening. Follow that immediately with half a cup of baking soda. Push it down toward the drain opening and let it sit for five minutes so it can begin working against residue coating the pipe walls.
Next, mix half a cup of white vinegar with half a cup of hot water, then pour that mixture directly down the drain on top of the baking soda. The two ingredients will react as they meet inside the pipe, producing a foaming, carbon dioxide-releasing reaction. Quickly place a drain stopper or a folded cloth tightly over the drain opening. This step matters: trapping the gas builds pressure inside the pipe, which is what actually helps dislodge the soft organic buildup. Let the mixture work for 15 to 20 minutes.
After the wait, remove the stopper and flush the drain thoroughly with another full kettle of hot water. This rinses away the loosened material and clears out the baking soda and vinegar residue.
For routine monthly maintenance, one round is usually sufficient. If you are dealing with a slow drain that has gradually worsened over several weeks, you can repeat the process a second time before moving to a mechanical solution.
Keep in mind that this method is most reliable for soft buildup, such as grease and soap scum, sitting within roughly 18 inches of the drain opening. Deeper blockages or anything involving solid debris will not respond to this approach.
Can boiling water and chemical drain cleaners damage your pipes?
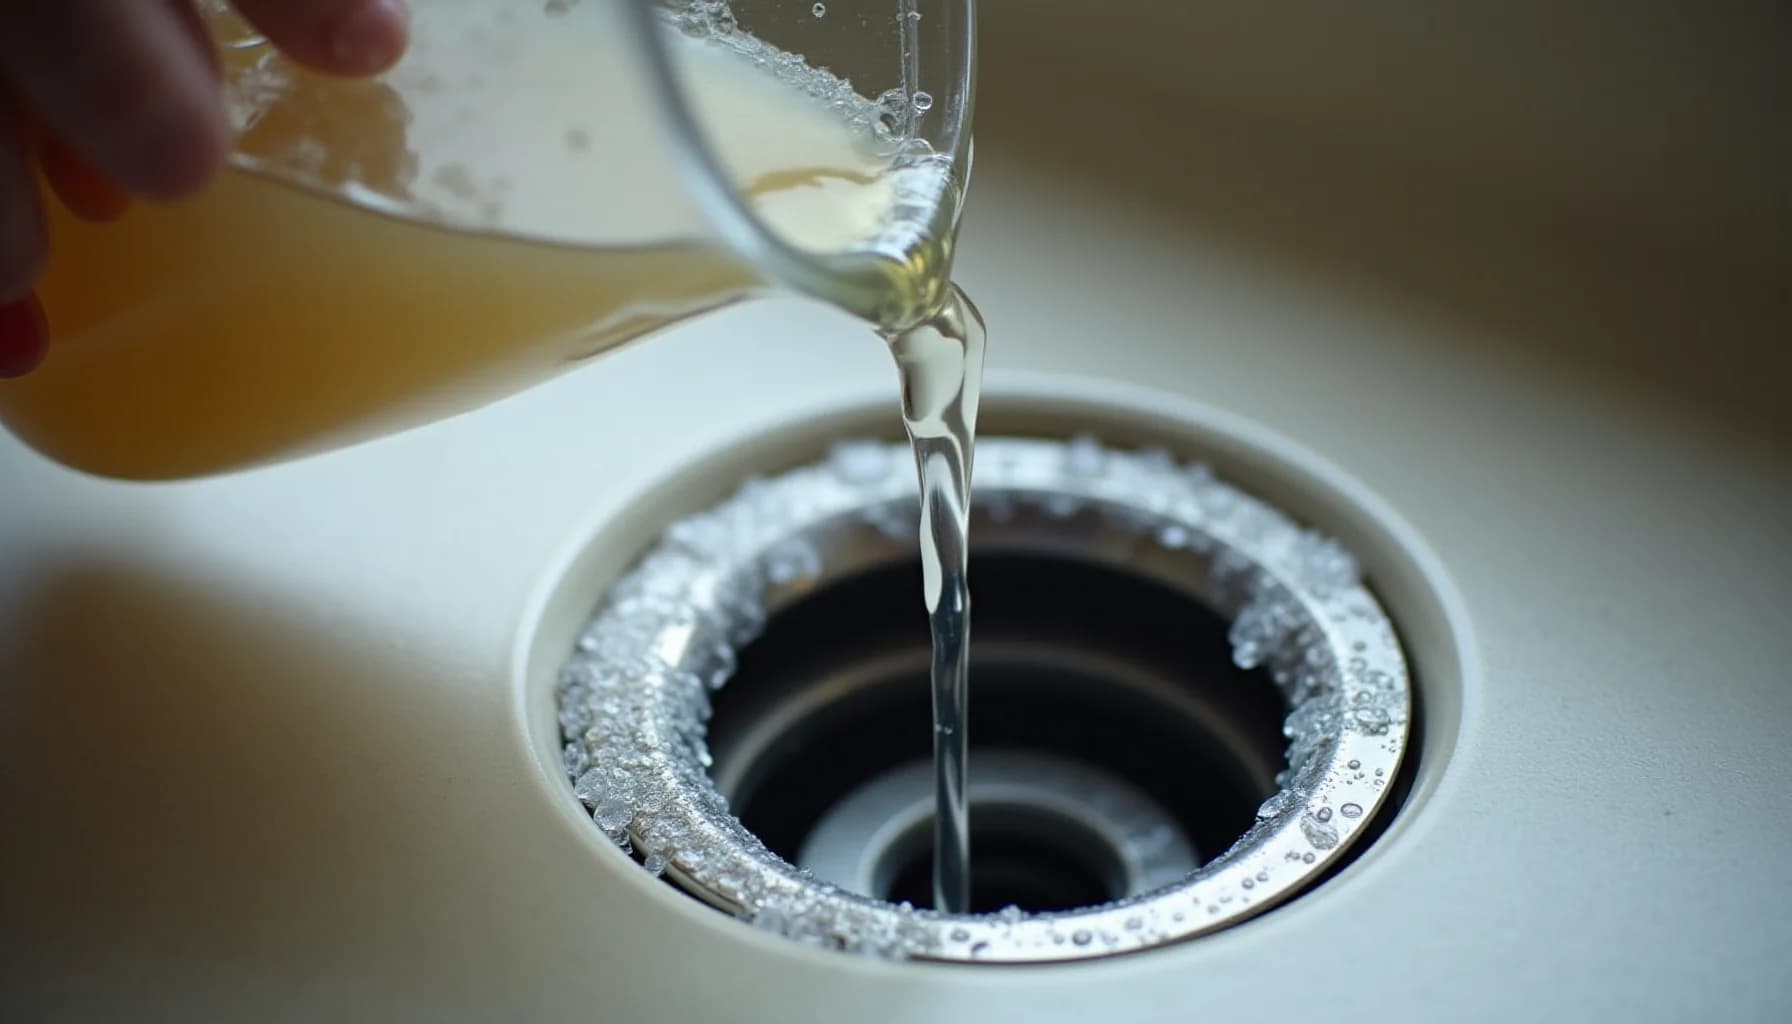
Both boiling water and chemical drain cleaners carry real risks that most homeowners underestimate, and those risks are tied directly to what's inside your pipes.
PVC pipes, which are common in residential plumbing installed over the past few decades, can begin to soften at temperatures well below boiling point. Pouring large volumes of boiling water repeatedly puts stress on joints and glue connections, and over time that stress contributes to warping or joint failure. There's also a secondary problem: boiling water can temporarily melt grease, but as that liquefied grease travels further down the pipe it cools and re-solidifies, sometimes creating a blockage that's harder to reach than the original one.
Chemical drain cleaners like those containing lye (sodium hydroxide) carry a different set of risks. Lye reacts with water to generate significant heat. That reaction is what breaks down grease and soap scum, but that same heat can soften PVC pipe walls and weaken the adhesive holding joints together. With repeated use, the corrosive action doesn't stop at the clog. Products containing strong acids present the same problem from the other direction, gradually degrading pipe material over multiple applications. Most professional plumbers advise against using these products routinely precisely because the long-term damage often costs more to repair than the original clog would have.
There is also a safety consideration beyond the pipes themselves. Chemical cleaners can produce dangerous fumes, particularly in poorly ventilated spaces, and if they fail to clear the clog, any attempt to follow up with a plunger or snake means working around a drain filled with corrosive liquid.
For sinks with stainless steel basins, it's also worth knowing that bleach-based chemical cleaners can permanently damage the surface. The risks there extend beyond the drain itself, which is covered in detail in why bleach permanently pits stainless steel.
How do you clean a garbage disposal?
A garbage disposal needs its own cleaning routine, separate from the drain itself. Start by stopping the drain and filling the sink with hot, soapy water. Pull the stopper and run the disposal while the water drains through. That flush removes loose debris sitting in the grinding chamber.
Next, pack in 1 cup of ice and ½ cup of salt, then run the disposal. The ice and salt act as an abrasive, scrubbing the grinding components without any chemicals. Turn the disposal off, add ½ cup of baking soda directly into the drain, and let it sit for a full hour. Follow with ½ cup of vinegar, then run cold water while the disposal runs for one final minute. Cold water matters here: hot water during disposal use can melt grease into a liquid that then re-solidifies further down the line.
Two mistakes cause real damage. First, never reach into the disposal to clear debris, even when it appears to be off. Power it down at the wall switch, wait, then use tongs or a disposal wrench. Second, never pour bleach into a disposal drain; it doesn't break down food residue, and on a stainless steel sink the bleach contact alone can cause permanent pitting.
Toss in a few citrus peels while the disposal runs to freshen odors naturally.
If the disposal hums but doesn't grind, makes a loud rattling noise, or backs water up into the opposite basin, stop using it and call a plumber. Those signs point to mechanical failure or a blockage deeper in the drain line that no home method will reach.
Frequently asked questions
How often should I clean my kitchen sink drain?
Can I pour boiling water down the drain to clear a clog?
Does the baking soda and vinegar method actually work?
Is it safe to use chemical drain cleaners like Drano regularly?
What drain-cleaning habits actually protect your pipes?
The single most effective thing you can do for your kitchen drain costs nothing: run hot (not boiling) water down it for 30 seconds after every use, and do a proper flush once a week. That weekly routine, combined with a mesh sink strainer to catch food particles before they reach the pipe, handles the majority of what causes slow drains in the first place. Avoid pouring grease or cooking oil down the drain entirely. Wipe pans with a paper towel first, let remaining fat solidify, then discard it in the trash.
On the myth side, two beliefs deserve to be set straight. First, bleach does not clean drains. It may temporarily mask an odor, but it cannot dissolve hair, grease, or food buildup, and it is hard on pipes. Second, the baking soda and vinegar fizz many homeowners trust as a monthly reset is better understood as a deodorizing maintenance step than a serious cleaning agent. It works on light organic residue near the drain opening, but only if you apply them sequentially, baking soda first, vinegar second, never mixed together at the same time. Combining them simultaneously neutralizes both ingredients and kills most of the benefit.
For a broader look at keeping the basin itself in good shape alongside the drain, how to clean a kitchen sink and keep it that way covers the full surface routine.
How this article was made
Researched and written with AI assistance. What gets published is a human editorial decision. Grounded in 8 cited sources.
Edited by Claire Mercier, Editor. The guides are written with AI assistance.
Sources (8)
- How to Clean a Sink Drain | BISSELL®
- How to Clean Your Kitchen Sink and Drain - Consumer Reports
- How to Clean a Kitchen Sink and Drain | affresh
- How to Clean Your Kitchen Sink & Drain in 5 Steps
- How to Clean Your Kitchen Sinks and Drains - Complete Guide
- Cleaning drains without chemicals | Kärcher India
- How to Clean Drains with Baking Soda and Vinegar | Liquid-Plumr®
- Kitchen Sink Smell Bad? Try This 3-Step Hack to Fix It Instantly