Clean Window Tracks the Right Way (and Keep Them That Way)
Part of Windows & Glass · article 6 of 7
On this page
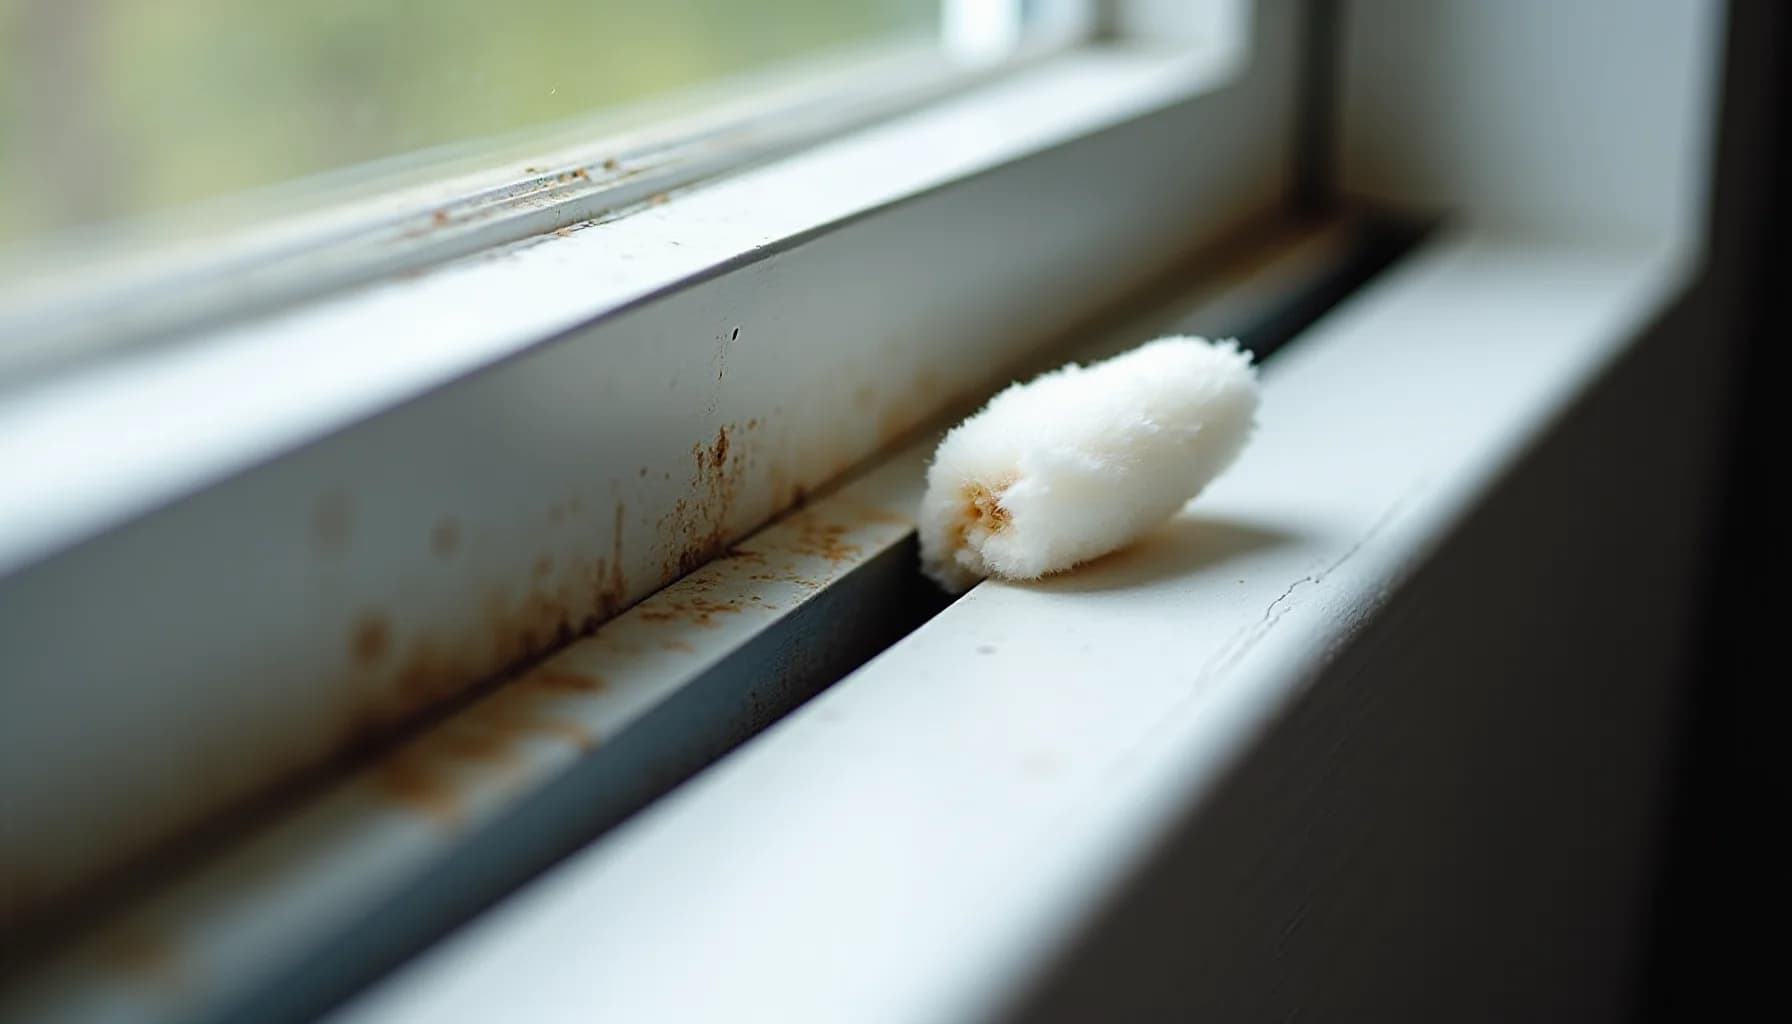
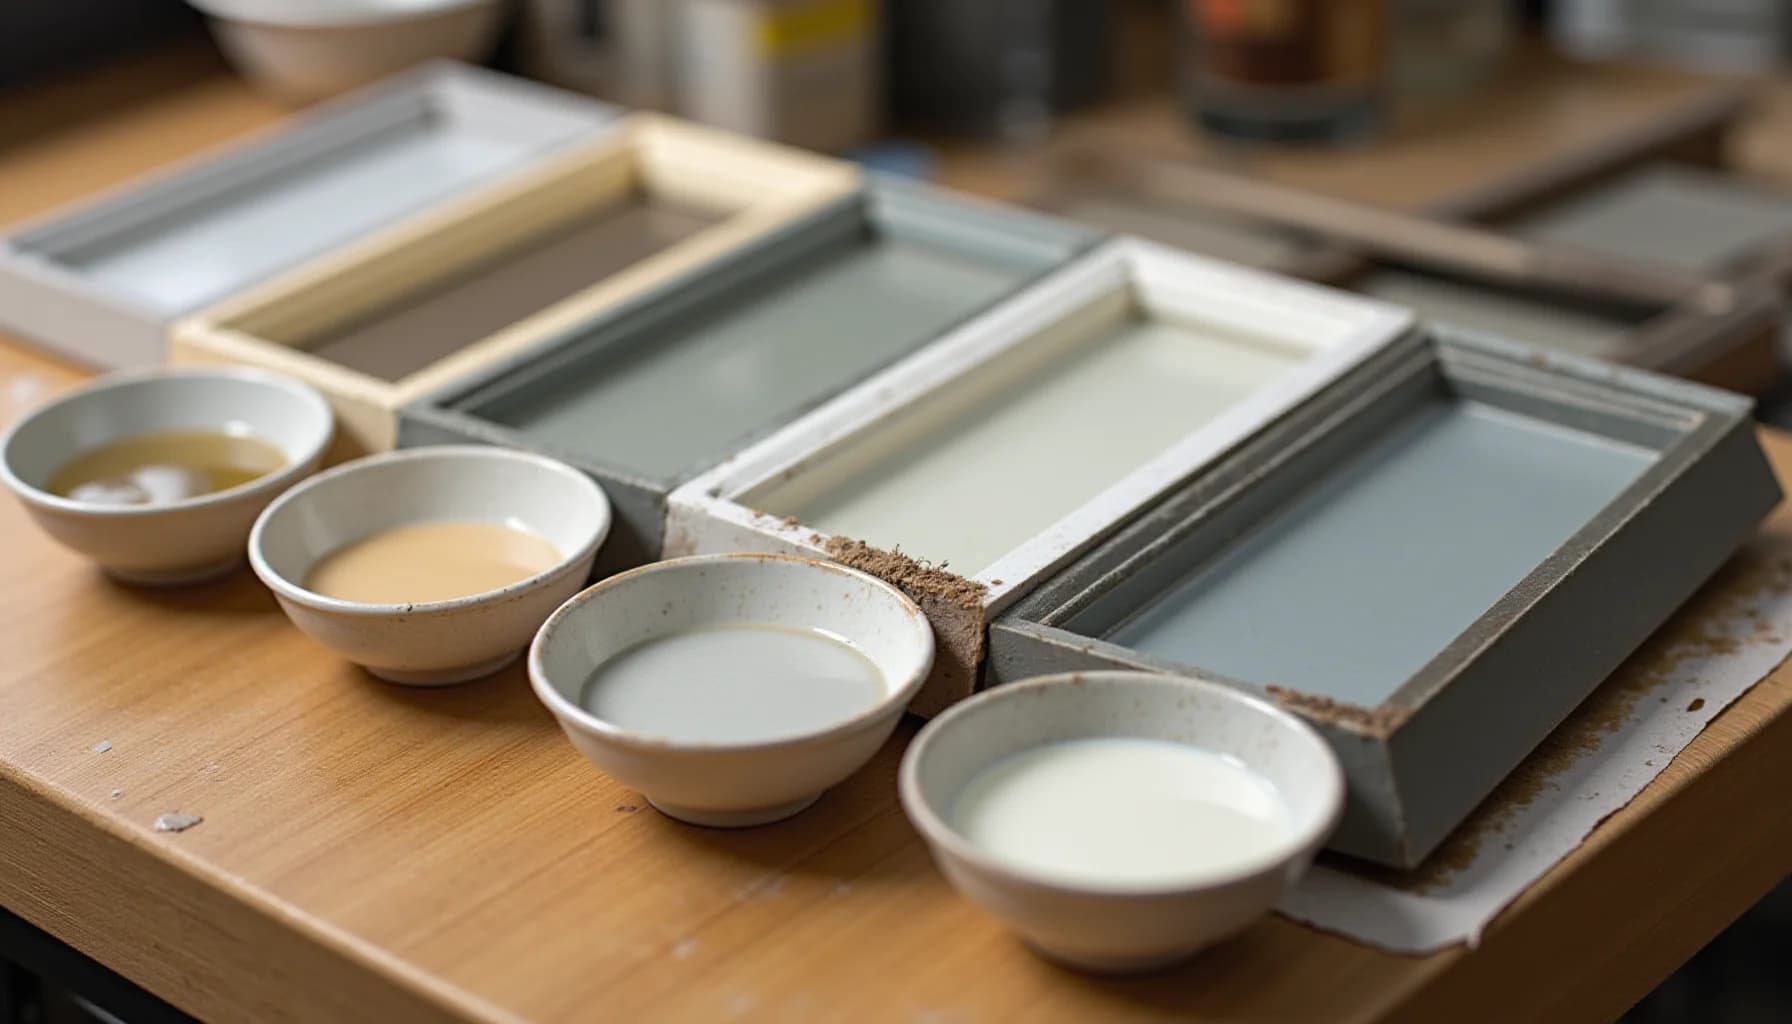
Warm water with one drop of mild dish soap handles most window track grime without risking damage to paint or frame finishes. For tougher mineral deposits, white vinegar applied briefly and wiped away thoroughly is the right call. What to avoid is just as important: steel wool and abrasive pads will scratch aluminum tracks, harsh chemicals strip paint from wood frames, and baking soda should never contact the glass itself since repeated exposure gradually hazes the surface. If you use a garment steamer to break up stuck-on grime, check that the tracks are not cold and the frames are not finished wood, freshly painted, or waxed. The right cleaner depends on your frame material; this frame-by-frame guide to window surface cleaners can help you match product to material before you start.
What happens when you ignore your window tracks?
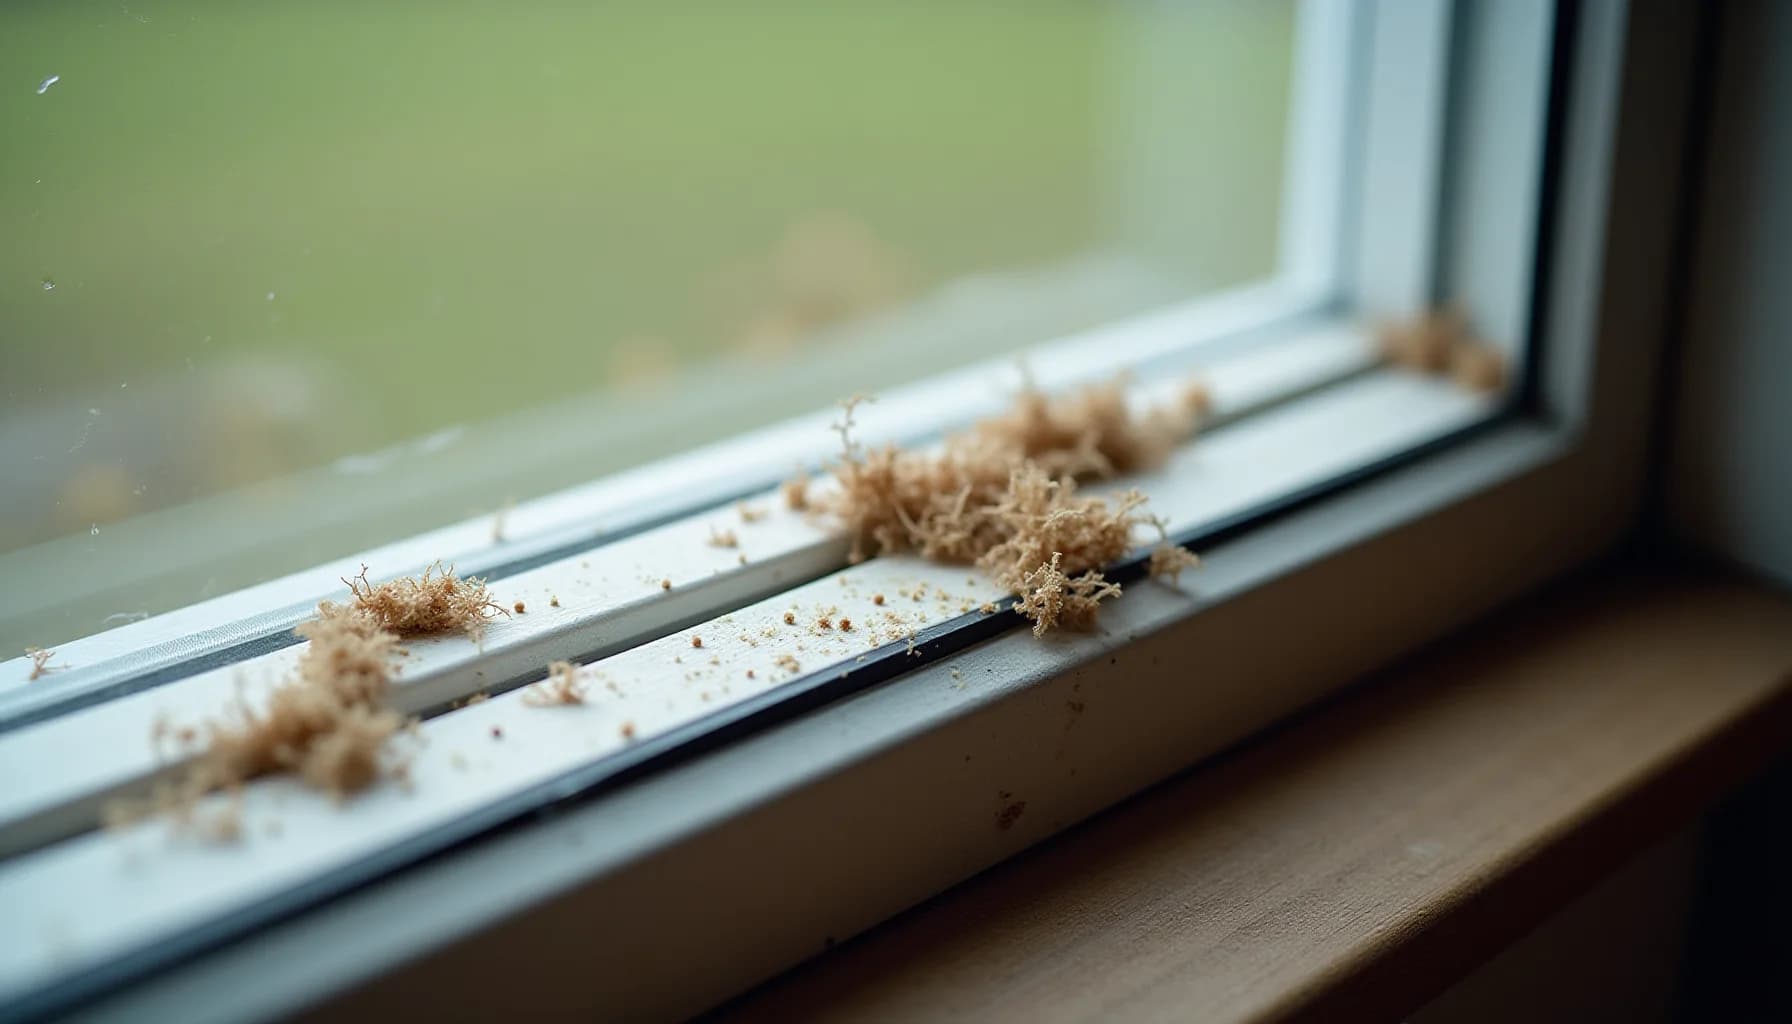
Every time you open a window, the track below it catches whatever the air carries: pollen, road dust, dead insects, cooking residue from inside the house, and fine soil tracked in from outside. Sliding windows are hit hardest because their lower channels sit at floor level, catching everything that falls into the frame. Moisture compounds the problem. When rainwater or condensation sits in a track with organic debris, the mix ferments into a dark, gritty film that bonds to the channel and won't shift with a simple wipe.
The small drainage holes built into most window tracks are there for a reason: they let water escape after a rain. Once those openings clog with compacted dirt and dead insects, water has nowhere to go. That standing moisture is what turns a dirty track into a mold-growing one. Pollen and mold spores that settle there don't stay put either. Every time the sash slides open, it disturbs the buildup and pushes particles back into the room, which matters particularly for anyone in the household managing seasonal allergies.
The financial argument for staying on top of this is straightforward. Dirt buildup causes window hardware to work harder than it should. Grit acts like sandpaper on rollers and seals with every operation. Left long enough, that friction damages the seals and can jam the window in its track. Repairs for stuck windows and damaged seals typically run between $300 and $2,000, depending on the window type and the extent of the damage. Compared to a quarterly vacuum and occasional wipe-down, that cost is hard to justify.
What tools and supplies do you need before you start?
Vacuum out all loose debris first
With the window closed, run a vacuum crevice tool slowly along every channel, paying close attention to corners and the area around the locks. Skipping this step and going straight to liquid turns dry dust, dead insects, and grit into a muddy sludge that is much harder to remove.
Apply your cleaning solution and let it work
Mix one drop of mild dish soap with a gallon of warm water, or for heavily soiled tracks, sprinkle a small amount of baking soda into the channels and spritz with white vinegar. Let the solution sit for five to ten minutes so the fizzing action lifts stubborn buildup, keeping the baking soda away from the glass itself as it can cause the surface to turn hazy over time.
Scrub the channels and wipe them dry
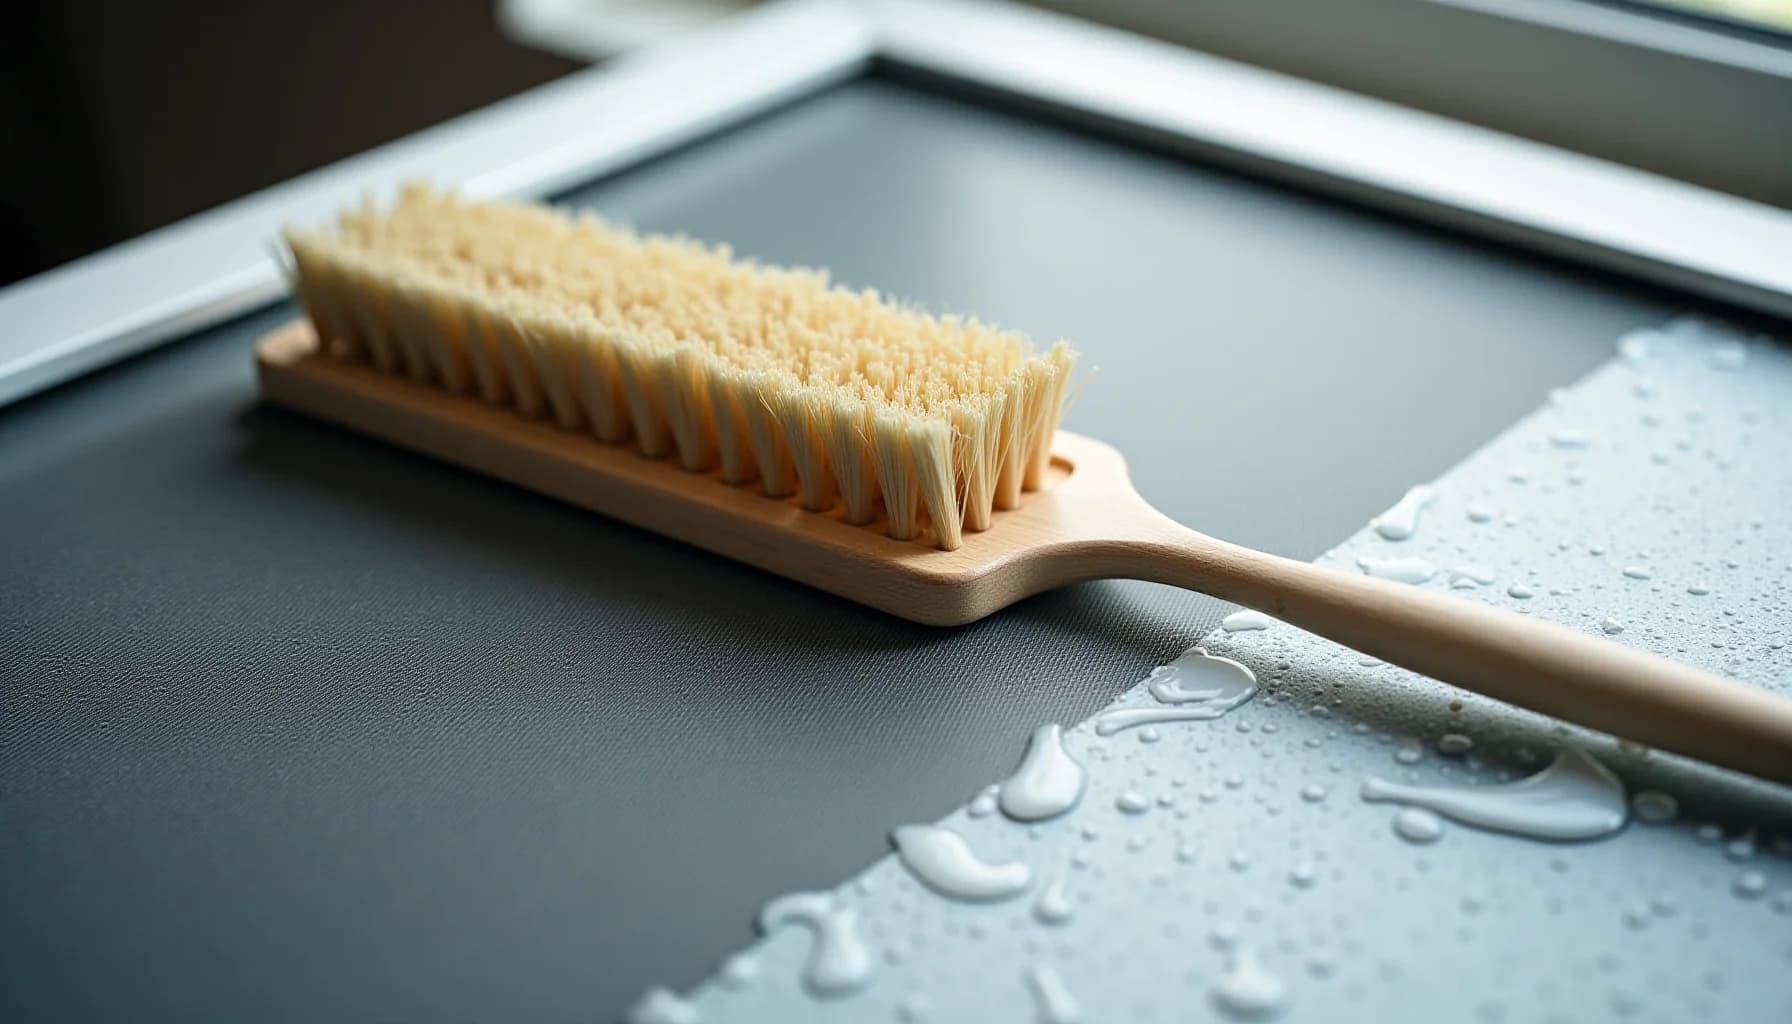
Work a soft brush or an old toothbrush along the track, then use a cotton swab or a small cloth-wrapped skewer to reach tight corners. Avoid abrasive pads on aluminum tracks, which scratch easily. Finish by pressing a dry microfiber cloth into every channel to collect remaining moisture, since pooled water, especially on wood-framed windows, can encourage mildew and damage finishes.
Test the window and set a cleaning schedule
Open and close the window several times to confirm smooth movement and to reveal any gritty spots you may have missed. For most homes, a thorough track cleaning every three to six months is sufficient, but if you live near a busy road, a garden, or a high-pollen area, a quick monthly vacuum between deep cleans will keep buildup from becoming a bigger job.
How do you deep clean window tracks step by step?
Before you start
- Gather your supplies before you start: vacuum with a crevice tool, soft brush, microfiber cloths, cotton swabs or a wooden skewer wrapped in cloth, and a spray bottle filled with a solution of one drop of mild dish soap per gallon of warm water
- Mix a separate spray bottle of white vinegar if you have mineral deposits or plan to use the baking soda-and-vinegar method on stubborn grime
- Keep baking soda within reach but set it away from the glass panes — its abrasiveness can haze glass if it strays onto the surface during cleaning
- Clear the windowsill of any plants, curtains, or objects that could get wet or knocked over, and close the window fully so the entire track length is exposed before you begin
Start with the window fully closed. This keeps the sash out of your way and gives you unobstructed access to the entire length of both tracks.
Attach a narrow crevice tool to your vacuum and work slowly along each channel from one end to the other. Spend extra time at the corners and around the window lock hardware, where compacted dust and dead insects tend to gather. Do not skip this step or rush it. Introducing any liquid to dry, loose debris turns it into a muddy paste that smears rather than clears.
Once the tracks are vacuumed clean, apply your cleaning solution. For heavily soiled tracks, sprinkle a small amount of baking soda along the channel first, then spritz it with plain white vinegar. The fizzing reaction lifts stubborn, caked-on grime without scrubbing. For moderately dirty tracks, a solution of one drop of mild dish soap per gallon of warm water works well and is gentler on finishes. Either way, let the liquid sit for five to ten minutes before you touch it.
Use a narrow stiff-bristled brush or an old toothbrush to work the loosened grime out of corners and from around rollers. Cotton swabs or a wooden skewer wrapped in cloth handle the tightest spots that a brush cannot reach. Wipe everything away with a microfiber cloth, pressing it firmly into each channel to pick up residue rather than just spreading it.
Dry the tracks thoroughly. A second dry microfiber cloth pressed into every corner removes remaining moisture, which matters especially for wood-framed windows where pooled water can damage the finish and encourage mildew.
Finally, open and close the window several times. This confirms smooth movement and reveals any gritty patches you may have missed.
Does your window track material change how you should clean it?
Track material determines which cleaning agents are safe and which cause permanent damage. Getting this wrong is not a recoverable situation on some surfaces, so read your frame before you reach for a product.
Vinyl tracks are the most forgiving. Warm water with a single drop of mild dish soap handles routine buildup without any risk to the surface. Where mineral deposits have built up from standing water, a light application of white vinegar will dissolve them. The key word is light: wipe the vinegar away thoroughly once it has done its work rather than letting it sit, because prolonged exposure can dull the finish over time. Avoid anything abrasive, and skip harsh chemical sprays that can strip the vinyl's surface coating.
Aluminum tracks scratch permanently and easily. A soft-bristled brush and a microfiber cloth are the right tools. Steel wool and abrasive scrubbing pads will leave scratches that catch dirt and look worse with every subsequent cleaning. The damage is irreversible on bare aluminum. Stick to soapy water and gentle pressure.
Wood-framed tracks carry the most risk. Water pooling in a wood track can warp the frame, damage the finish, and encourage mold in the wood grain itself. Clean with a barely damp cloth and dry the channel immediately and completely. Never steam-clean wood tracks: the combination of heat and moisture penetrates the grain and lifts paint or stain from beneath. If you notice soft spots, crumbling wood, or mold that goes below the surface layer, stop cleaning and call a window restoration professional. Surface mold you can wipe away is a cleaning problem; mold inside the wood structure is a repair problem.
For a broader look at matching cleaners to specific frame materials, this frame-by-frame guide to window surface cleaners covers the full range of scenarios in one place.
Frequently asked questions
How often should I clean my window tracks?
Can I use baking soda and vinegar directly on the glass?
What happens if I skip vacuuming before I add any liquid cleaner?
What can go wrong if I just leave water sitting in the track after cleaning?
How often should you clean window tracks?
For most homes, a deep clean of the window tracks two to four times a year keeps things running smoothly and protects the frames from moisture damage. Think of it as tied to the seasons: a thorough session in late spring after pollen peaks, again in midsummer when condensation is heaviest, once in early fall before leaves start accumulating in earnest, and a final pass before winter sets in.
Season matters more than the calendar, though. Spring is the biggest culprit for most households. Pollen from April through June settles fast into tracks, so a quick monthly vacuum during that stretch prevents the fine powder from mixing with moisture and turning into a paste that's far harder to shift. Summer brings high humidity, and any standing water that forms in the channels can encourage mildew within weeks, so check tracks every four to six weeks and dry them out after heavy rain.
Your surroundings push that schedule further. A home near a busy road, a construction site, or a coastline will see buildup much faster than one surrounded by open lawn. If anyone in the household has allergies, monthly maintenance during peak season is worth building into the routine, since pollen and mold spores that settle into tracks can become airborne again every time a window is opened. A simple monthly vacuum with a crevice tool takes under two minutes per window and makes the deeper seasonal clean far less work each time.
How this article was made
Researched and written with AI assistance. What gets published is a human editorial decision. Grounded in 8 cited sources.
Edited by Claire Mercier, Editor. The guides are written with AI assistance.
Sources (8)
- How to Clean Window Tracks Without a Mess – Fuller Brush Company
- 2 Quick and Easy Methods for Cleaning Window Tracks | Merry Maids
- How to Clean Filthy Window Tracks and Sills | Thrifty Decor Chick | Thrifty DIY, Decor and Organizing
- How to Clean Window Tracks and Sills | Exovations
- I tried this weird TikTok cleaning hack on my window tracks, and now they're looking spotless for spring
- How to Clean Window Tracks - Bob Vila
- The Best Way To Clean Window Tracks - House Digest
- How to Clean Window Tracks: Best Tips for Spotless Results | AHC NJ