The Safe Way to Clean Epoxy Grout Without Wrecking It
Part of Bathroom Cleaning · article 6 of 16
On this page
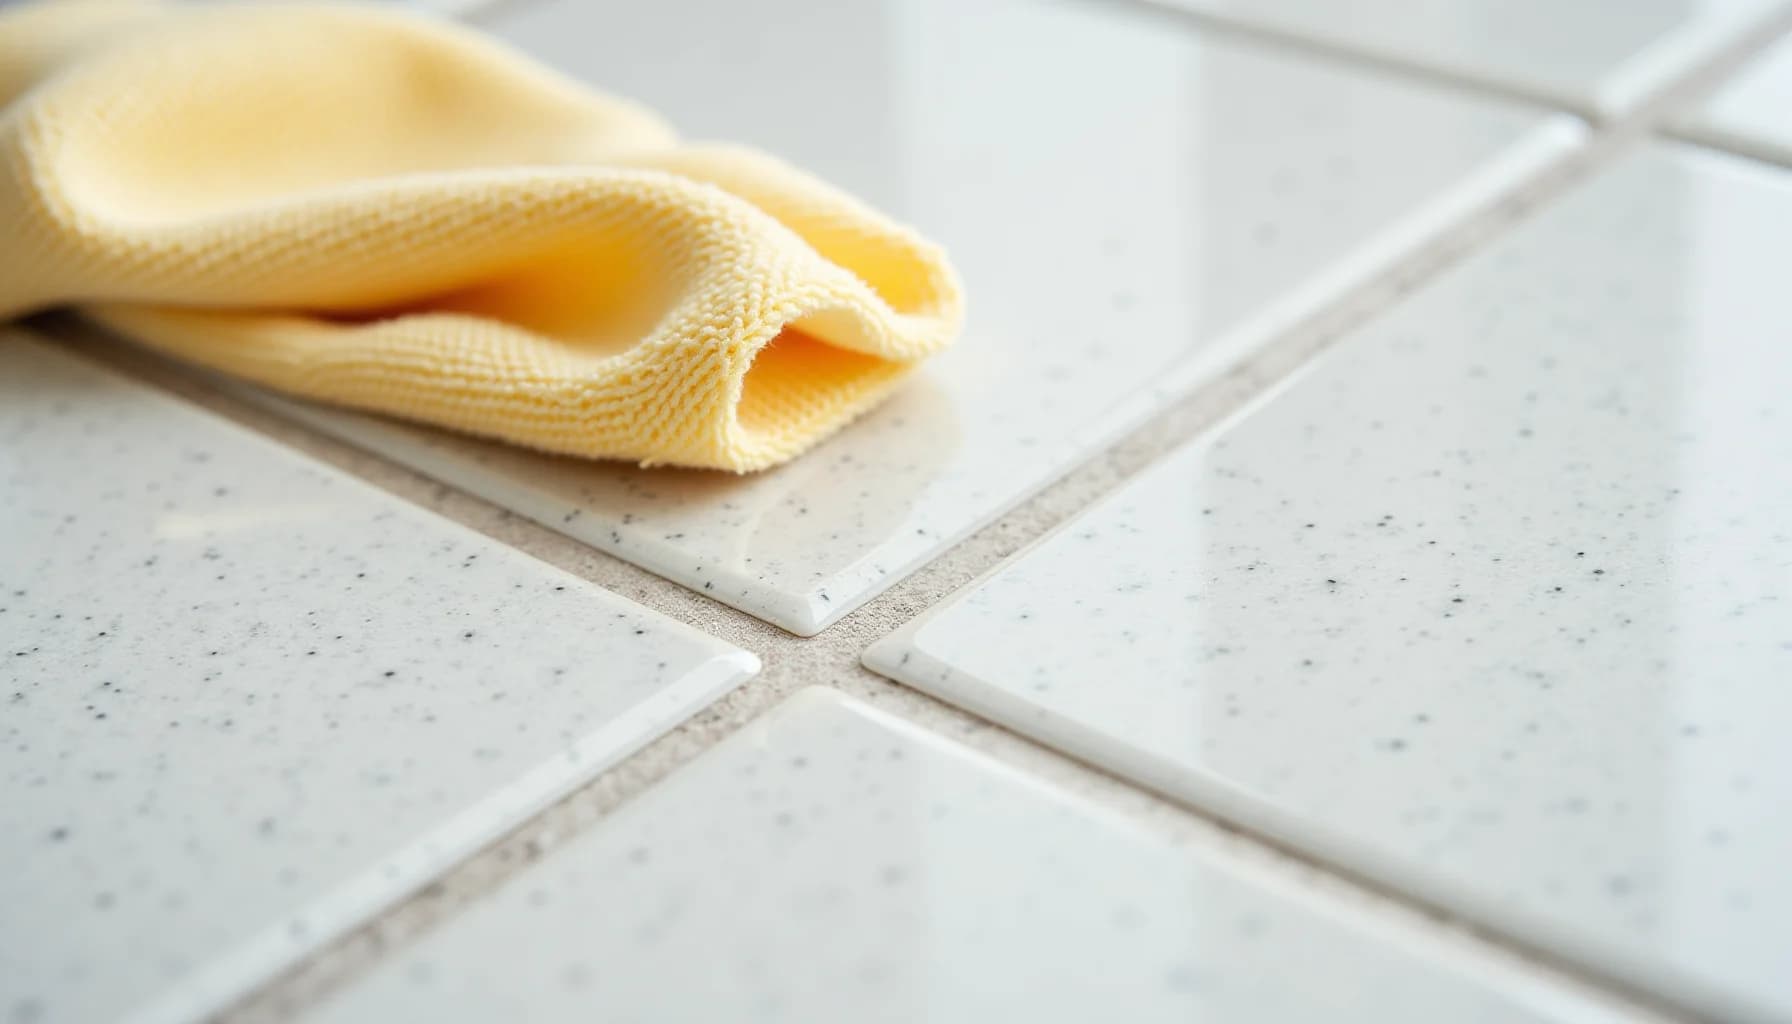
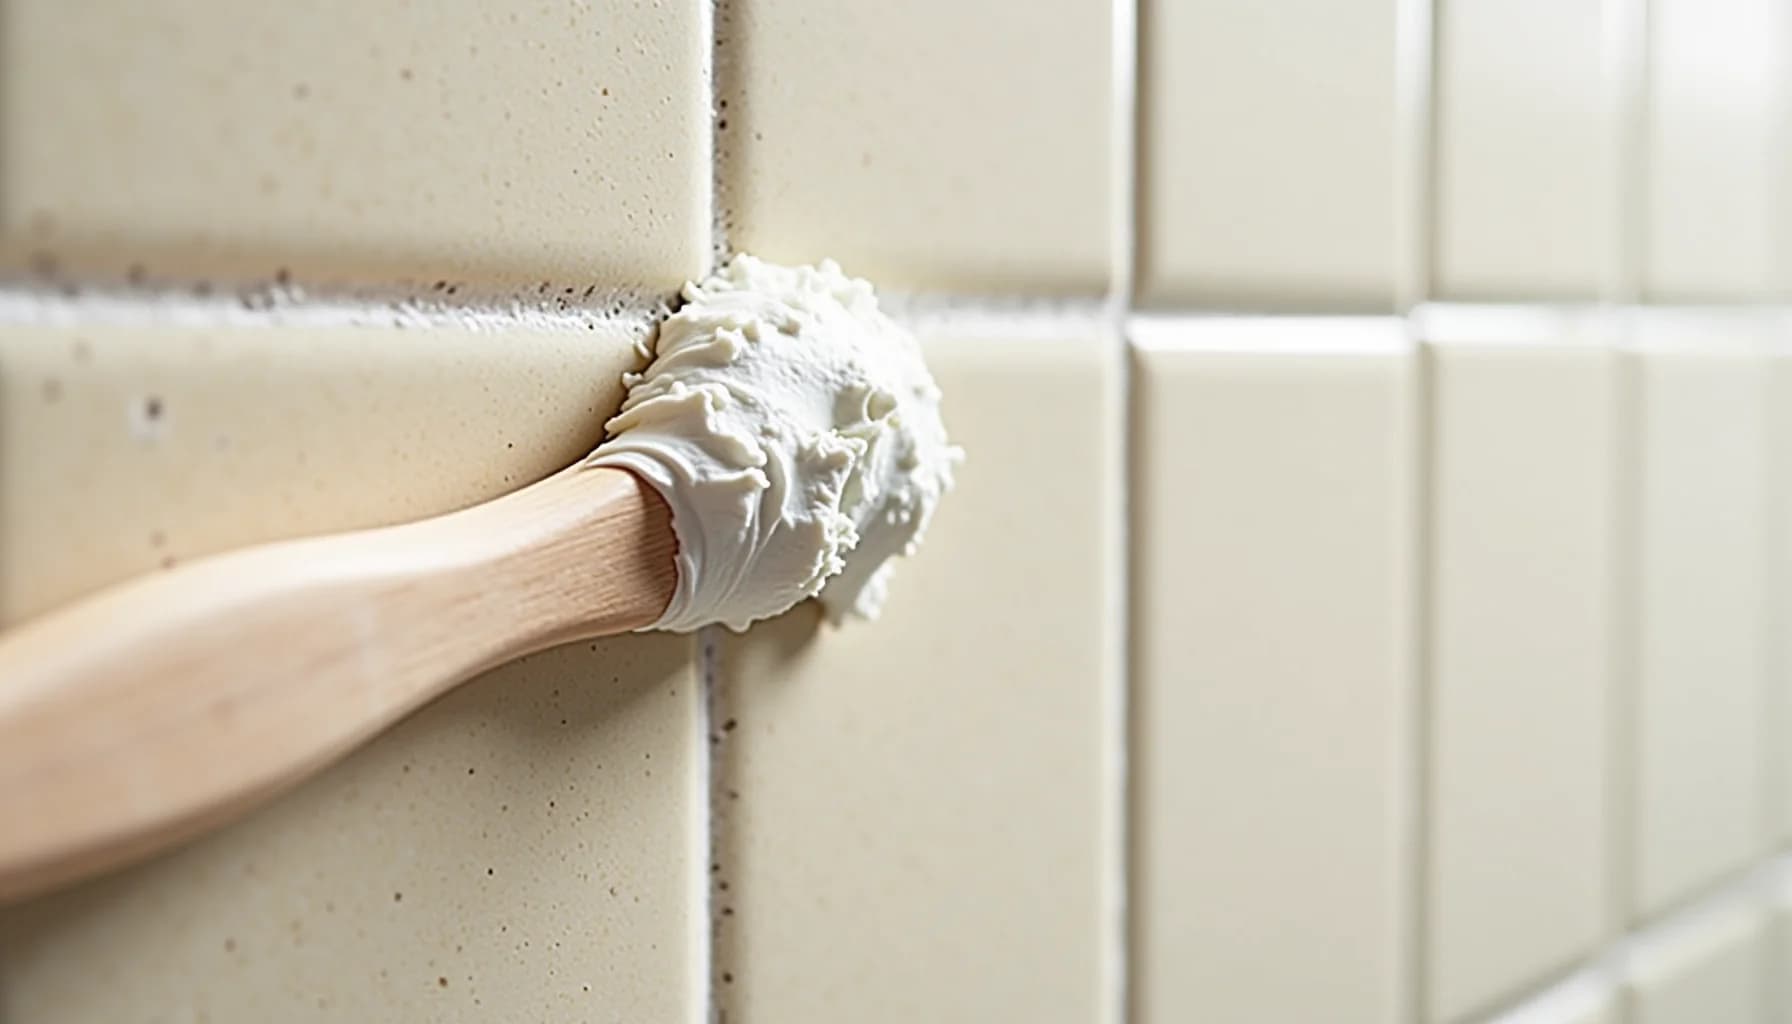
Clean epoxy grout with warm water, a mild non-abrasive detergent, and a soft sponge or microfiber cloth. That combination handles routine dirt without risking the resin surface. For stubborn haze or buildup, mix equal parts white vinegar and warm water, apply it with a scrub pad along every grout line, let it sit for 15 minutes, then rinse clean. Skip metal brushes, abrasive pads, high-pressure washers, and steam cleaners, all of which can compromise the surface. Bleach is contested: some manufacturers permit a diluted solution, others warn it shortens the grout's lifespan, so check your product's instructions before reaching for it.
What makes epoxy grout different from regular cement grout?
Epoxy grout is not a variation of the cement grout most homeowners are familiar with. It is a two-part system made from epoxy resins and a hardener that chemically bond together during installation. The result is a dense, non-porous material that behaves almost nothing like the sand-and-cement product used in older tile work.
Standard cement grout is porous. It absorbs water, harbors bacteria, and picks up stains from cooking oil, soap scum, and pigmented liquids. To stay presentable, cement grout needs periodic sealing, sometimes every one to two years depending on traffic and exposure. Epoxy grout skips that step entirely. Its resin matrix does not absorb moisture, so sealers add no benefit and are not part of the maintenance cycle.
That non-porous quality also changes how the material ages. A cement grout joint in a busy kitchen or shower typically darkens over time as water and residue penetrate the surface layer. An epoxy joint stays closer to its original color because contaminants sit on top rather than soaking in, which means a routine wipe-down is usually enough to restore the look. For a fuller picture of how cement-based grout lines respond to different cleaning methods, that comparison can help clarify what you may be dealing with if your home has a mix of both.
The tradeoff is cost. Epoxy grout typically runs two to three times the price of cement grout, so most homeowners encounter it in higher-end installations or in areas where moisture resistance justifies the investment, such as walk-in showers, pool surrounds, and kitchen backsplashes.
Does epoxy grout really clean itself?
Gather the right tools before you start
Pick up soft sponges, microfiber cloths, or soft-bristle brushes. Keep metal or abrasive brushes, high-pressure washers, and steam cleaners out of the equation, as all three can damage the epoxy surface.
Wipe up spills and fresh grout residue immediately
Blot any spill as soon as it happens to prevent staining, even though epoxy grout is stain-resistant. During or right after installation, wipe tiles down section by section before the grout cures, because hardened epoxy residue is extremely difficult to remove.
Do a regular weekly clean with warm water and mild detergent
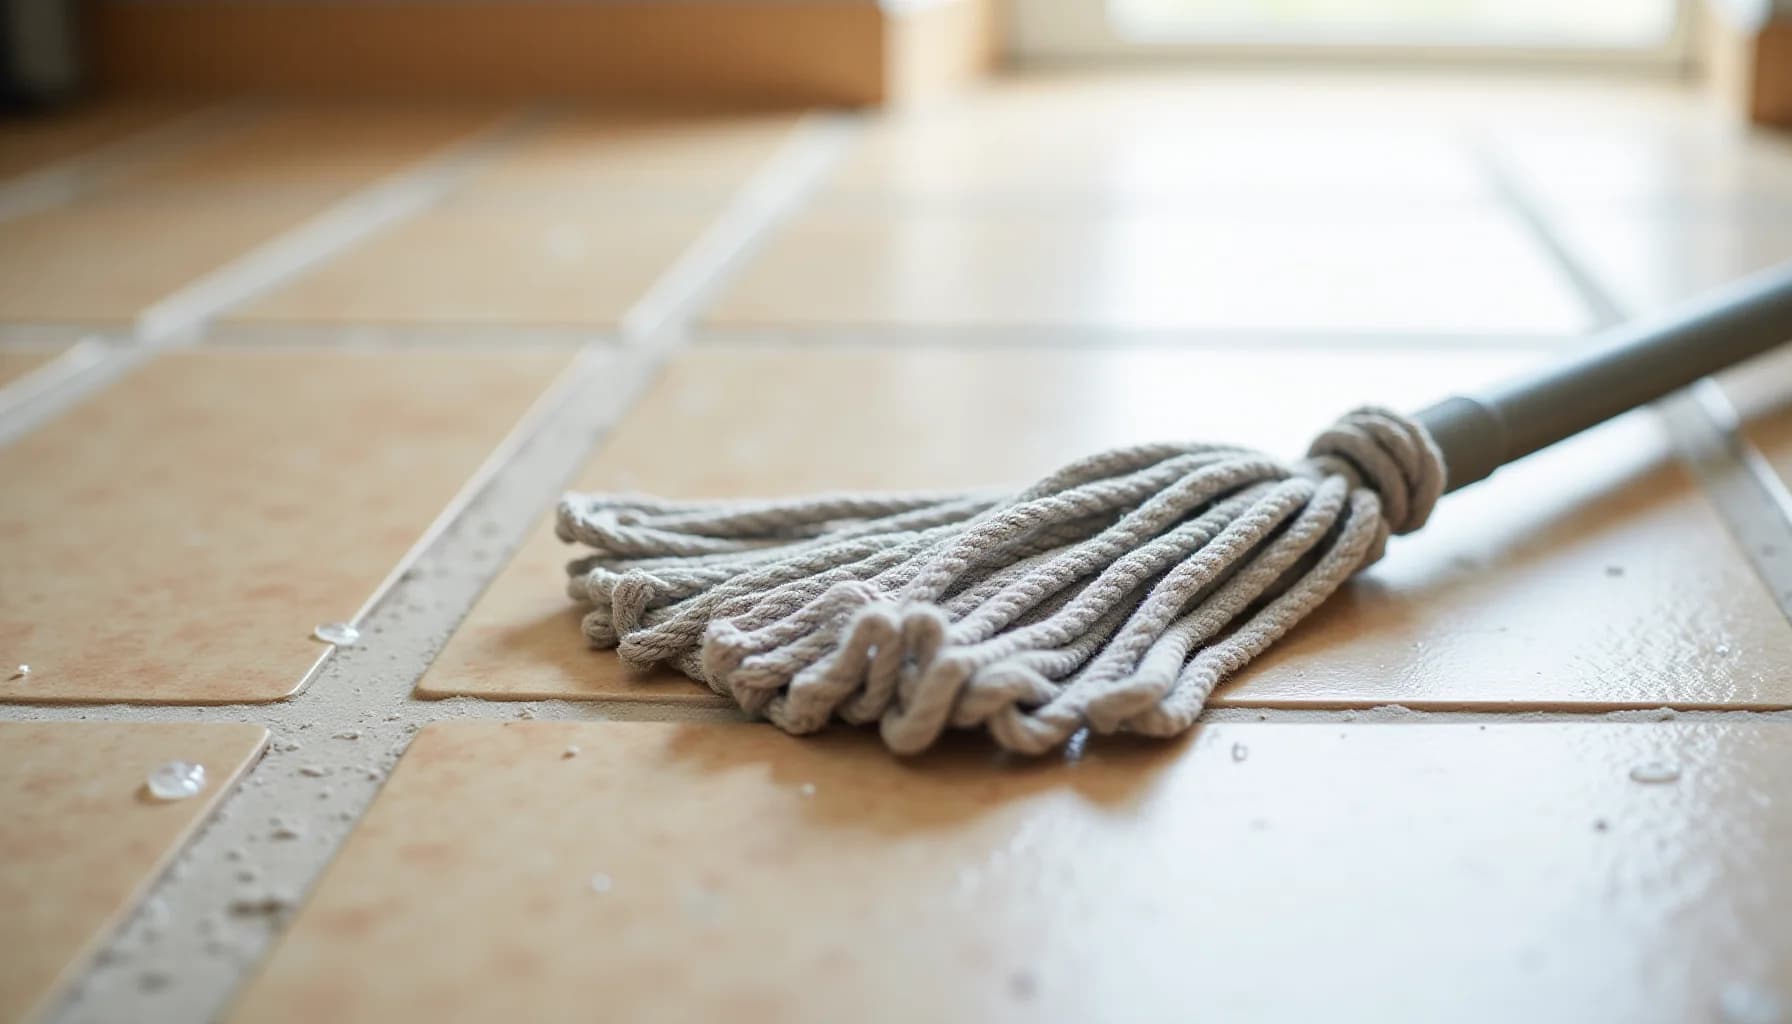
Dampen a mop or sponge with warm water and a small amount of non-abrasive, mild detergent, then work across the surface. Wring the mop out well beforehand, since over-saturating the area can cause water streaks; wipe the surface dry when you finish.
Tackle stubborn stains with a white vinegar solution
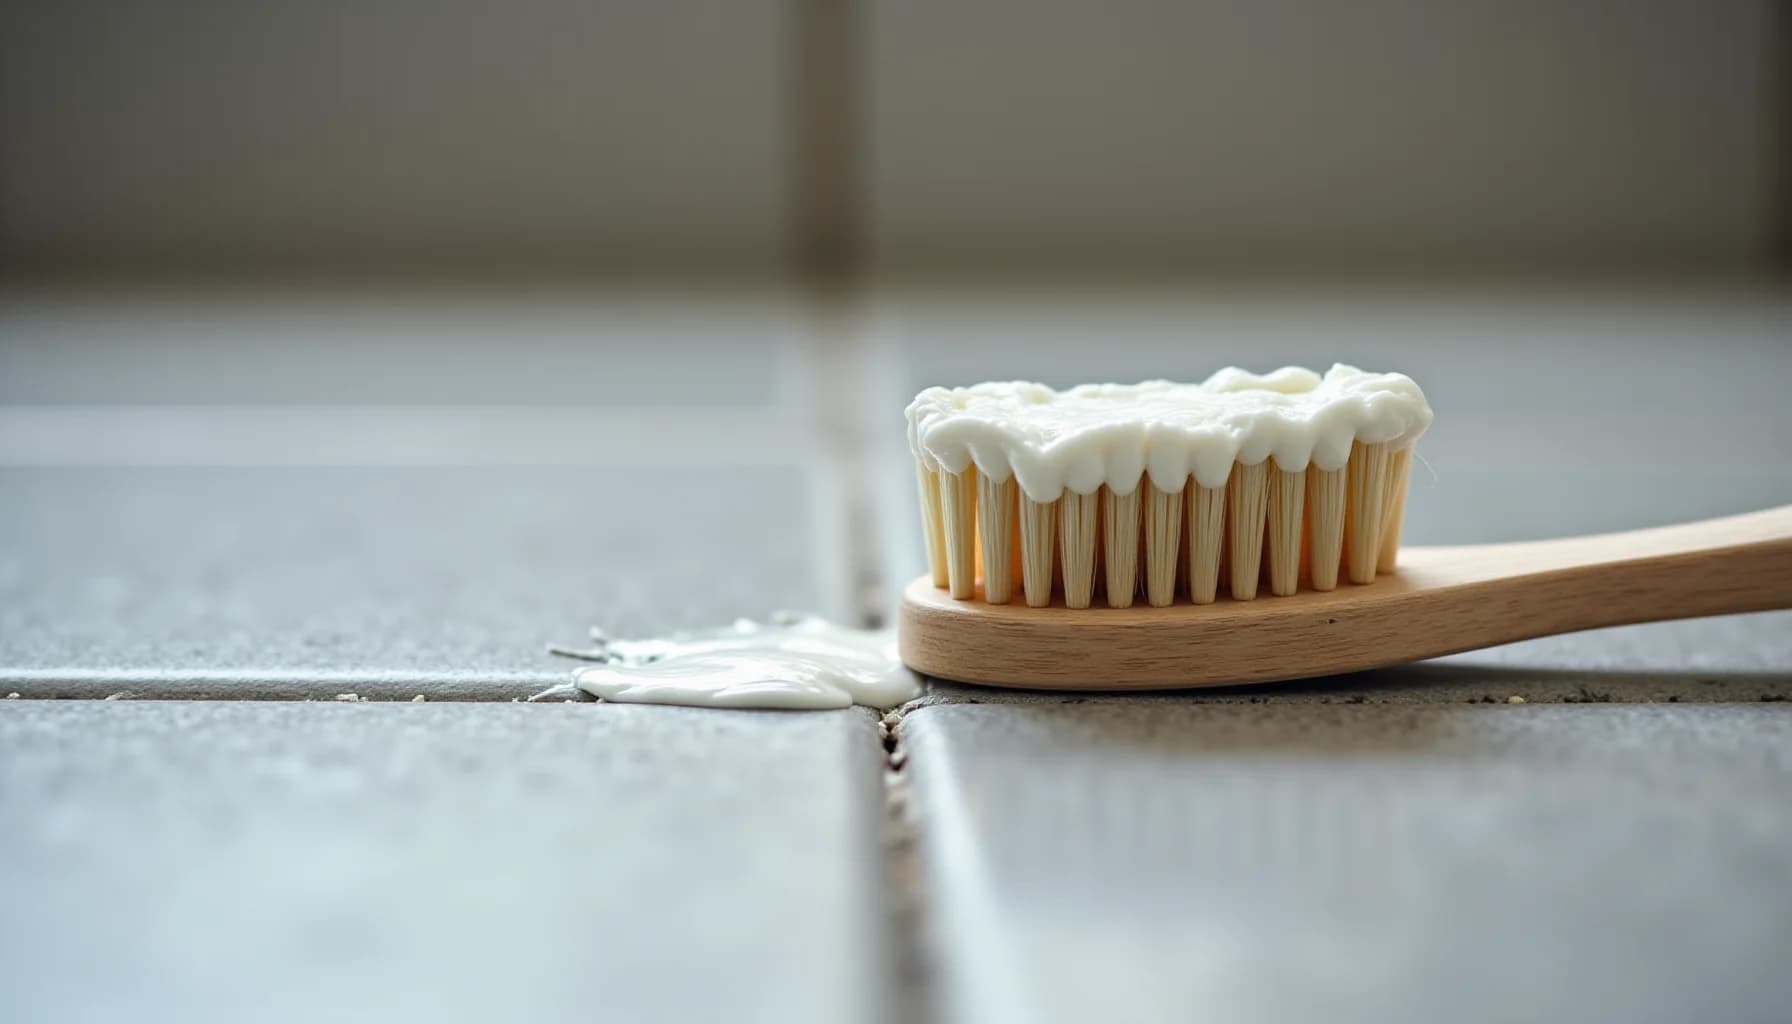
Mix equal parts warm water and white vinegar, apply it to the stained grout lines with a scrub pad, and let it sit for about 15 minutes. Scrub from ceiling to floor if working on wall tiles, then rinse thoroughly with clean water.
Treat mold with a hydrogen peroxide solution
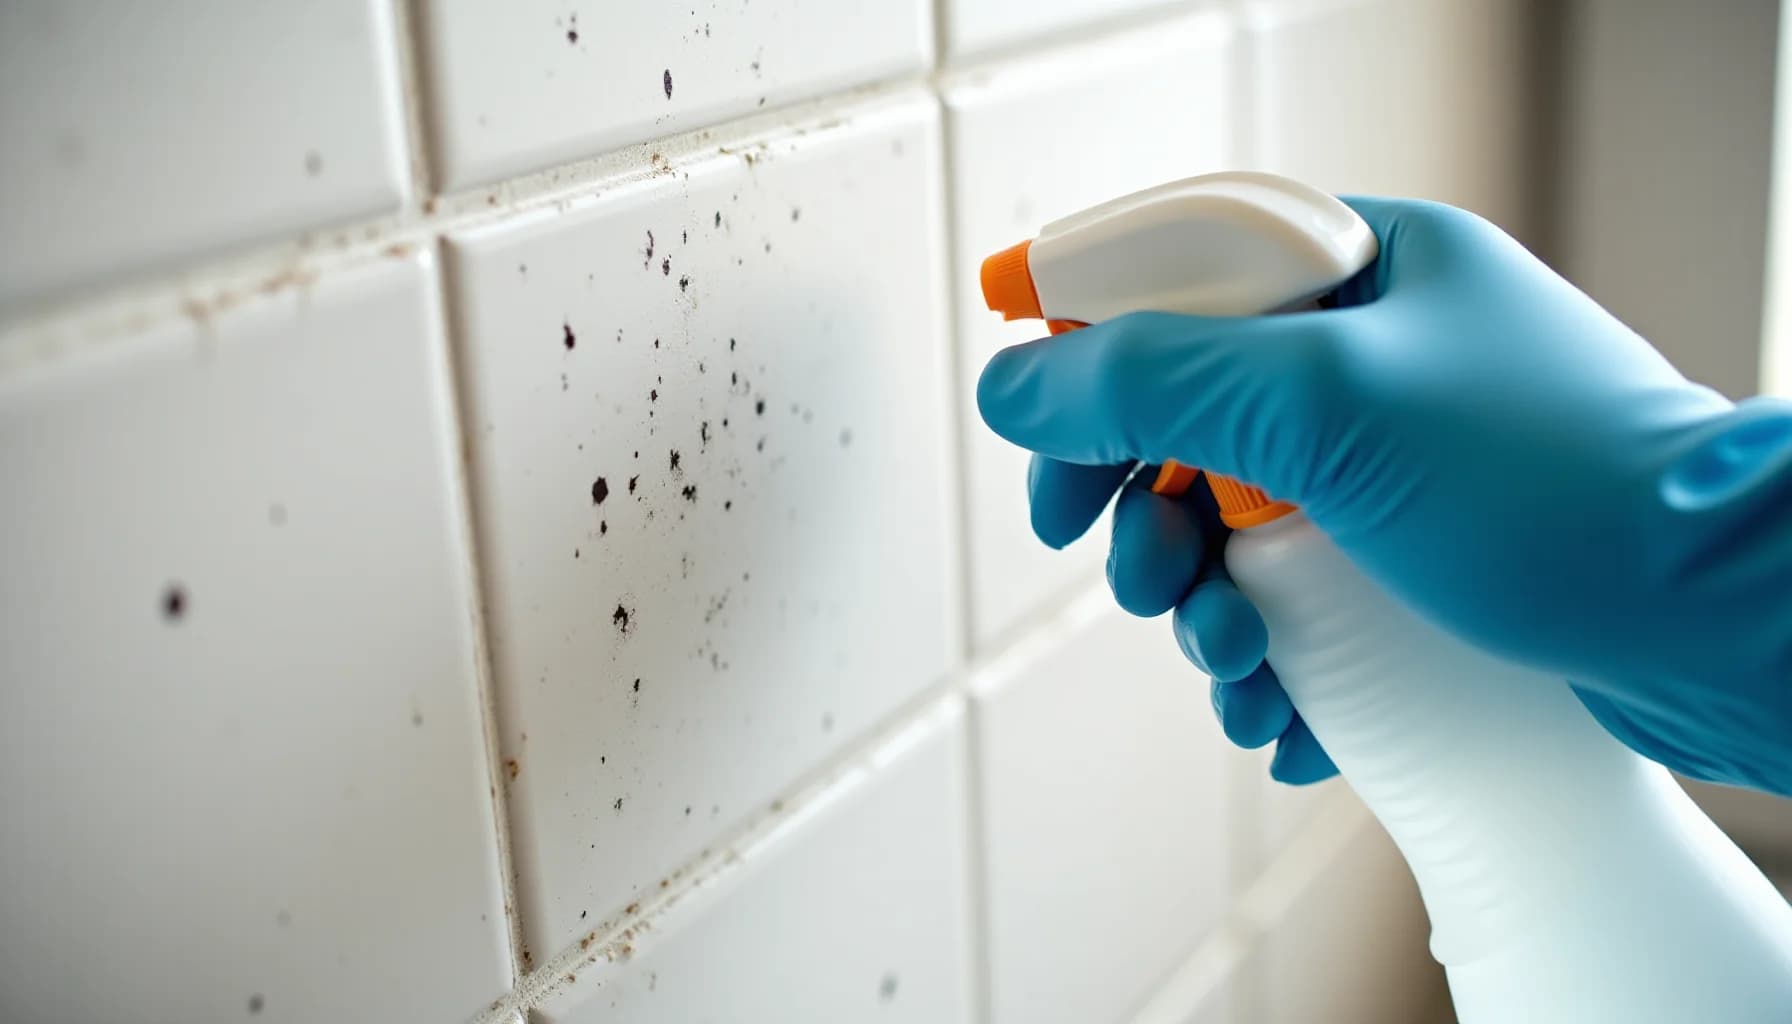
Spray a solution of equal parts 3% hydrogen peroxide and water directly onto any mold, and let it sit for 10 to 15 minutes. Scrub gently with a soft brush, rinse the area thoroughly, and dry it completely afterward.
Use a specialized cleaner for post-installation haze or set-in residue
If standard cleaning does not shift cured epoxy haze from ceramic or porcelain tile, use a purpose-made product such as PS87 GEL or EPOXYOFF, both formulated for nonabsorbent tile surfaces. For stains that still will not budge, contact a professional grout cleaning service that can apply advanced techniques safely.
What cleaning tools and products are safe for epoxy grout?
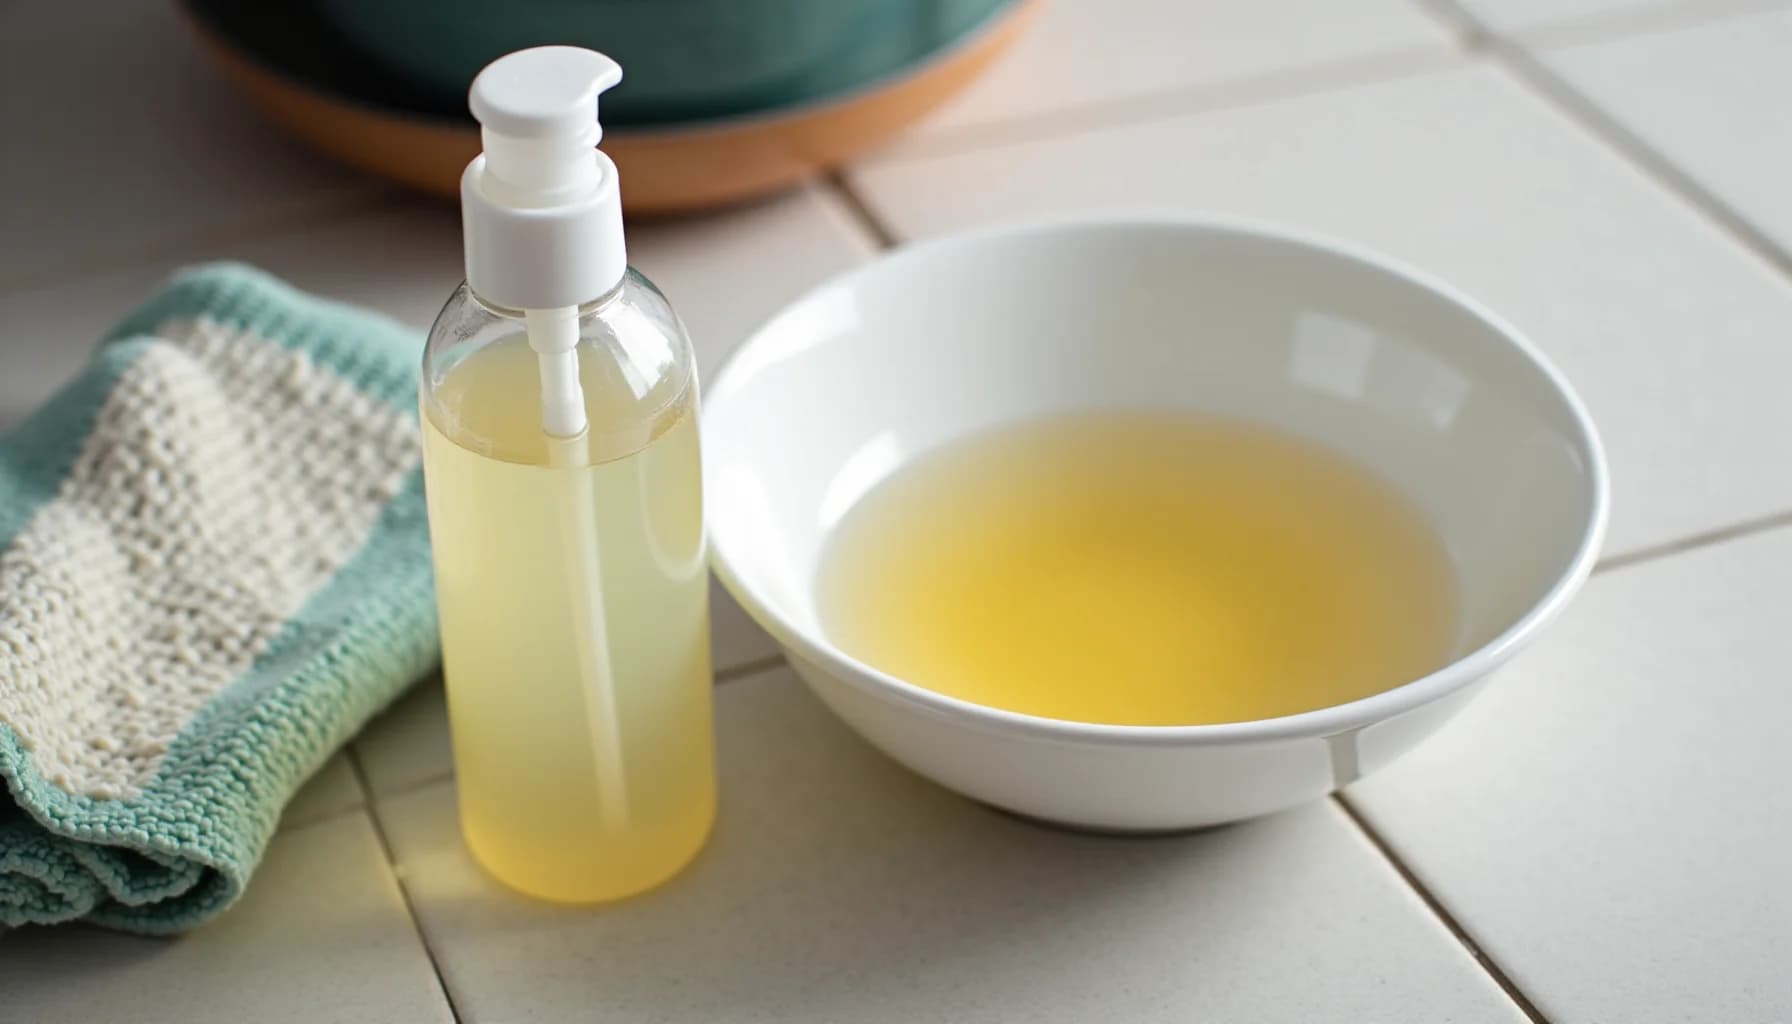
The safest combination for routine epoxy grout cleaning is straightforward: warm water, a mild non-abrasive detergent, and a soft sponge or microfiber cloth. That pairing handles everyday surface dirt without any risk of degrading the resin. For larger tiled floors, a well wrung-out wet mop works better than a sopping one. Over-saturating the surface during cleaning can leave water streaks and stains, so the goal is damp, not drenched. Wipe the area dry after mopping rather than letting it air-dry pooled water.
For stubborn stains or the hazy film that sometimes clouds tile surfaces after grouting, a solution of warm water and white vinegar is the most practical home remedy. Soak a scrub pad in the solution, work it along the grout lines, let it sit for about 15 minutes, then rinse with clean water. Vinegar is particularly effective at cutting through grout haze. If your bathroom grout lines are part of a bigger cleaning session, the sequence matters, and cleaning a bathroom in the right order helps you avoid re-soiling surfaces you've already done.
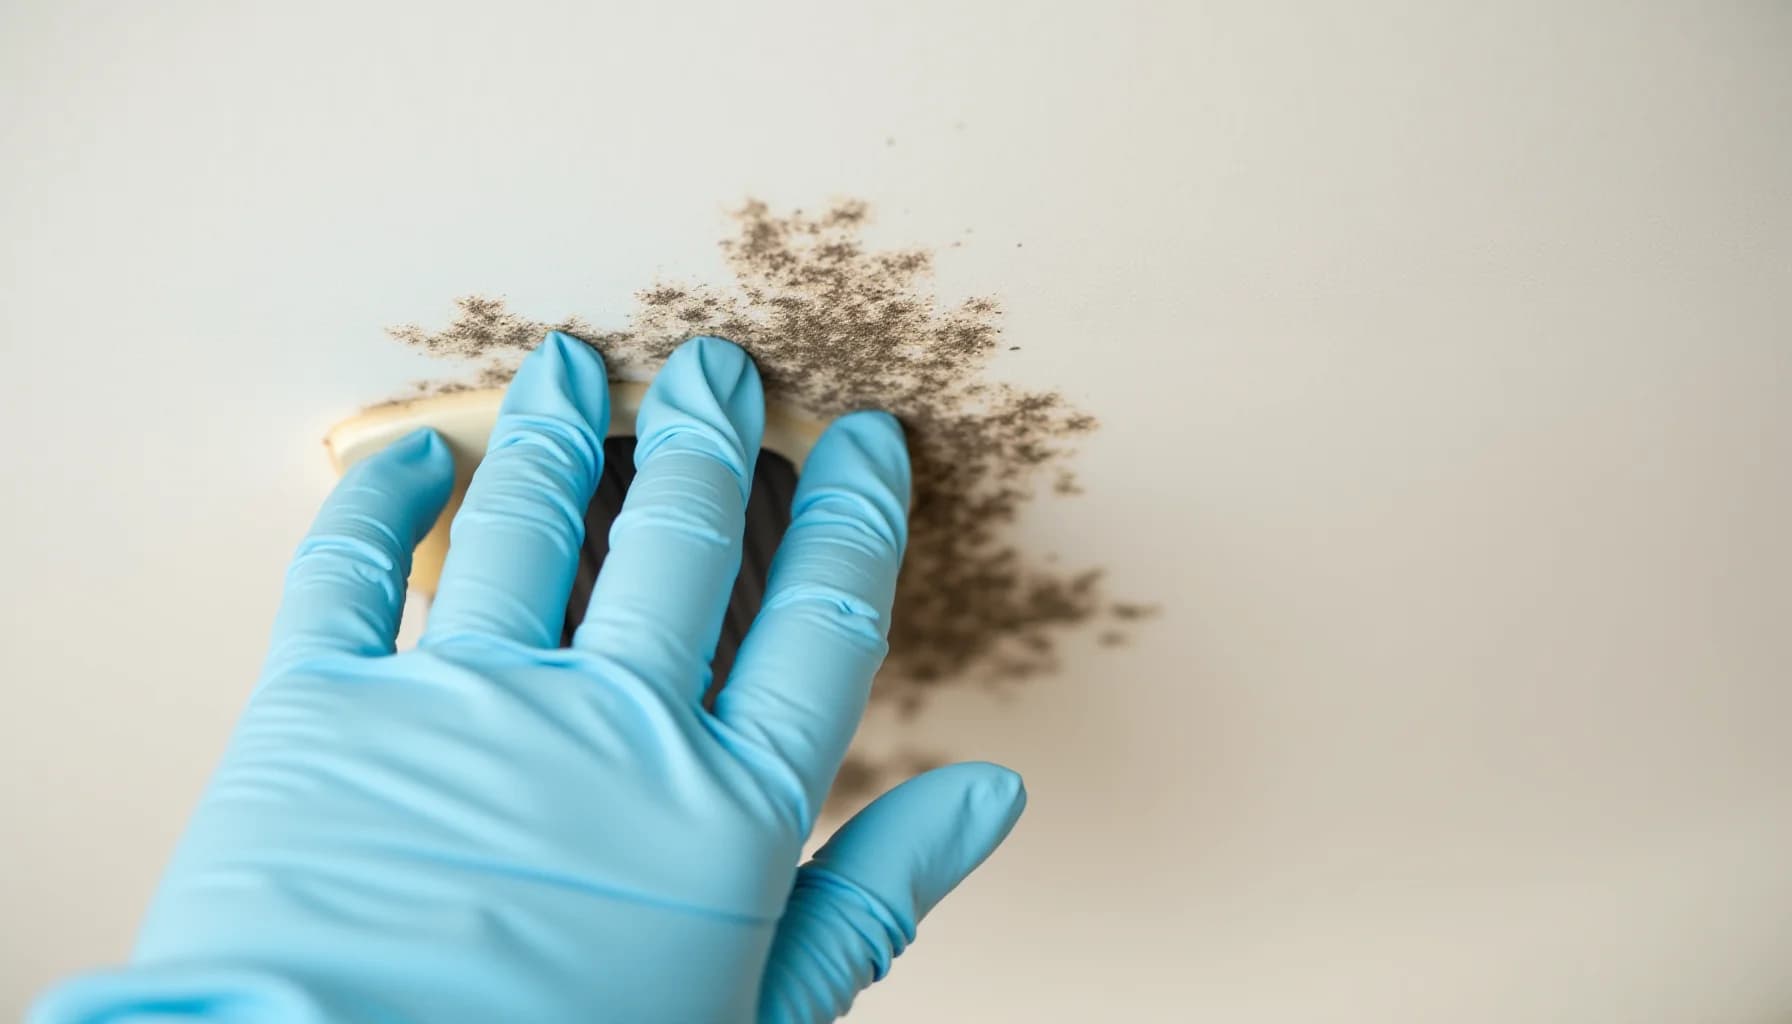
For mold on epoxy grout, a spray solution of equal parts 3% hydrogen peroxide and water, left for 10 to 15 minutes before gentle scrubbing, is safer than reaching for bleach. Bleach guidance in the industry is genuinely conflicting, and on colored grout the risk of discoloration makes it a poor default choice.
When shopping for a dedicated product, look for a pH-neutral cleaner labeled for epoxy grout. For post-installation haze that vinegar won't shift, specialized removers such as PS87 GEL or EPOXYOFF are formulated specifically for cured epoxy residue on porcelain, ceramic, quarry tile, and glass mosaic.
What to keep off the tile entirely: metal brushes, abrasive scrubbing pads, high-pressure washers, and steam cleaners used without professional guidance. Any of these can pit or scratch the grout surface, stripping the very properties you paid a premium for.
Will bleach damage your epoxy grout?
The short answer is: it depends on your specific product, and the field is genuinely split on this. Some sources recommend mixing equal parts bleach and warm water as a straightforward mold treatment. Others warn that bleach, ammonia, and similarly aggressive chemicals can degrade the epoxy resin over time and shorten the grout's lifespan. If your grout is any color other than white, the risk rises further, because chemical mold removers can strip or alter the pigment, leaving you with a patchy, discolored surface that's difficult to reverse.
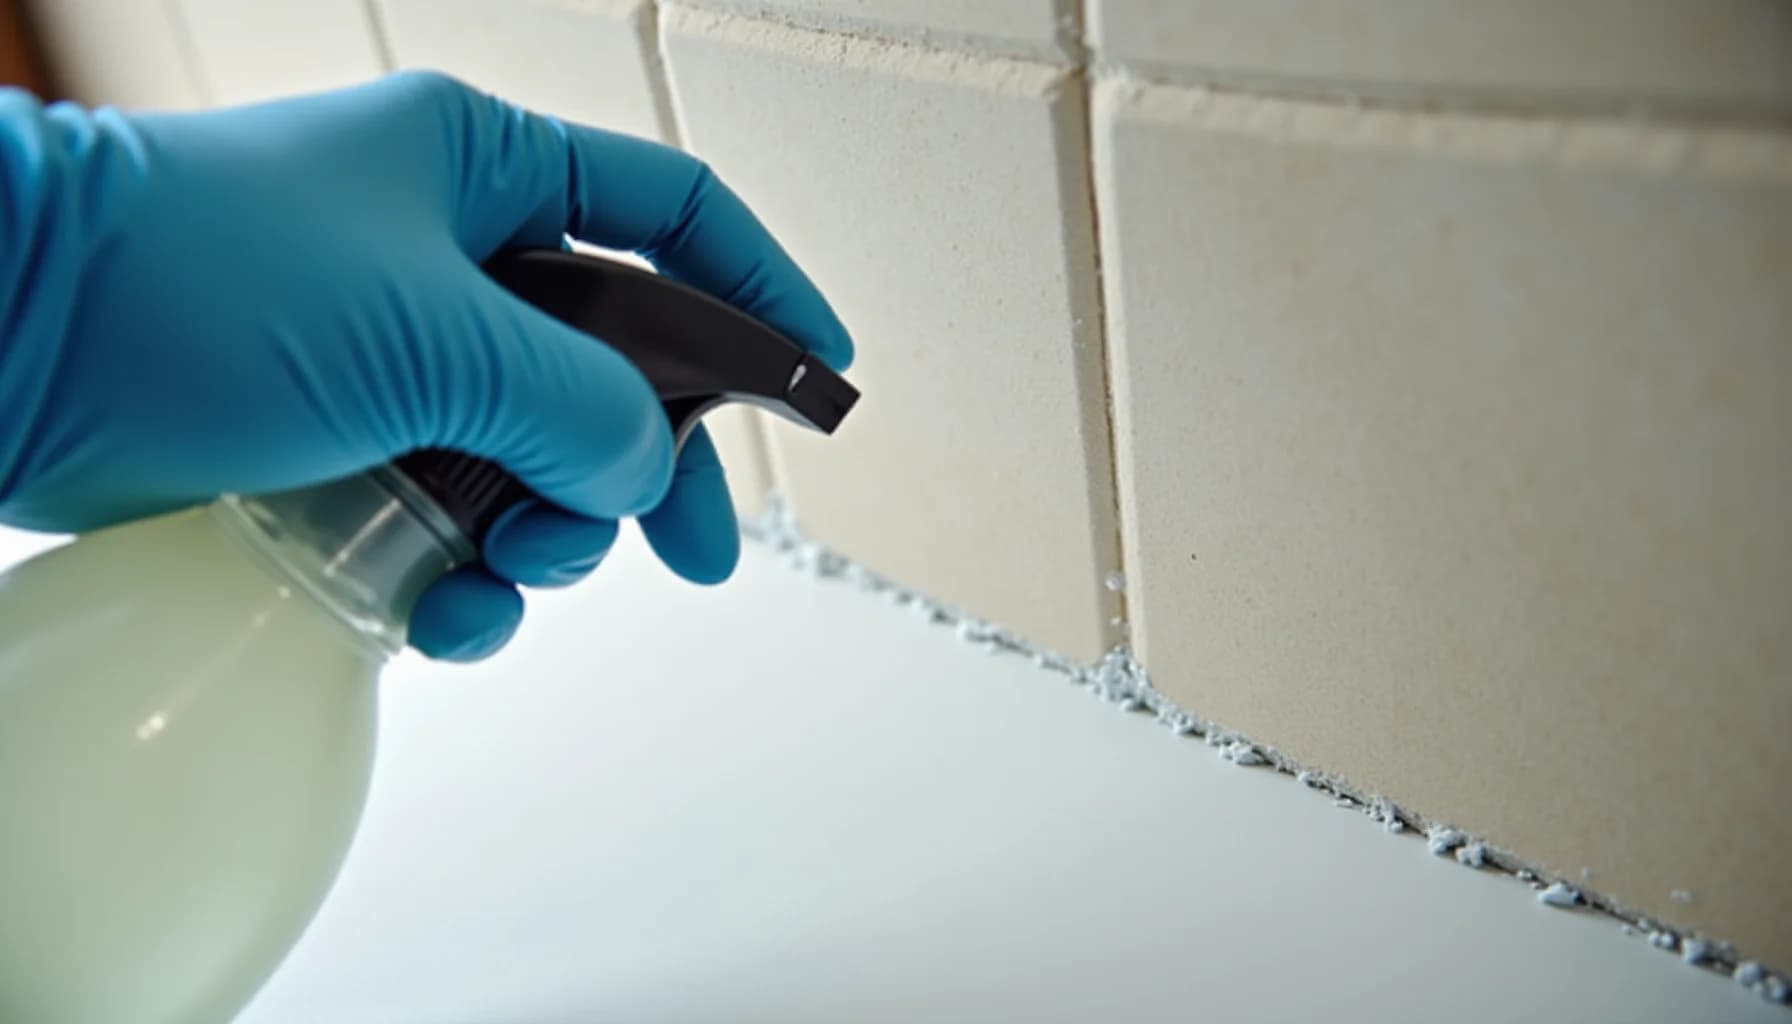
Given that inconsistency, the safest starting point is your grout manufacturer's care instructions. If those aren't available, skip the bleach and reach for a 3% hydrogen peroxide solution instead. Mix it with an equal amount of water, spray it directly onto the affected area, and let it sit for 10 to 15 minutes. Then scrub gently with a soft-bristled brush, rinse thoroughly, and dry the surface. This approach handles most mold growth without putting the resin at risk. For broader context on mold in wet areas, the guide on how to clean shower mold covers what causes recurring growth and how to address it at the source.
For stubborn stains that aren't mold-related, a warm water and white vinegar solution is effective, particularly for the hazy film that sometimes clouds tile surfaces after grouting or heavy use. Soak a scrub pad in the solution, work it along the grout lines, and rinse after about 15 minutes.
Where vinegar and hydrogen peroxide fall short, a pH-neutral cleaner formulated specifically for epoxy grout is the next step. For hardened post-installation residue, specialized products like PS87 GEL or EPOXYOFF are designed for exactly that problem and will save you considerable effort compared to household methods.
How do you remove epoxy grout haze and handle spills before they set
Epoxy grout has almost no margin for error during and immediately after installation. While the material is still wet, it wipes away cleanly, but once it cures, it bonds to tile surfaces with the same tenacity that makes it so durable underfoot. Tilers who walk away and plan to clean up "later" routinely return to find a haze that standard household cleaners cannot touch. That hardened film requires a specifically formulated product such as PS87 GEL or EPOXYOFF, both designed to dissolve cured epoxy residue from nonabsorbent surfaces like porcelain, ceramic, and glass mosaic tile. If you reach that stage, do not attempt to scrape the haze off with a blade or metal tool. Scratches from metal implements are permanent and cannot be polished out of most tile finishes.
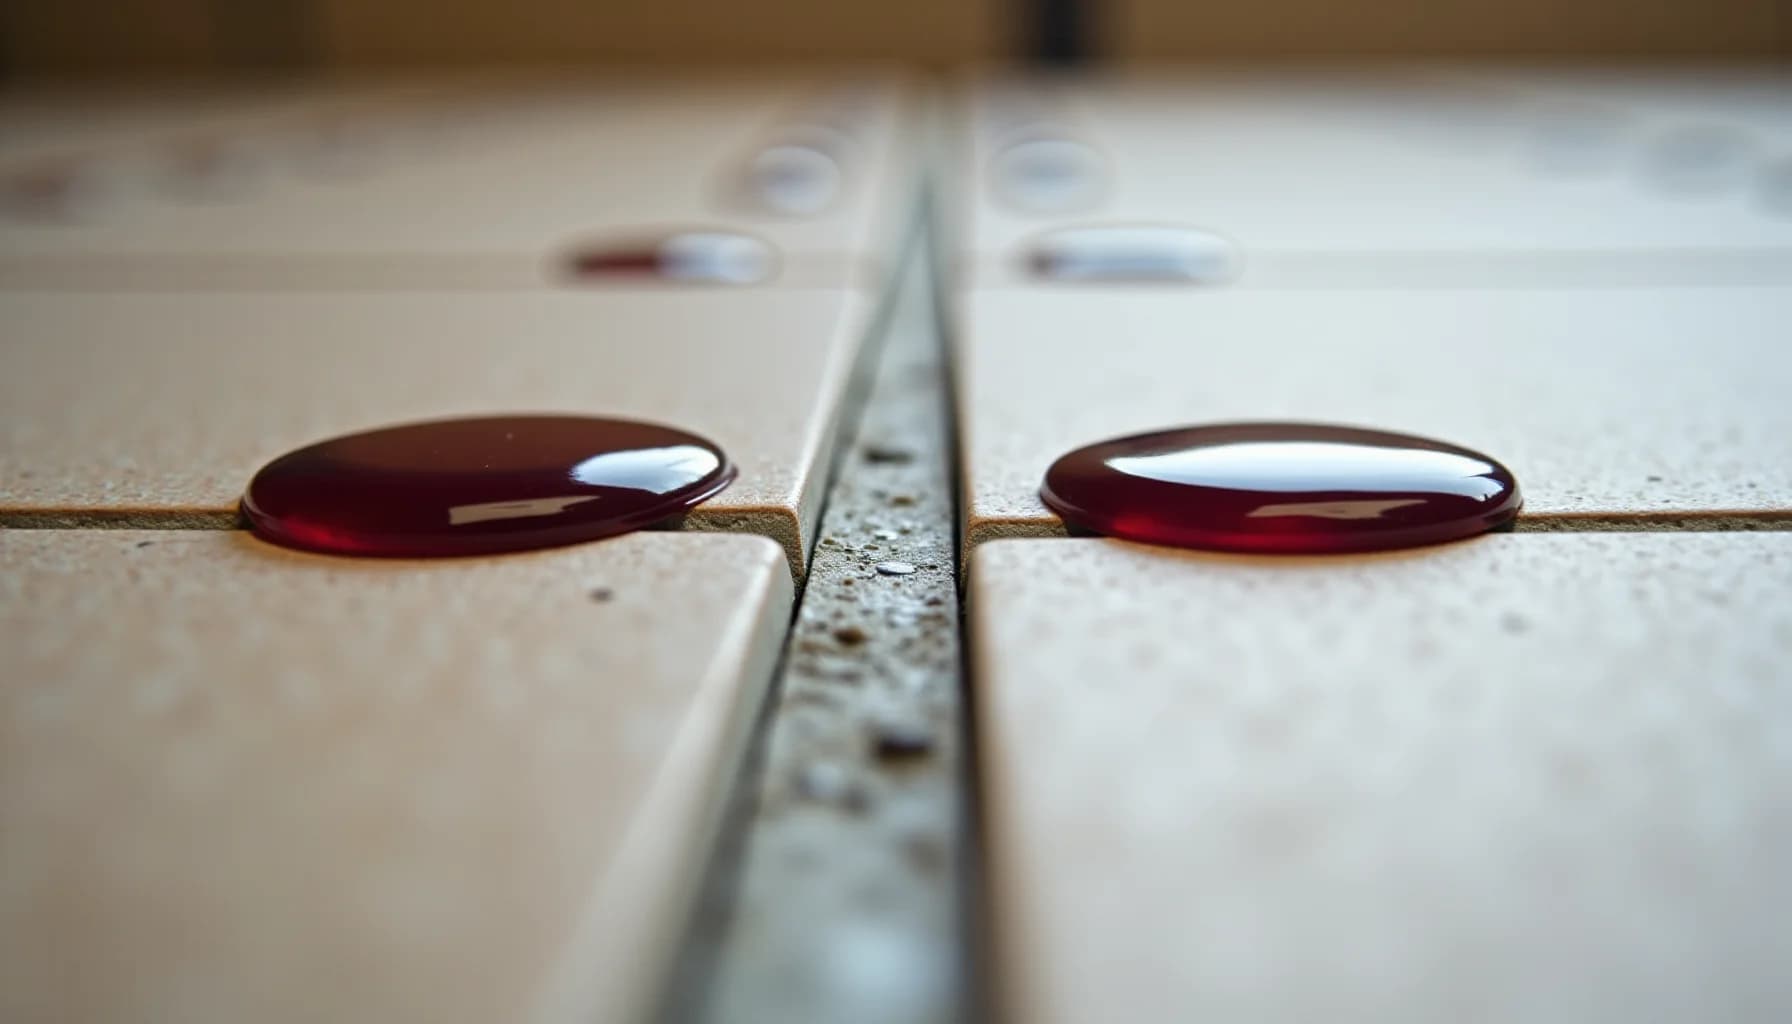
For spills on fully cured grout, the rule is simple: wipe immediately. Epoxy grout resists staining, but that resistance has limits, and the longer a spill sits, the harder the cleanup becomes. Keep a damp microfiber cloth within reach in any room where you have epoxy-grouted tile, particularly the kitchen. A quick blot costs you nothing; a stubborn stain costs you real time and effort.
If post-installation haze has already cured fully and formulated removers have not cleared it after two attempts, stop. Call a professional grout cleaning service at that point. Continuing to scrub harder, or switching to improvised solvents, risks stripping the tile finish rather than the haze.
Frequently asked questions
Does epoxy grout still need regular cleaning even though it is stain-resistant?
Is it safe to use bleach on epoxy grout?
What tools should I avoid when cleaning epoxy grout?
How do I remove mold from epoxy grout?
When should you call a professional cleaner?
Most stubborn stains on epoxy grout respond to the household methods described in this article, but some situations genuinely call for a professional. If you have tried a vinegar soak, a pH-neutral cleaner, and a specialized product like EPOXYOFF without success, stop there. Continued scrubbing with improvised solutions risks damaging the resin surface more than the stain itself. A professional tile and grout cleaning service can deploy steam cleaning, which sanitizes deeply without leaving chemical residue and without the abrasion risk that comes from aggressive DIY attempts. Steam is also useful when mold has taken hold beneath surface grime; if you are also dealing with persistent mold growth in the same space, how to clean shower mold covers that process separately.
Moisture management during cleaning is worth treating as its own discipline. Epoxy grout is waterproof, but oversaturating the surface still causes water streaks and residue. Use a damp mop wrung out thoroughly rather than pouring water across the floor. After cleaning any area, wipe it dry rather than letting it air-dry. On walls and vertical surfaces, work from the top down so rinse water does not re-soil areas you have already cleaned. These small habits protect the finish and reduce how often you need heavy-duty intervention in the first place.
How this article was made
Researched and written with AI assistance. What gets published is a human editorial decision. Grounded in 8 cited sources.
Edited by Claire Mercier, Editor. The guides are written with AI assistance.
Sources (8)
- 4 Easy Ways to Clean Epoxy Grout
- How to remove epoxy grout from tile like a real pro
- How to clean epoxy grout after grouting | Contractor Talk - Professional Construction and Remodeling Forum
- How to Clean Epoxy Grout - Resin Pro
- Epoxy Grout Cleaning: A Comprehensive Guide - Masterful Carpet Cleaning
- Maintaining and Cleaning Epoxy Tile Grout: Dos and Don’ts for Lasting Beauty – Delgon Laticare Blog
- Maintain and Clean Epoxy Grouting - Grout Specialist PTE
- Epoxy Grout Maintenance Tips | Keep Your Grout Looking New