How to Clean and Seal Grout (and Keep It That Way)
Part of Bathroom Cleaning · article 7 of 16
On this page
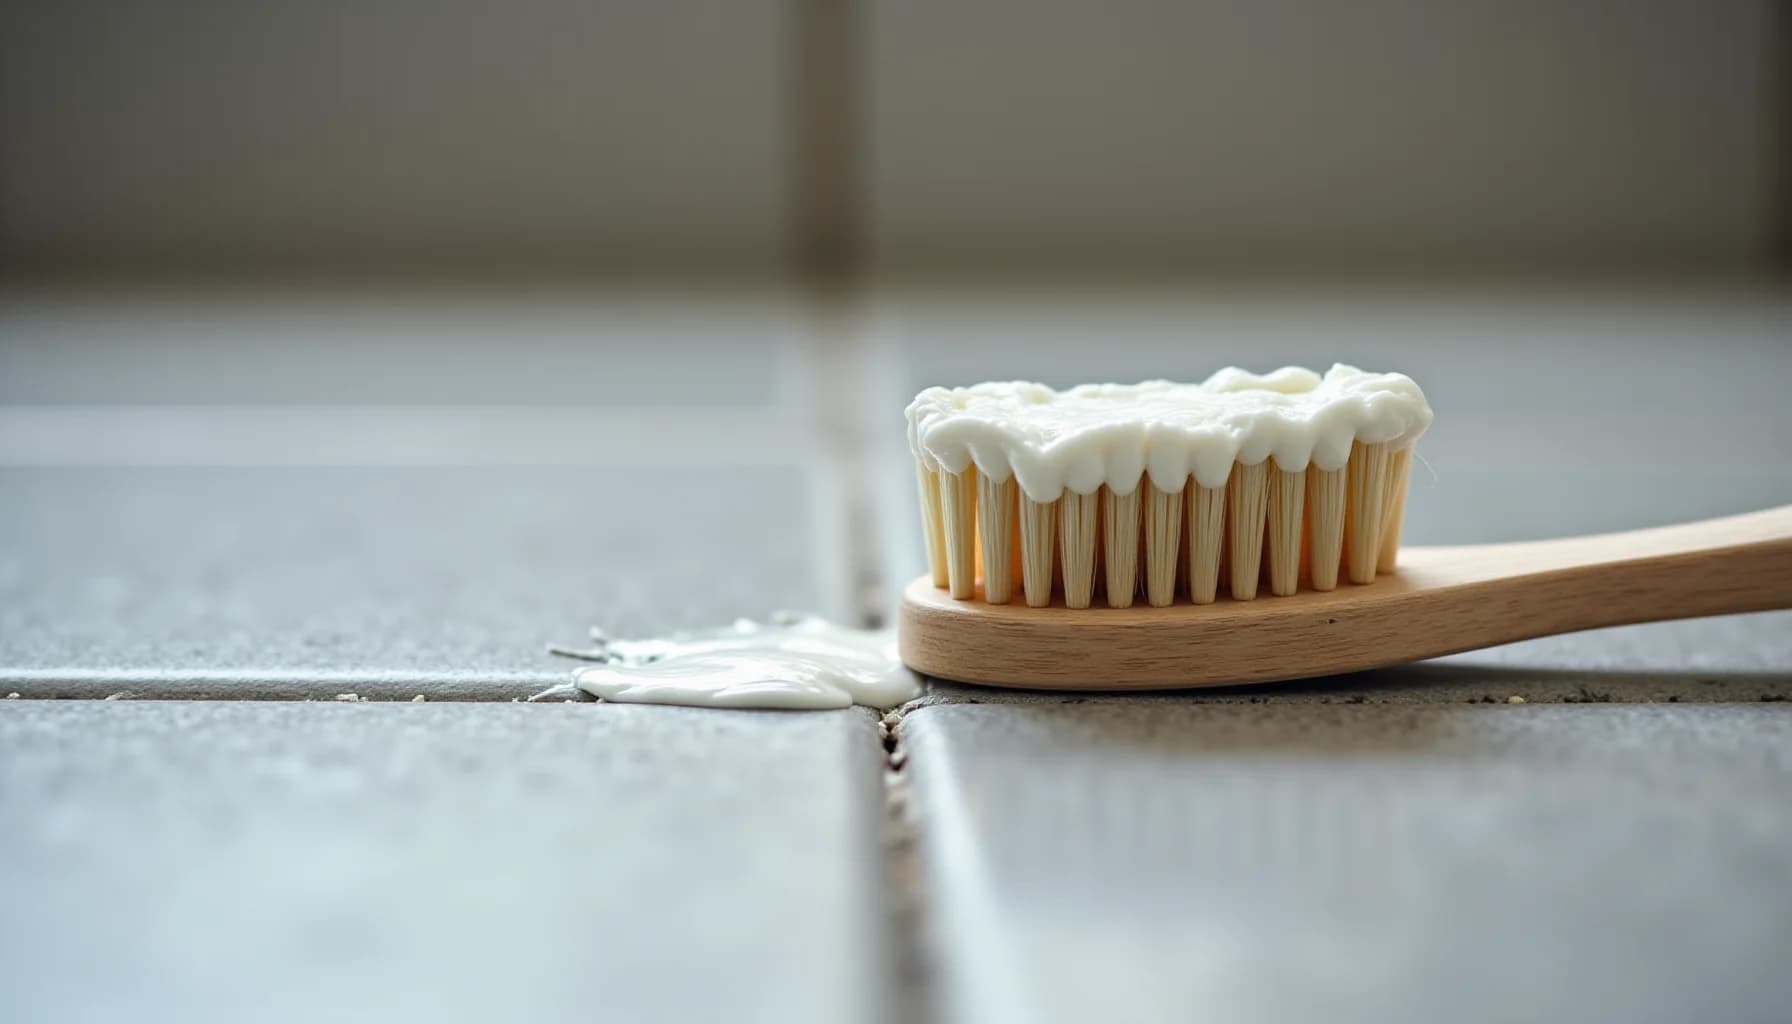
Cleaning grout starts mild and escalates only if needed: wet the lines with soapy water, let it sit, scrub with an old toothbrush, then rinse. For deeper stains, mix two parts baking soda with one part hydrogen peroxide and work it in before rinsing. If staining persists, dissolve two tablespoons of oxygenated bleach in two cups of warm water, let it sit up to 15 minutes, then scrub clean. Avoid vinegar, ammonia, lemon-based cleaners, and chlorine bleach for routine use; acids pit and dissolve cement-based grout over time, and repeated bleach use can make grout more porous. For colored grout, oxygen bleach is the only safe bleach option. Once the grout is clean and fully dry, apply a penetrating sealer, which bonds invisibly within the grout and holds up best in showers and wet areas. Reapply in high-moisture zones every six to twelve months, and every three to five years in low-traffic spots. Sealing reduces staining and slows moisture damage, but it does not replace regular cleaning.
What makes cement-based grout so vulnerable to moisture and stains?
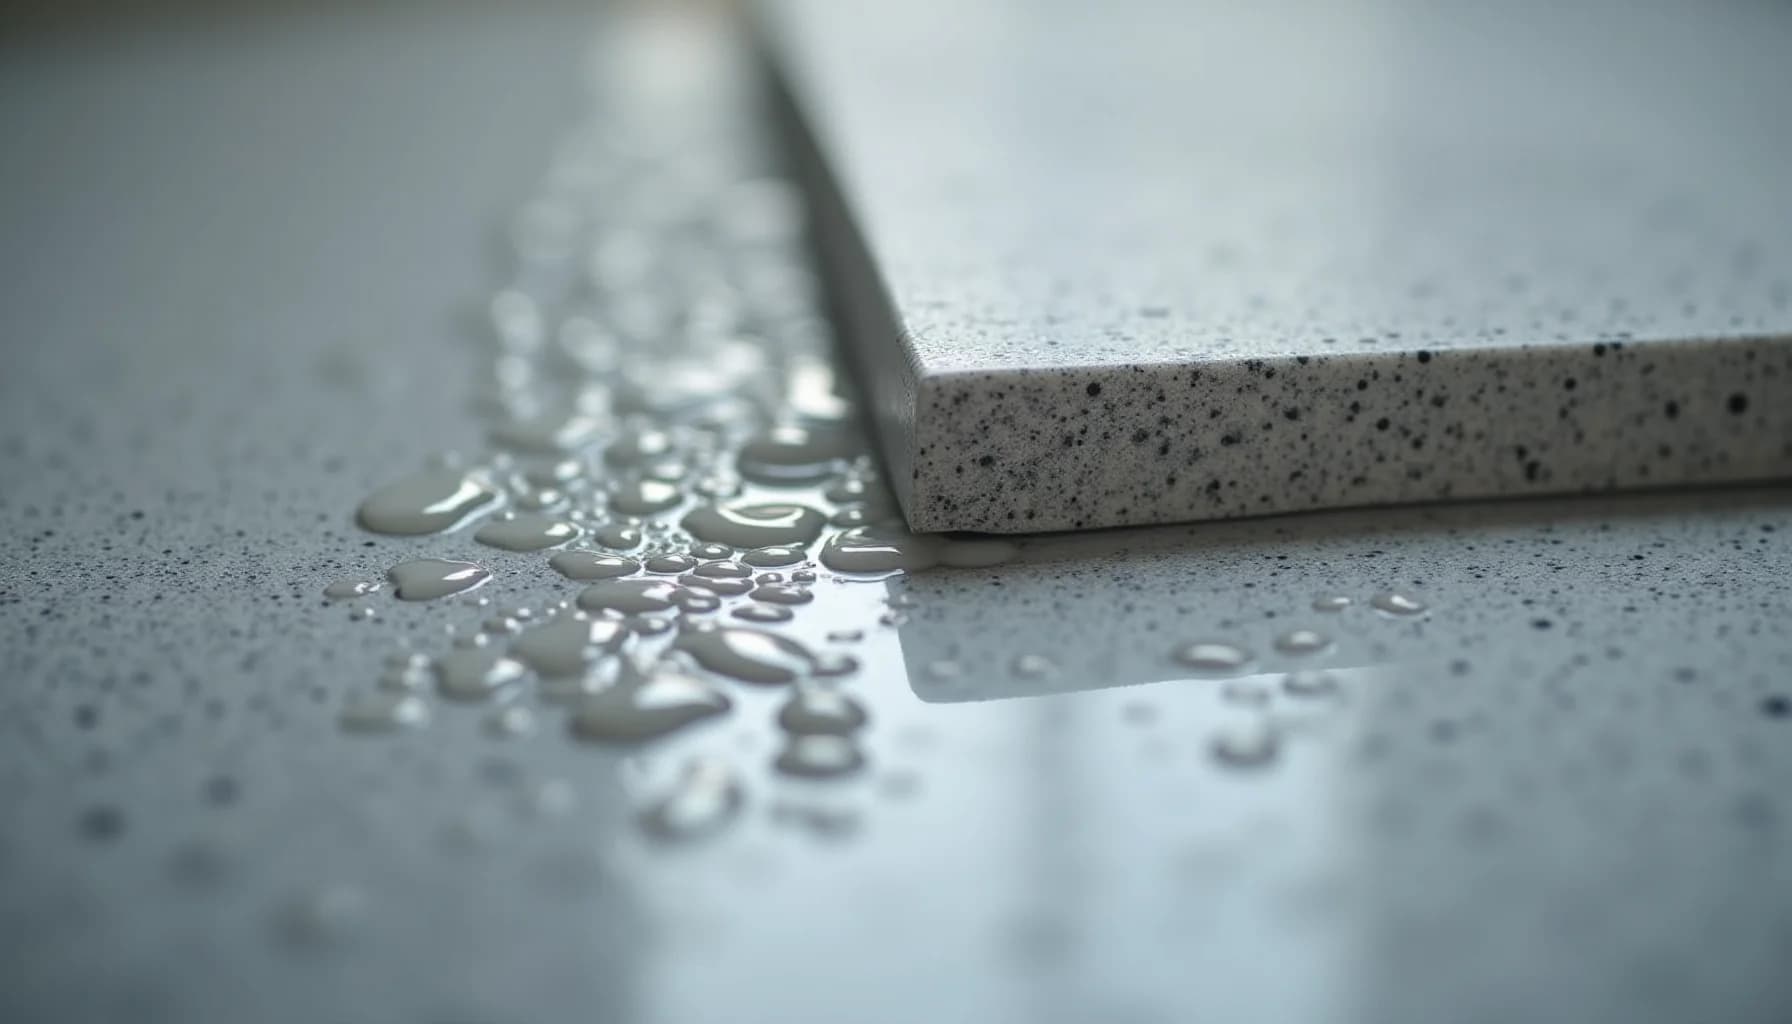
Cement-based grout is made primarily from Portland cement, water, and fine aggregate, and that cement base is inherently porous. Think of it as millions of tiny capillaries running through each grout line. Those capillaries draw in whatever contacts the surface: water, cooking oil, soap scum, cleaning product residue, and airborne particles. In roughly 90% of homes, this is the grout holding the tile together, which means most homeowners are living with a material that is actively absorbing everything it touches.
When grout goes unsealed, the consequences compound over time. Moisture that penetrates the surface causes the grout to expand and contract with temperature changes, which slowly opens up cracks and gaps along the tile lines. Once those gaps form, water reaches the substrate beneath, weakening adhesion and eventually causing tiles to loosen or crack. In bathrooms and kitchens, where humidity levels fluctuate daily, this cycle accelerates. Unsealed exterior grout in exposed conditions can deteriorate within two to three years, which is faster than most homeowners expect.
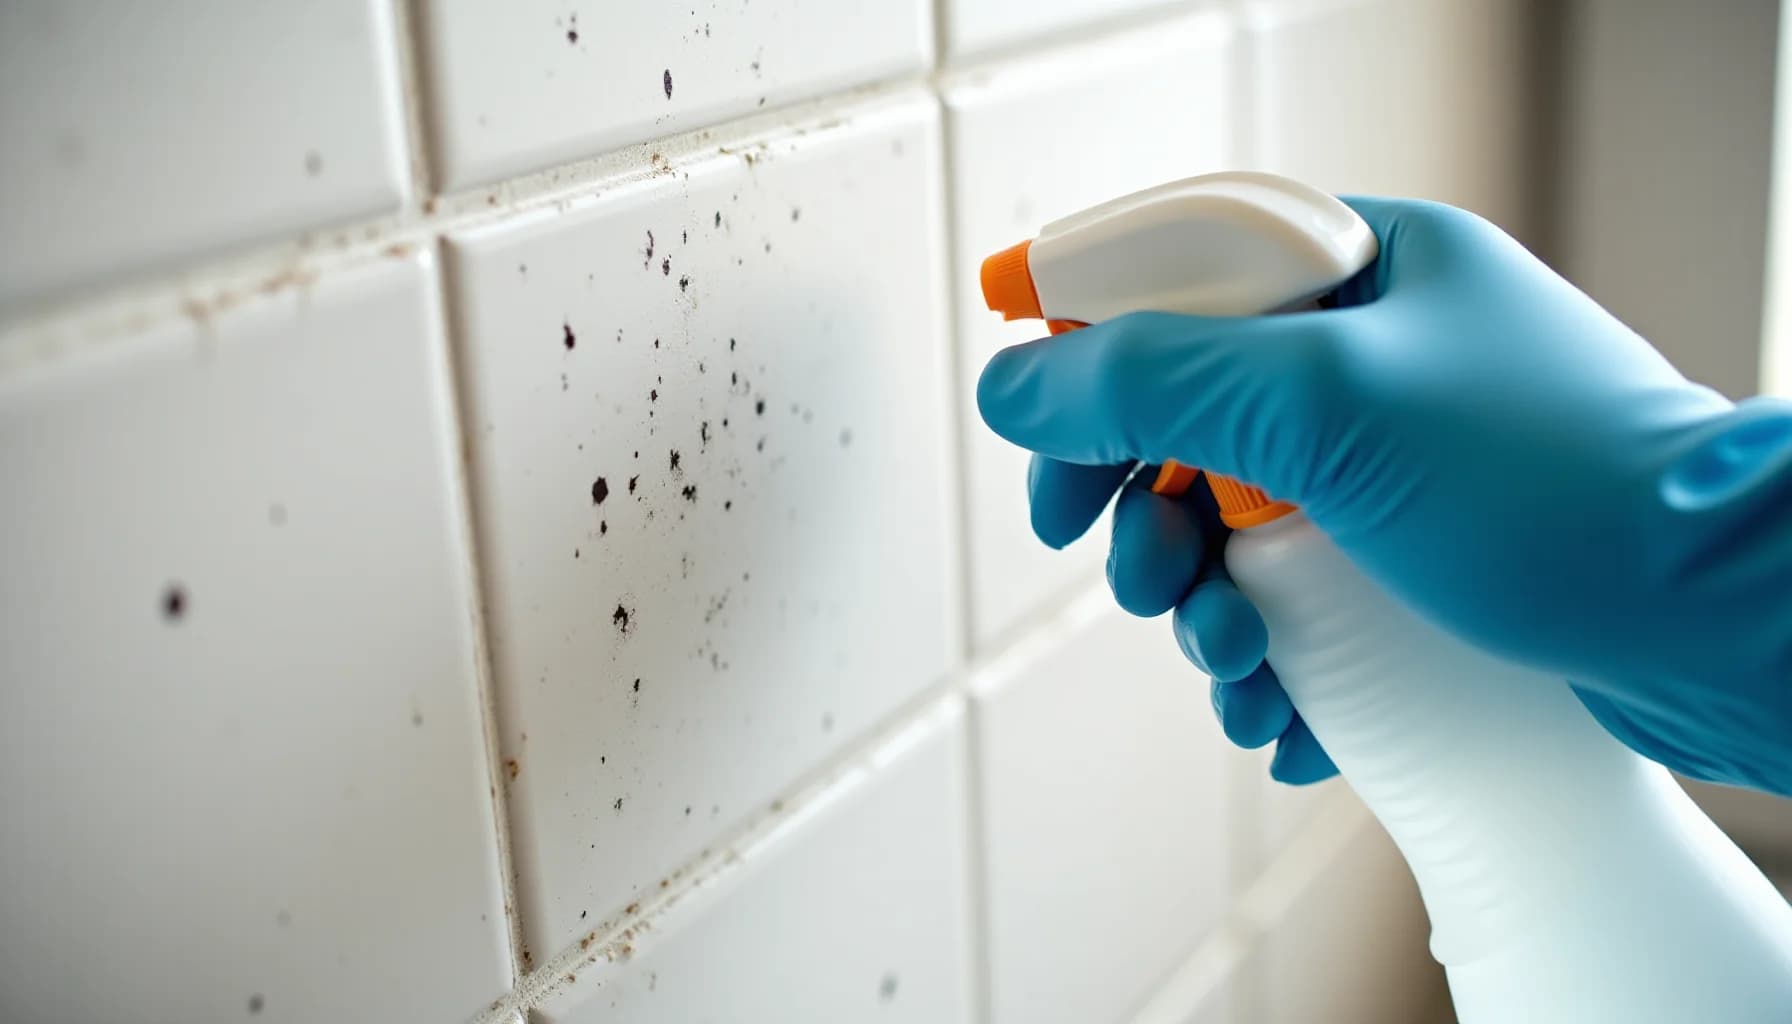
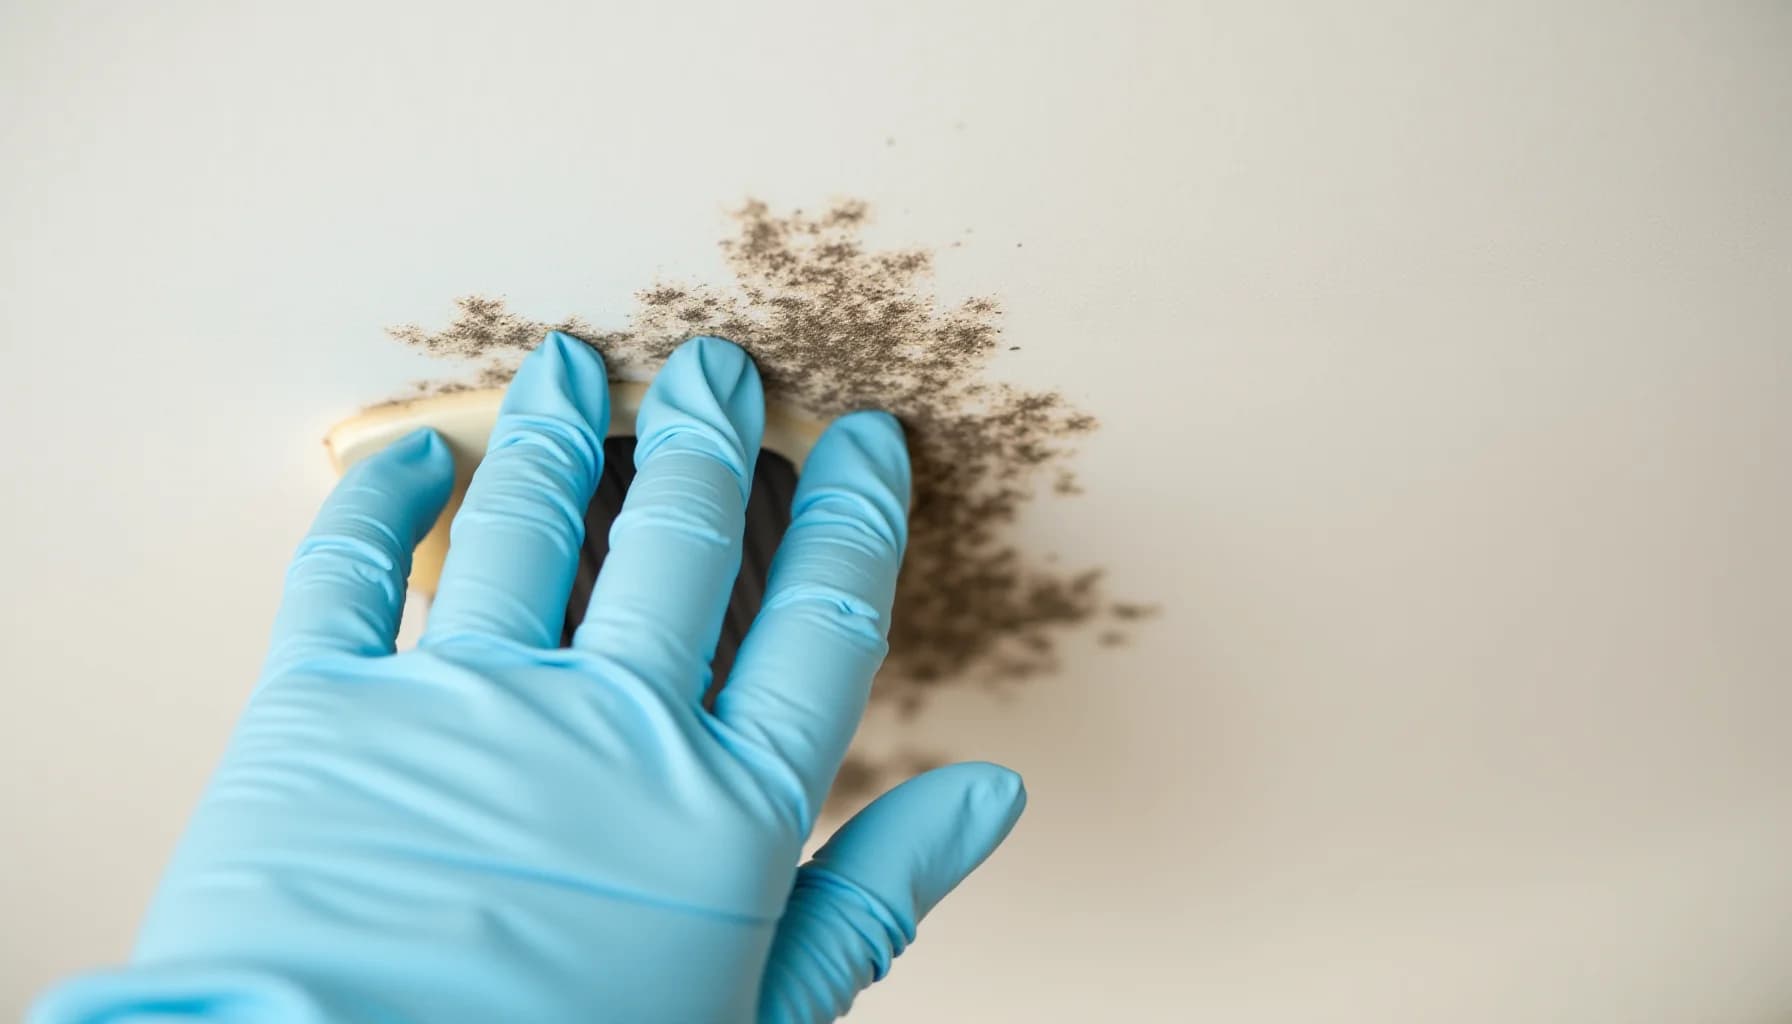
Beyond structural damage, unsealed grout stains deeply and permanently. Because the porosity runs through the full depth of the material rather than just sitting on the surface, stains cannot simply be wiped away. Mold also finds purchase more readily in unsealed grout, since moisture trapped inside the lines creates the conditions mold needs to establish itself. If you are already dealing with that problem in a shower environment, the guide on how to clean shower mold covers the removal process in detail.
What's the safest way to clean grout without damaging it?
Start with mild soap and water, then escalate if needed
Wet the grout lines with mild soapy water, let it sit for a few minutes, then scrub with a toothbrush and rinse. If stains remain, mix two parts baking soda with one part hydrogen peroxide, apply to the grout, wait 15 minutes, scrub, and rinse thoroughly.
Tackle stubborn stains with oxygen bleach solution
Dissolve 2 tablespoons of oxygenated bleach into 2 cups of warm water, apply to the stained grout, and allow it to sit for up to 15 minutes before scrubbing and rinsing. Use oxygen bleach instead of chlorine bleach on colored grout, as chlorine bleach leaches color from tinted grout lines.
Avoid acidic and harsh cleaners that damage grout
Skip cleaners containing vinegar, lemon, ammonia, or chlorine bleach as routine options, since these acids can dissolve or pit cementitious grout and break down any existing sealant. Chlorine bleach can be used sparingly in extreme cases, but repeated use erodes grout over time.
Choose the right sealer for your tile location
Select a penetrating sealer for shower environments and wet areas: it soaks into the grout, forms an invisible barrier from within, and holds up well against repeated water exposure without altering the appearance of the grout. Use a topical sealer only where foot traffic is minimal, and note that epoxy grout seals itself and requires no additional sealer at all.
Apply the sealer in thin, even coats
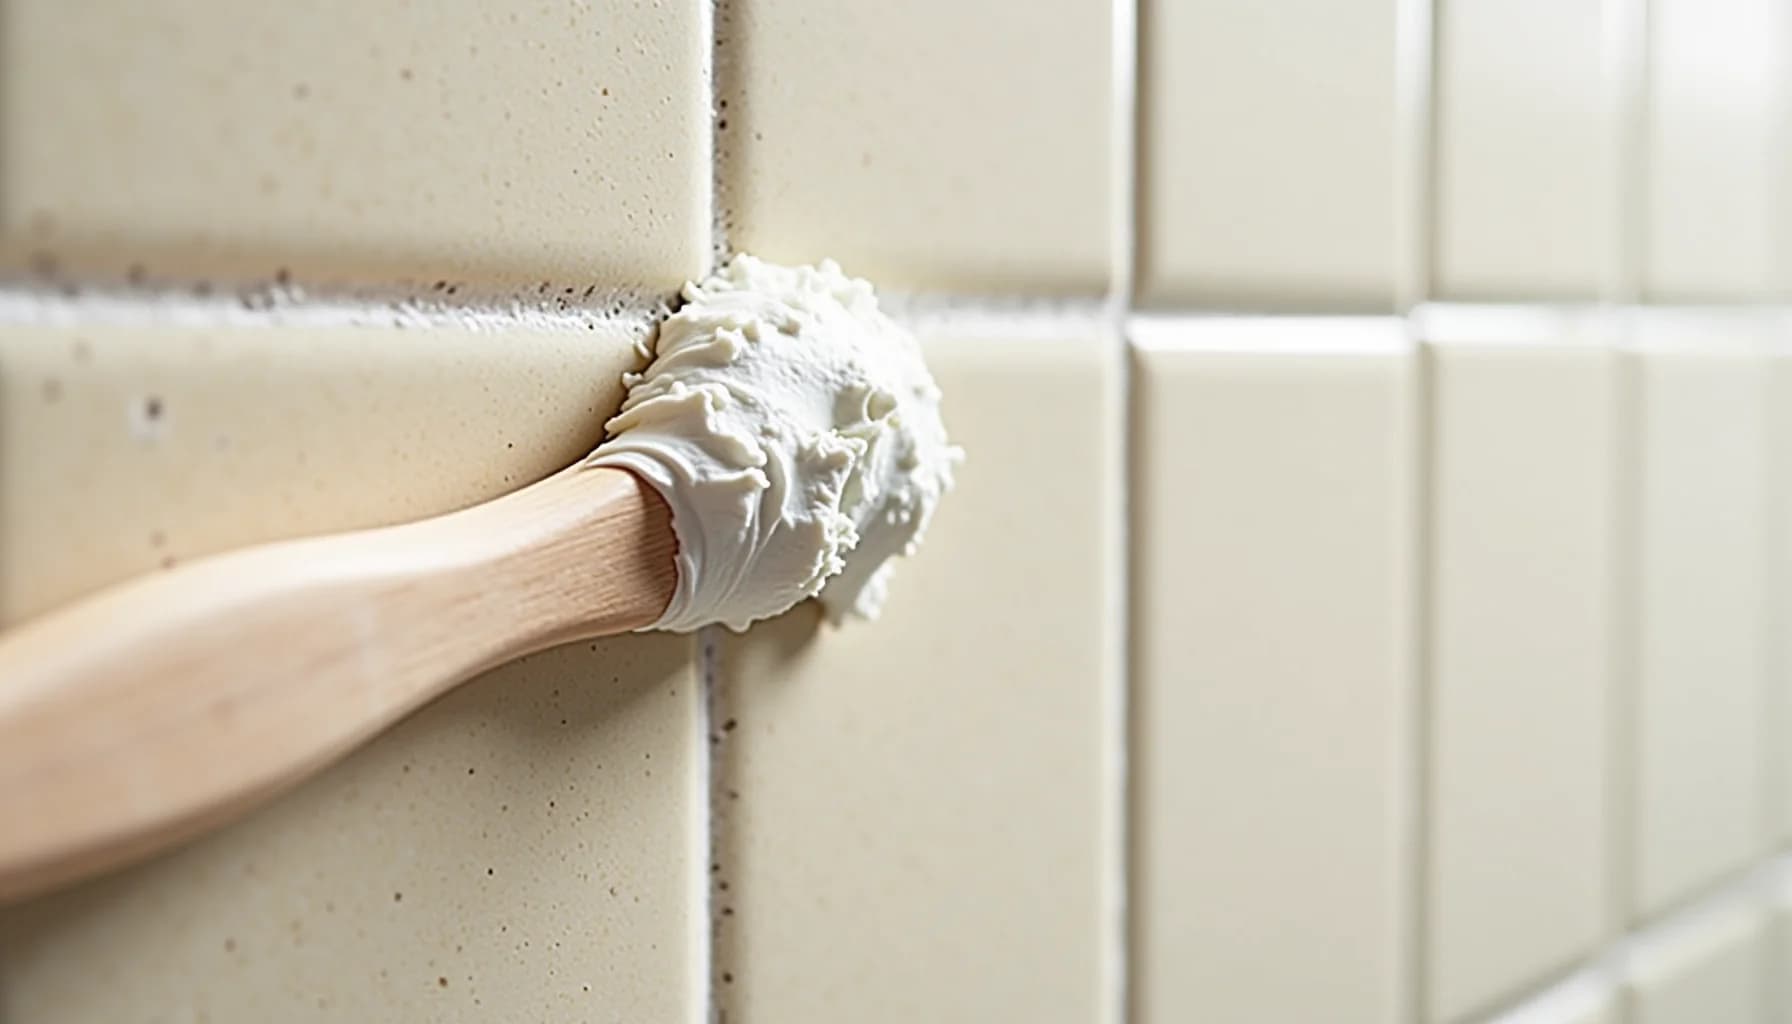
Work the sealer along the grout lines using the applicator or a small brush, wiping any excess off the tile surface before it dries to avoid a hazy residue. Apply only as much sealer as the grout can absorb: using too much leaves a dull film on the tiles and attracts dirt.
Reseal on a schedule based on location and traffic
Reseal shower grout every 6 to 12 months, high-traffic floors such as kitchens and mudrooms every 1 to 2 years, and low-traffic areas such as a guest bathroom backsplash every 3 to 5 years. Continue regular cleaning after sealing, as a sealer creates a protective barrier but does not eliminate the need for routine maintenance.
Does steam cleaning remove grout sealer?
Steam cleaners work by heating water to 212°F and forcing the resulting vapor into grout lines under pressure. That heat loosens compacted dirt, grease, and surface mold without requiring any chemical cleaners, which makes steam an appealing option for homeowners who want to avoid introducing harsh products to a bathroom or kitchen.
The catch is that the same heat and pressure that lifts grime will also strip away grout sealer. Sealant, whether penetrating or topical, is not indestructible, and sustained exposure to steam at that temperature degrades the protective barrier. After a thorough steam cleaning session, you should treat your grout as effectively unsealed, even if it was sealed recently.
That means resealing is not optional after steam cleaning; it is required. Once the tile has dried completely, apply a fresh coat of grout sealer before the surface is exposed to moisture again. Skipping this step leaves the grout porous and vulnerable. Without that barrier, dirt and moisture work back into the lines quickly, and you will find yourself repeating the deep-clean cycle far sooner than necessary.
One practical note worth keeping in mind: steam cleaning is particularly effective at addressing the surface mold that tends to colonize shower grout. If that is a recurring problem in your bathroom, it may also be worth reading about how to clean shower mold and stop it coming back, since mold remediation and grout maintenance are closely linked in wet environments.
The sequence matters here. Clean with steam, let the tile dry fully, then reseal. Attempting to seal over grout that still holds residual moisture traps water beneath the barrier and can cause the sealer to fail prematurely or the grout to discolor. Patience between steps is the difference between a fix that lasts and one that needs redoing within months.
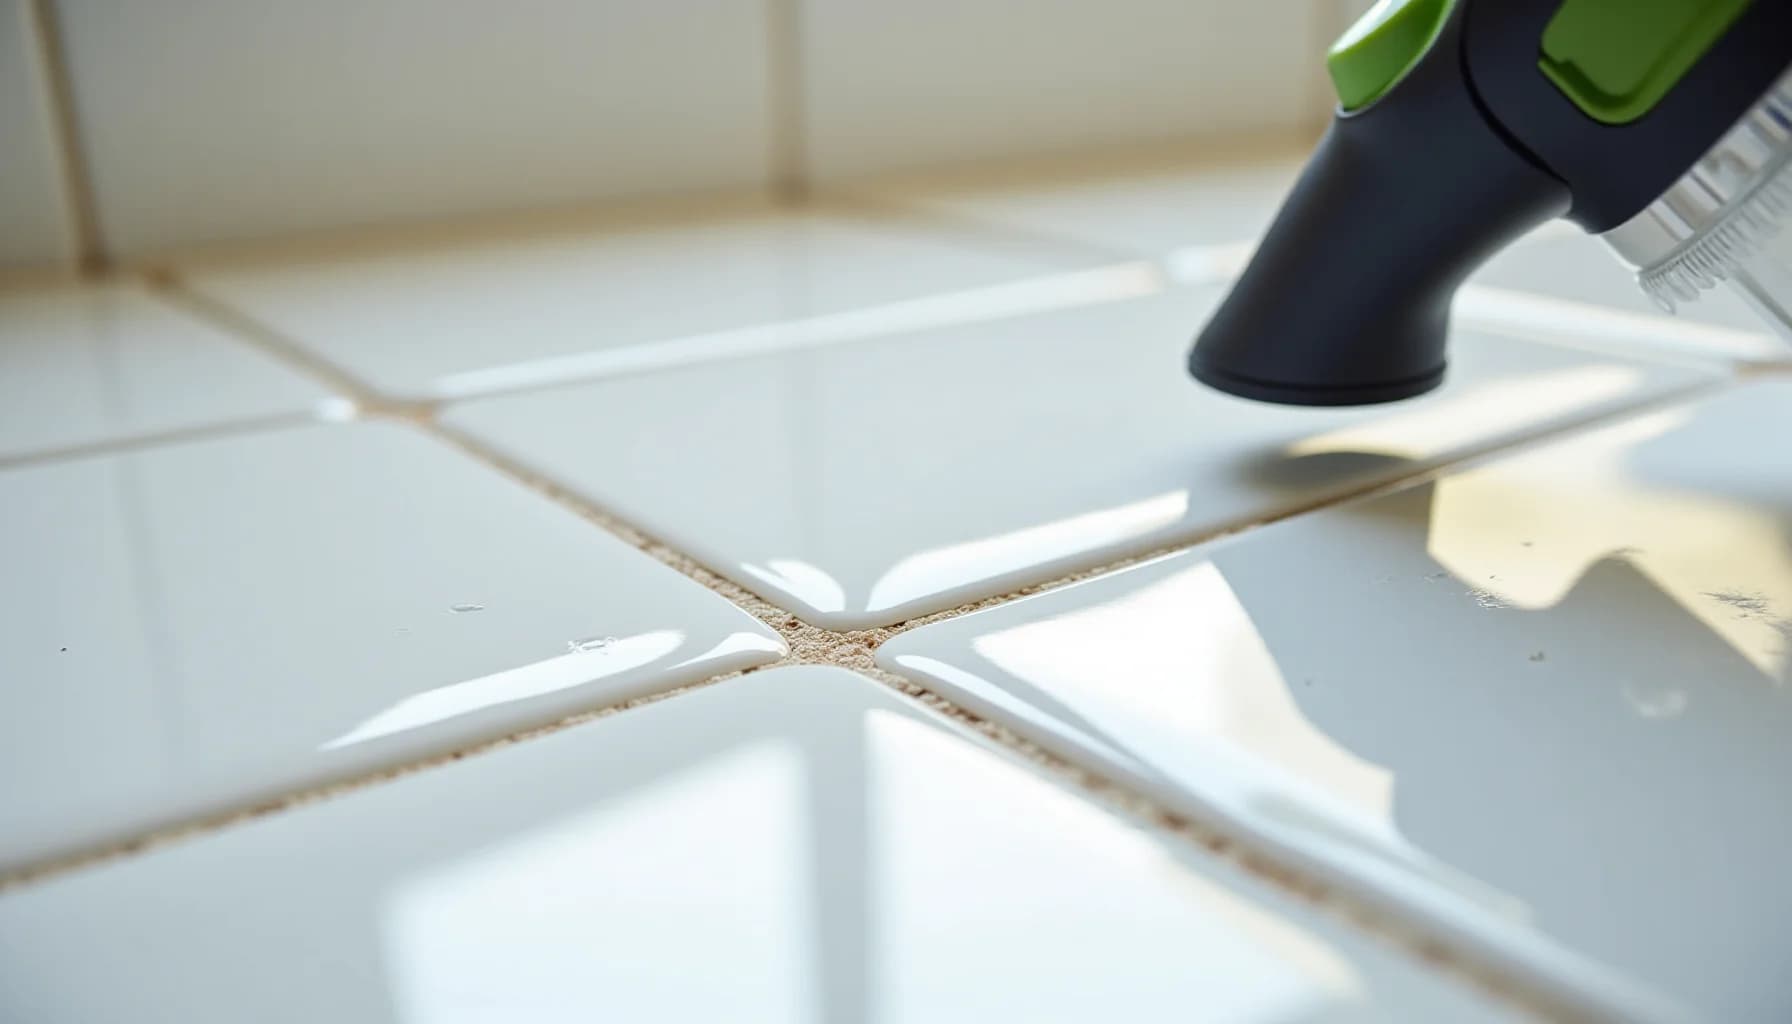
Which grout sealer works best for your tile location
The choice between a penetrating sealer and a topical sealer comes down to where your tile is installed and how much wear it takes.
Penetrating sealers, sometimes called impregnating sealers, soak into the grout and form an invisible barrier from within. They chemically bond with the cementitious material and repel water and water-based stains without changing how the grout looks or feels. Because they sit inside the grout rather than on top of it, they hold up well against repeated water exposure and do not wear away with foot traffic the way a surface coating does. This makes them the preferred choice for shower floors, shower walls, and any wet area where moisture is constant. If you are already dealing with recurring moisture issues in your shower, it is worth reading about how to clean shower mold and stop it coming back alongside your sealing work, since sealing alone will not address an existing mold problem.
Topical sealers coat the surface of the grout and repel almost everything, including oil-based stains that penetrating sealers are less effective against. The trade-off is that they sit on top of the grout, which means foot traffic gradually wears them down. They can also alter the finish of the grout, adding a sheen some homeowners find unwanted. They are a reasonable choice for a low-traffic decorative backsplash or a wall installation where abrasion is minimal, but they are not well suited to shower floors or busy kitchen floors.
One practical rule: match the sealer to the environment. High-moisture, high-traffic locations call for a penetrating sealer. Low-moisture, low-traffic surfaces give you more flexibility. If you are unsure what tile type you are working with, the field tests for identifying your tile type can help you choose the right product before you buy.
| Tile Location | Best Sealer Type | Resealing Frequency | Alters Grout Appearance |
|---|---|---|---|
| Shower walls & floor | Penetrating | Every 6–12 months | No |
| High-traffic floors (kitchen, mudroom) | Penetrating | Every 1–2 years | No |
| Low-traffic floors (guest bath, backsplash) | Topical or penetrating | Every 3–5 years | Topical: yes; penetrating: no |
| Outdoor/exterior tile | Penetrating | Every 2–3 years | No |
How often should you reseal grout?
There is no single universal answer, and the wide range of professional recommendations reflects real differences in how grout is used and maintained rather than disagreement.
For shower grout, reseal every six to twelve months. Constant steam and water exposure weakens sealants faster than almost any other household condition, and a shower that goes more than a year without resealing is essentially unprotected. High-traffic floors in kitchens, mudrooms, and master bathrooms fall into the one-to-two-year range. Low-traffic areas such as a guest bathroom floor or a decorative backsplash can go three to five years between applications. Outdoor tile grout is the most overlooked category: unsealed exterior grout exposed to freeze-thaw cycles and rain can deteriorate within two to three years, which is far faster than most homeowners expect.
Two factors shorten every timeline above. First, grout type: sanded, porous cementitious grout absorbs moisture and contaminants more readily and needs sealing more frequently than denser unsanded grout. Second, and less obvious, the cleaners you use on a regular basis. Acidic cleaners, including vinegar-based sprays, actively break down sealant between resealing sessions, meaning a well-sealed floor cleaned weekly with the wrong product may need resealing sooner than a lightly trafficked one. Switching to a pH-neutral cleaner extends how long each application holds. If you are unsure which products are safe for your specific tile, check which cleaners are safe for your tile type before committing to a routine.
Frequently asked questions
Do I need to seal all types of grout?
How often should I reseal grout in a shower?
Can I use vinegar or bleach to clean grout?
Will sealing grout mean I never have to clean it again?
Five grout myths worth setting straight
Grout myths spread easily because grout is one of those things most homeowners rarely think about until something goes wrong. Here are five worth correcting before they cost you time or money.
Grout pens clean your grout. They do not. Grout pens are paint pens. They cover discoloration rather than lifting it, which means the dirt and moisture underneath stay exactly where they are. Use them only if you understand you are painting over a problem, not solving one.
Bleach is the best deep cleaner for grout. Bleach handles surface stains, but it does not penetrate deeply into porous cement-based grout. Worse, repeated use can actually make grout more porous over time. A 3% hydrogen peroxide solution, left to sit for at least 15 minutes before rinsing, penetrates further and does less long-term damage.
Once sealed, grout never needs cleaning. Sealer creates a barrier; it does not make grout self-maintaining. Regular cleaning still extends the life of the seal itself.
More sealer means better protection. Excess sealer leaves a hazy residue on tile surfaces, dulls the finish, and attracts dirt faster.
All grout must be sealed. Epoxy grout is highly water-resistant and seals itself as it cures, so it needs no additional sealer at all.
How this article was made
Researched and written with AI assistance. What gets published is a human editorial decision. Grounded in 4 cited sources.
Edited by Claire Mercier, Editor. The guides are written with AI assistance.