How to Clean Outside AC Unit Without Wrecking the Fins
Part of Air & HVAC · article 11 of 12
On this page
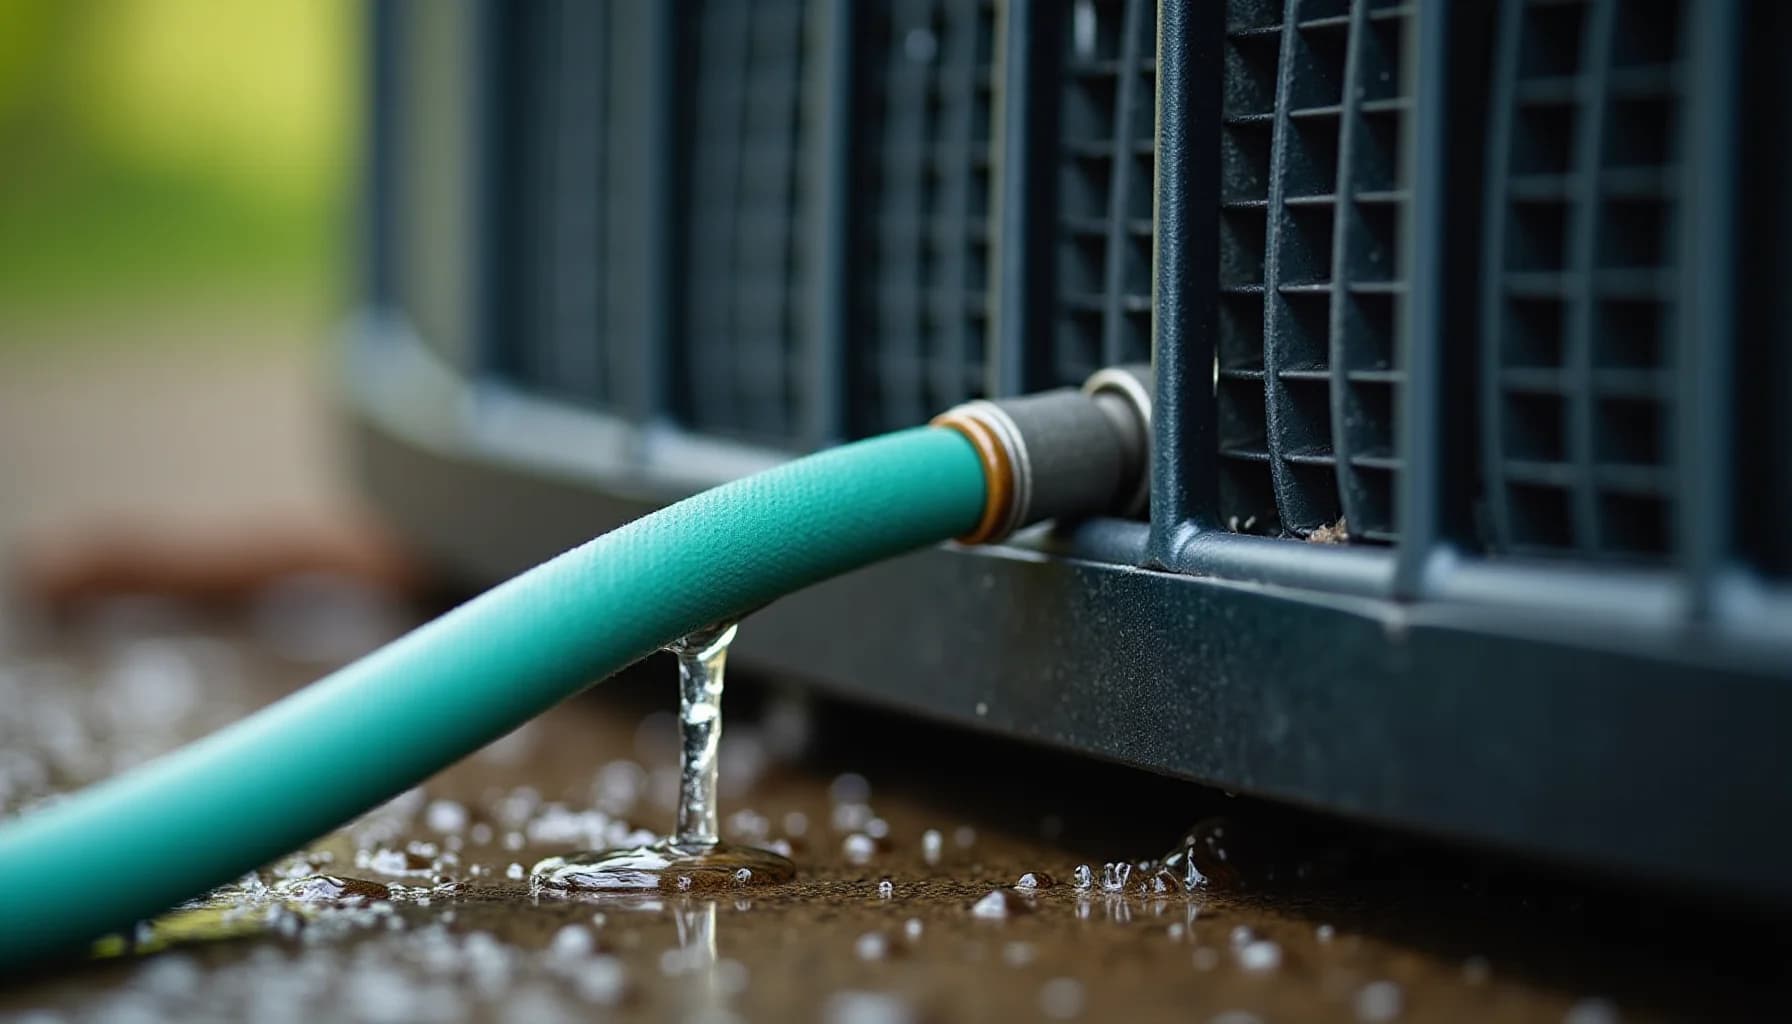
Use a garden hose on a low-pressure setting, spraying from the inside of the unit outward to flush debris through the fins rather than deeper into them. Before you touch anything, cut power at the breaker panel — not just the thermostat — because the unit can cycle on without warning. Wear long sleeves, long pants, and closed-toe shoes; the fin edges are sharp. Never use a pressure washer: it will crush the fins permanently, reducing airflow even on a visually "cleaner" unit. Brush only with the grain of the fins using a soft brush, never across them.
Why does a dirty condenser coil drive up your energy bill?
The outdoor condenser is the large metal cabinet sitting outside your home, typically beside or behind the house. Its job is straightforward: it takes the heat that your indoor unit has pulled from your living spaces and dumps it outside. To do that, refrigerant travels through a coil inside the cabinet, and thin aluminum fins that line the exterior help that heat transfer happen quickly by maximizing the surface area exposed to outdoor air. A fan mounted at the top draws air through those fins and across the coil, carrying the heat away.
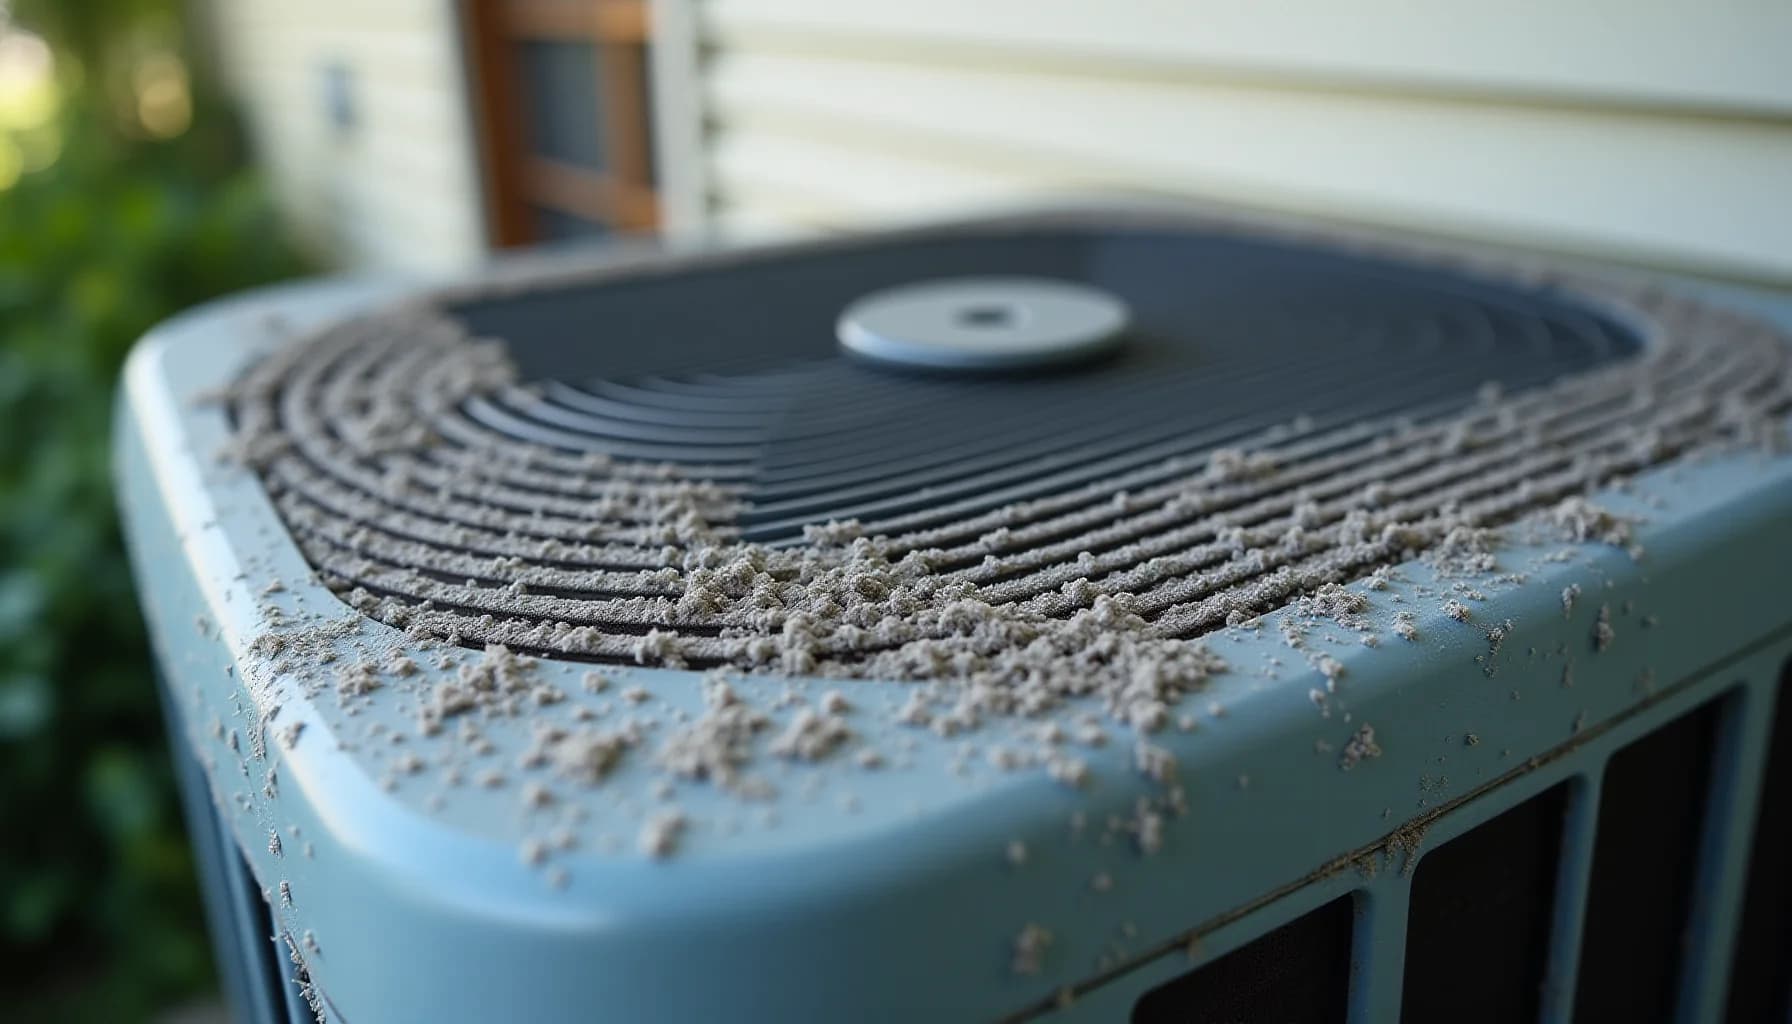
When dirt, cottonwood seeds, grass clippings, and airborne grime pack into the gaps between the fins, that airflow gets choked off. The coil can no longer shed heat efficiently, so the refrigerant returns to the compressor still carrying heat it was supposed to have released. The compressor then has to work harder and longer to maintain the temperature your thermostat is asking for. The measured result of that extra effort is significant: a dirty coil forces the compressor to consume roughly 30% more energy than it would if the coil were clean.
That 30% shows up directly on your electricity bill every month the system runs in that condition. Across a full cooling season in a hot climate, the cumulative cost is real money, not a rounding error. The condenser coil is doing continuous heavy work from May through September for most U.S. homeowners, so a thin layer of accumulated debris is not a minor cosmetic issue. It is a mechanical load that compounds daily.
How often should you clean your outside AC unit?
Cut the Power at the Breaker Panel
Switch off the AC unit at your main electrical breaker before touching anything. This protects you from shock and stops the system from starting while your hands are near moving parts.
Put On Protective Gear and Clear the Area
Wear long sleeves, pants, and closed-toe shoes to guard against sharp edges and debris. Remove leaves, twigs, and grass clippings from the base by hand or with a soft brush, keeping at least two feet clear on all sides of the unit.
Brush the Fins Gently and in the Right Direction
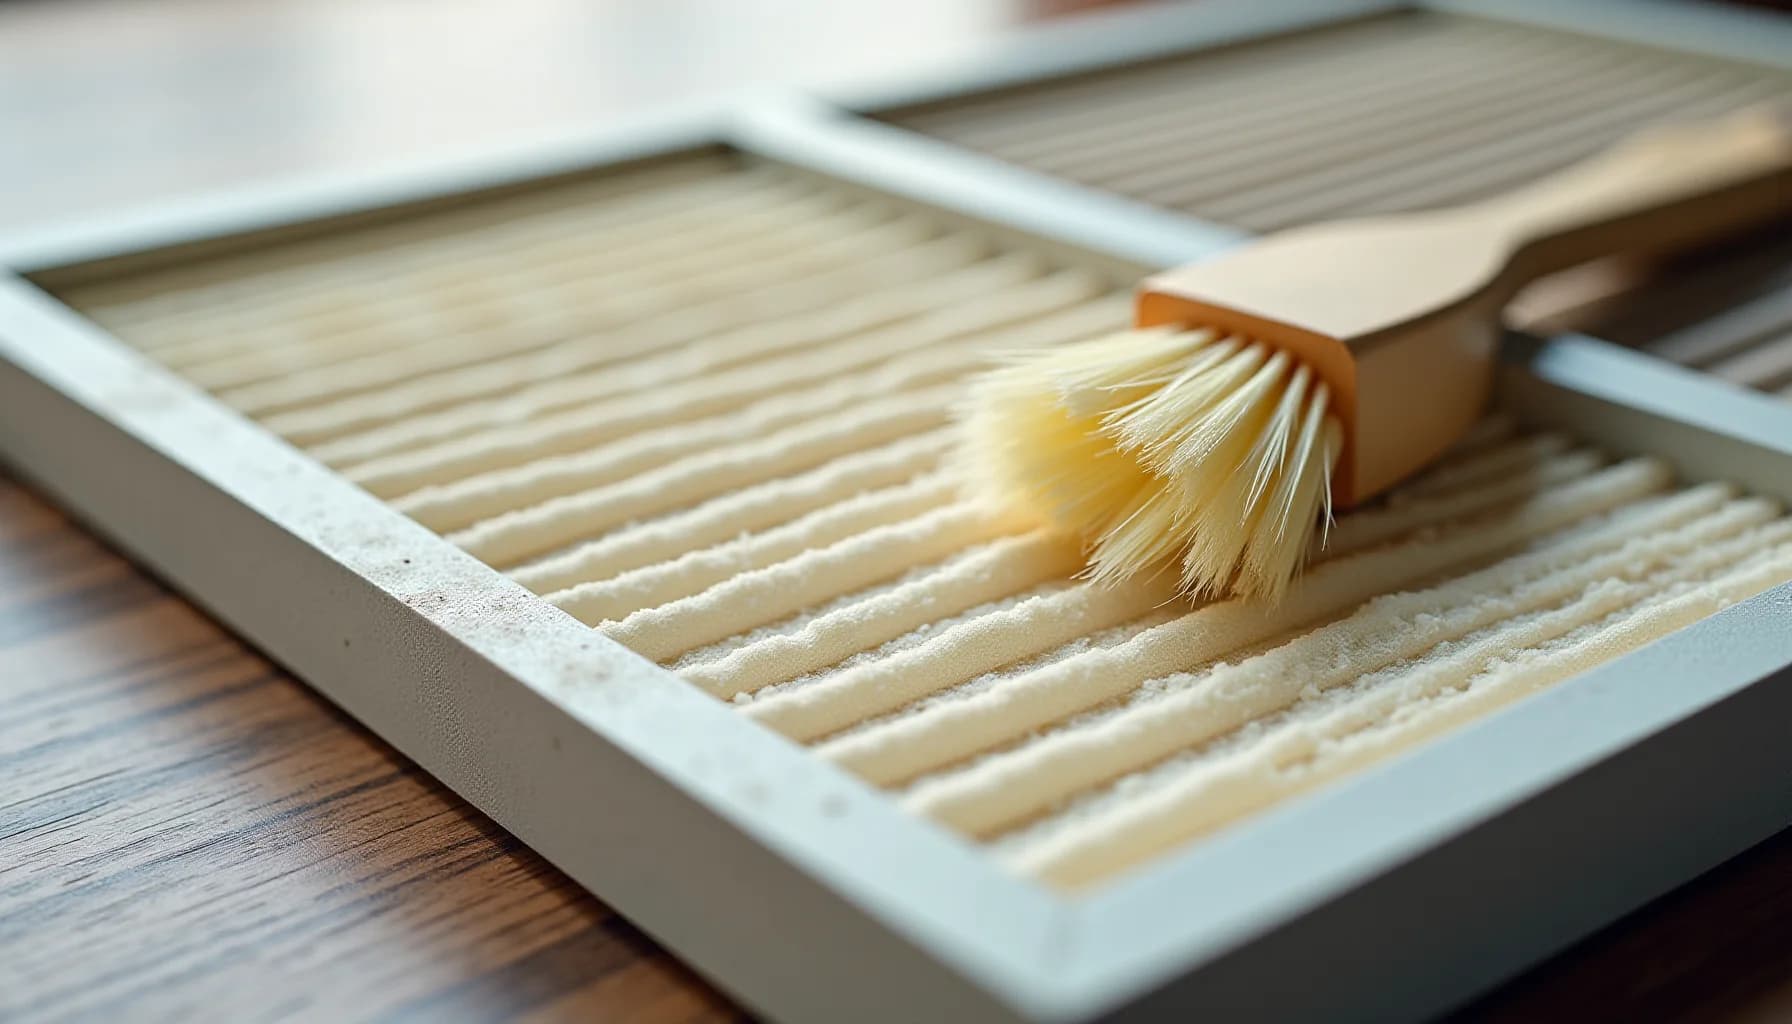
Use a soft brush to remove loose dirt from the exterior fins, always stroking in the same direction as the fin slats run. Brushing across or against the fins can bend them, which reduces airflow and makes cooling worse even after cleaning.
Rinse With a Garden Hose on Low Pressure
Spray the fins from the inside out using a garden hose set to a gentle, low-pressure stream. Aim the water downward from the top of the unit and avoid blasting horizontally, which can force moisture into electrical components. Never use a pressure washer: the force will crush the delicate fins or damage the coil beyond repair.
Let the Unit Dry Before Restoring Power
Allow the coils and fins to air dry completely before switching the breaker back on. Restoring power while components are still wet raises the risk of electrical faults.
Inspect for Warning Signs and Schedule Annual Repeats
Look for damaged wiring, burnt components, or oil residue before closing up. If you spot any of those, call a professional rather than continuing. Plan to repeat this cleaning at least once a year, ideally in spring before the heavy cooling season begins, and more often if you live in a dusty climate or run the system heavily.
What safety preparations do you need before cleaning your outside AC unit?
Before you touch the unit, cut the power, and do it properly. Flipping the thermostat to "off" is not enough. Go to your main breaker panel and switch off the circuit dedicated to the air conditioner. Many outdoor units also have a disconnect box mounted on the exterior wall nearby, typically a gray or black weatherproof box within a few feet of the condenser. Pull the disconnect or switch it off there as well. The system can carry enough voltage to cause serious injury, and the fan can activate unexpectedly if the power is only partially interrupted. For a full explanation of why this step matters more than most homeowners realize, see why you must cut power before cleaning an AC unit.
Once the power is confirmed off, dress appropriately before you get close to the unit. Wear long-sleeved clothing and long pants. The fins on the condenser are thin sheet metal, and even brief contact with bare skin can cause cuts. Closed-toe shoes are essential, both to protect against sharp debris around the base and to keep your footing stable if the ground is uneven or wet.
Check the area around the unit before you bring any water near it. Look for damaged wiring, scorch marks, oil residue, or any sign of burnt components on or near the condenser. If you spot any of these, stop. This is no longer a cleaning job; it is a repair job, and it needs a licensed HVAC technician.
Give yourself enough time. Budget at least an hour, and if the weather is warm, choose early morning or late evening rather than working in peak afternoon heat. Rushing through preparation is how fins get bent and components get damaged before the cleaning has even started.

How do you clean condenser fins and coils without damaging them?
Before touching anything, cut power to the unit at the breaker panel, not just at the thermostat. The disconnect box mounted near the unit is a second shutoff point, but the breaker is your primary protection. For a fuller explanation of why this step cannot be skipped, see why you must cut power before cleaning an AC unit.
Once power is confirmed off, put on long sleeves, pants, and closed-toe shoes. The fins are thin aluminum and will cut skin on contact.
Start by clearing the perimeter. Pull leaves, grass clippings, and twigs away from the base by hand or with a soft brush, working outward from the cabinet rather than pushing debris toward it. Aim to keep at least two feet of clear space around all sides of the unit.
Next, use a garden hose set to low pressure. Spray from the inside of the unit outward through the fins, which pushes trapped dirt out the way it came in rather than compacting it deeper into the coil. Hold the nozzle at a gentle angle and work around the unit in sections. Never use a pressure washer: the fins are thin enough that even moderate water pressure will crush them flat against the coil, reducing airflow and making the problem worse than before you started.
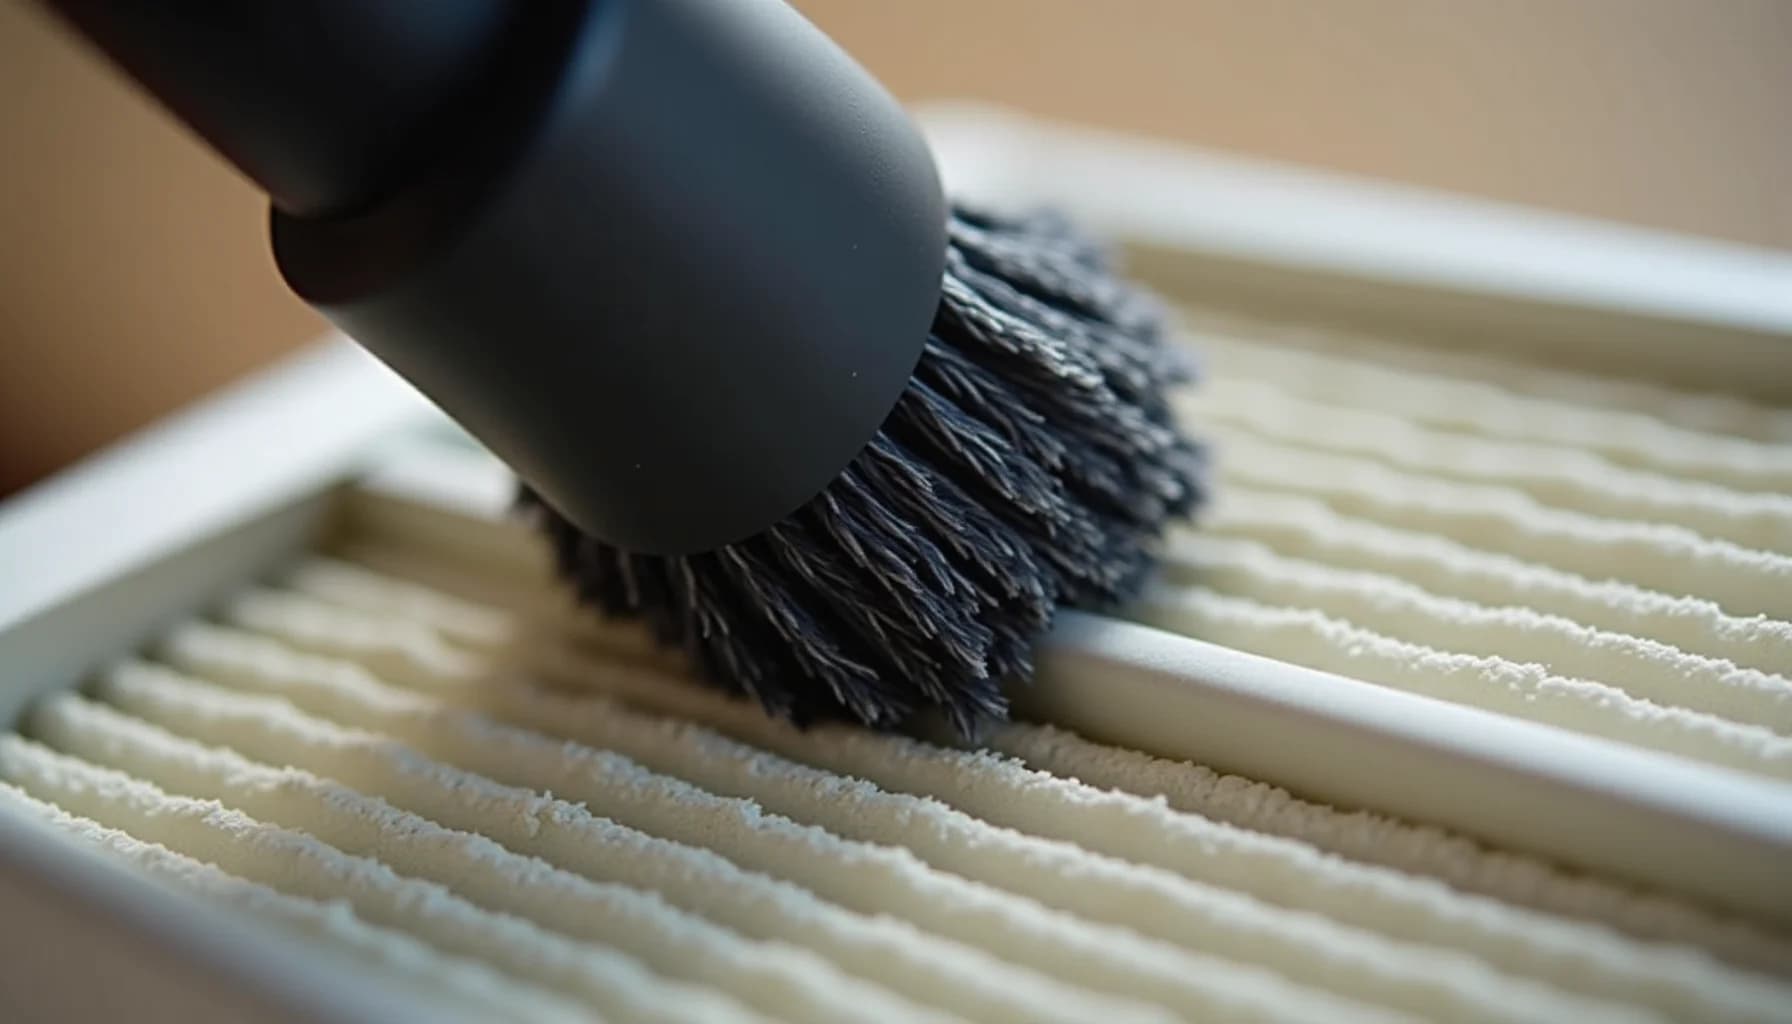
If dirt is caked onto the fins after rinsing, use a soft brush and stroke only in the direction the fins run, always parallel, never across them. A vacuum with a soft brush attachment can remove loose surface debris, but press lightly. Aggressive contact bends fins, and bent fins block airflow the same way dirt does.
Let the unit air-dry fully before restoring power.

What can you permanently damage by using a pressure washer or harsh chemicals on your AC unit?
The fins are the most vulnerable part of the outdoor unit, and they are far easier to ruin than most homeowners expect. Each fin is a thin aluminum slat, roughly as thick as a sheet of heavy foil, and there are hundreds of them packed tightly together. A pressure washer, even on a moderate setting, drives water with enough force to flatten those slats permanently. Once bent, fins block airflow rather than promote it, and no amount of subsequent rinsing corrects the damage. The compressor then works harder to compensate, which is precisely the outcome cleaning was meant to prevent.
Harsh chemical cleaners carry a different risk. Acidic or alkaline solutions can corrode the aluminum fins and the copper coil behind them over time, creating pinhole leaks in the refrigerant circuit. A refrigerant leak is not a DIY repair; it requires a licensed HVAC technician and is far more costly than the cleaning shortcuts that caused it.
Aggressive brushing causes the same mechanical damage as pressure washing. The fins deflect under lateral pressure, and a stiff-bristled brush or broom dragged across them bends entire rows in one pass. Even a vacuum with a brush attachment, used with any sideways force, can do this. The correct motion is always straight and gentle, aligned with the fin direction, not across it.
If you pull the cabinet and find the fins already heavily crushed, the coil corroded, or any oil residue near the refrigerant lines, those are conditions to hand off to a professional. Crushed fin fields can sometimes be partially straightened with a fin comb, but coil corrosion and refrigerant issues sit firmly outside DIY territory. Attempting to continue cleaning around damaged refrigerant lines risks injury and compounds the repair cost.
Frequently asked questions
How often should I clean my outside AC unit?
Can dirty coils actually raise my energy bill?
Is it safe to use a pressure washer on the fins?
Will cleaning the outside unit fix my AC if it is not cooling properly?
When should you call a professional instead of cleaning again?
A clean condenser is one variable in a system that has many. If you've rinsed the fins, cleared the debris, and given the unit a full season to perform, but the house still won't cool down properly, the outdoor coil is probably not where the problem lives.
Dirty air filters, a clogged indoor evaporator coil, restricted ductwork, failed capacitors, and low refrigerant are all capable of producing the exact same symptom: warm air coming from your vents. Understanding which AC parts you can realistically address yourself helps you avoid spending an afternoon on the outdoor unit when the real fault is sitting behind a filter grille inside. Refrigerant issues are a firm line in the sand: adding or recovering refrigerant requires EPA Section 608 certification, and no amount of DIY cleaning crosses into that territory.
The signals that warrant a service call are specific. Visible burnt marks or oil residue on or near the compressor, wiring that looks scorched or chewed, and a compressor that hums but never starts all point to component failure rather than contamination. Compressor replacement is among the most expensive HVAC repairs a homeowner faces, so catching these signs early, before a dirty coil drives the system into overheating repeatedly, is exactly the habit worth building into your annual maintenance routine.
How this article was made
Researched and written with AI assistance. What gets published is a human editorial decision. Grounded in 6 cited sources.
Edited by Claire Mercier, Editor. The guides are written with AI assistance.
Sources (6)
- How to Clean Your AC Condenser | HVAC.com
- How to Clean AC's Outdoor Coil | PV Heating, Cooling & Plumbing
- How to Clean Condenser Coils
- How to Clean an Outside Air Conditioner Unit | Service Champions
- How Do I Clean My Outdoor AC Condenser Unit Safely? | Beacon Services & Appliances
- How to Clean Your A/C Condenser Coils - Eyman Plumbing Heating & Air