How to Clean Shower Grout: Methods Ranked by What Works
Part of Bathroom Cleaning · article 5 of 16
On this page
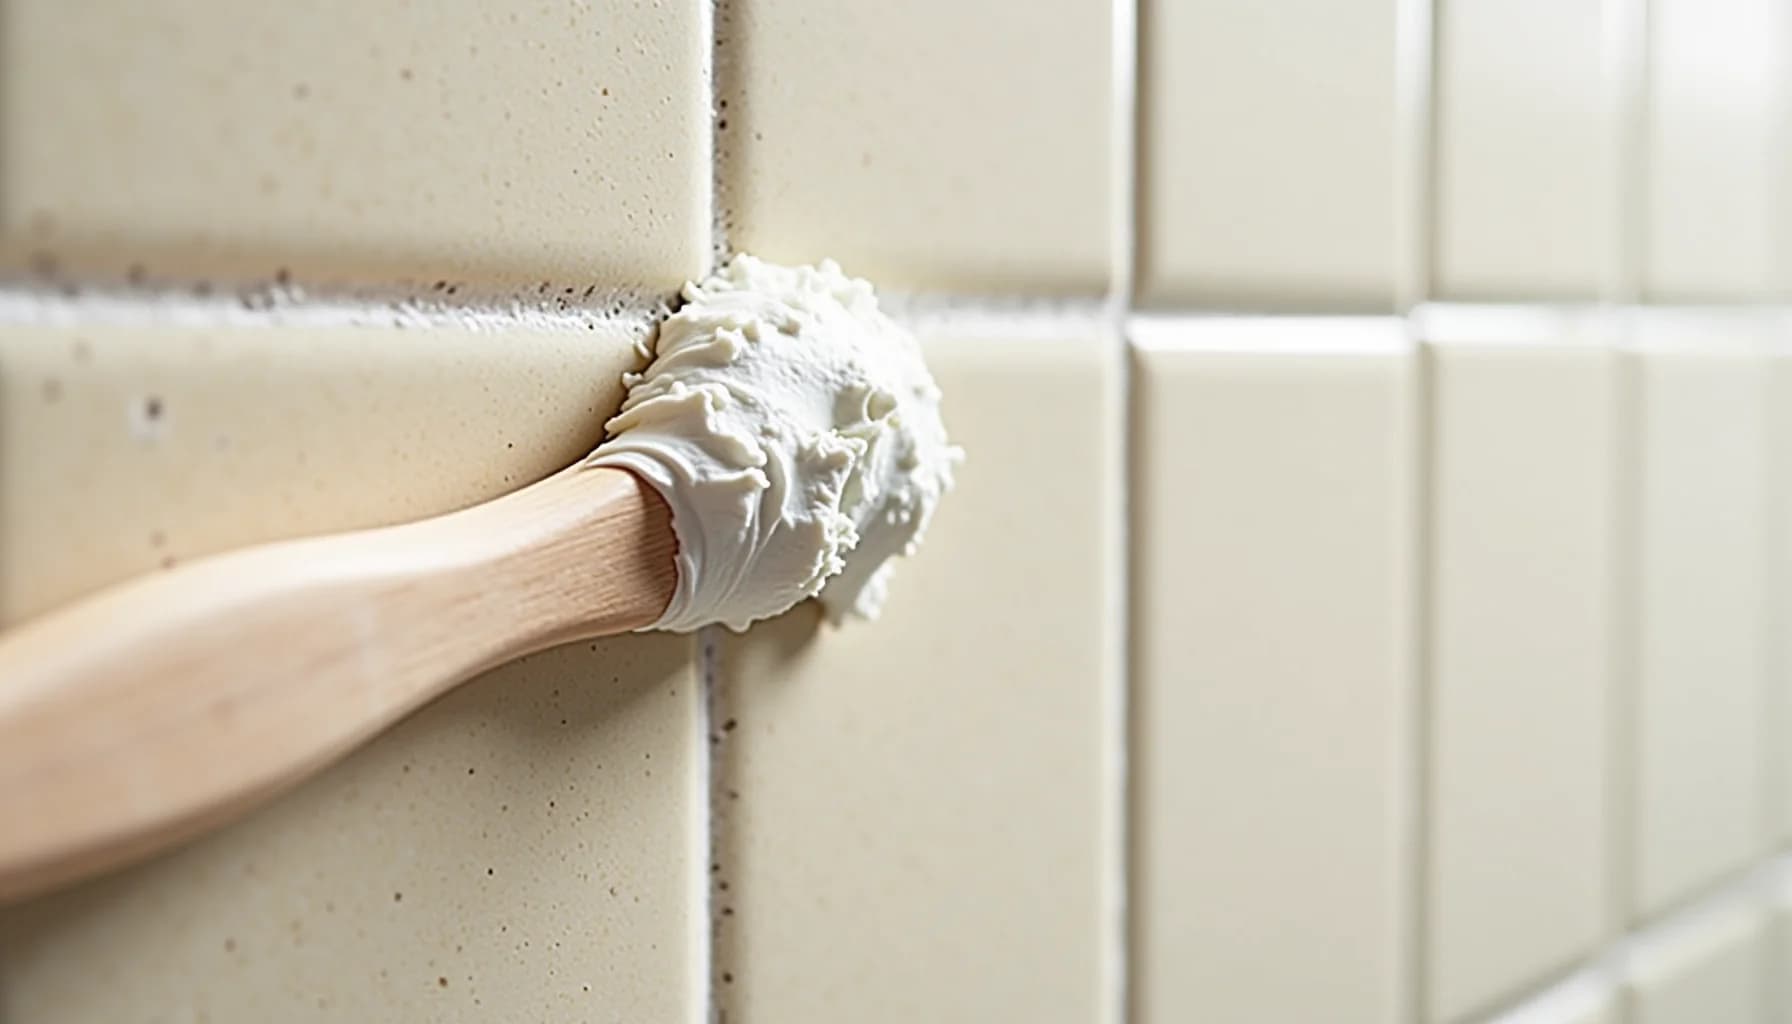
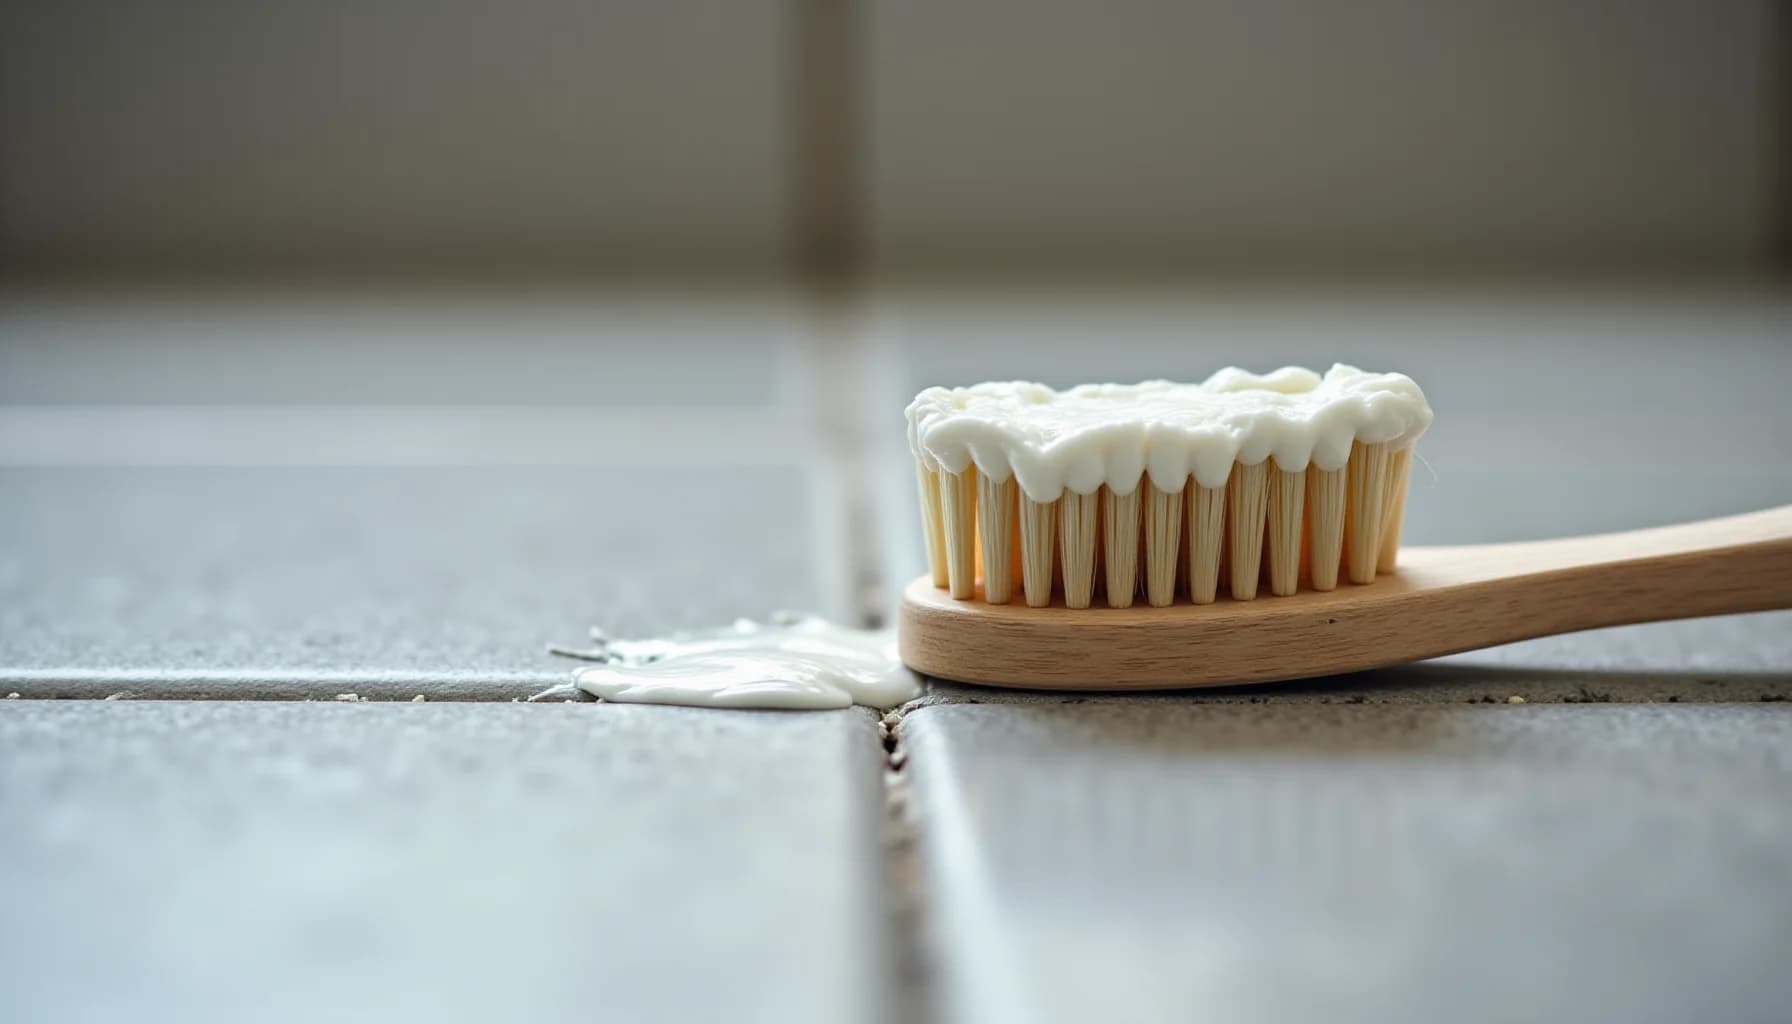
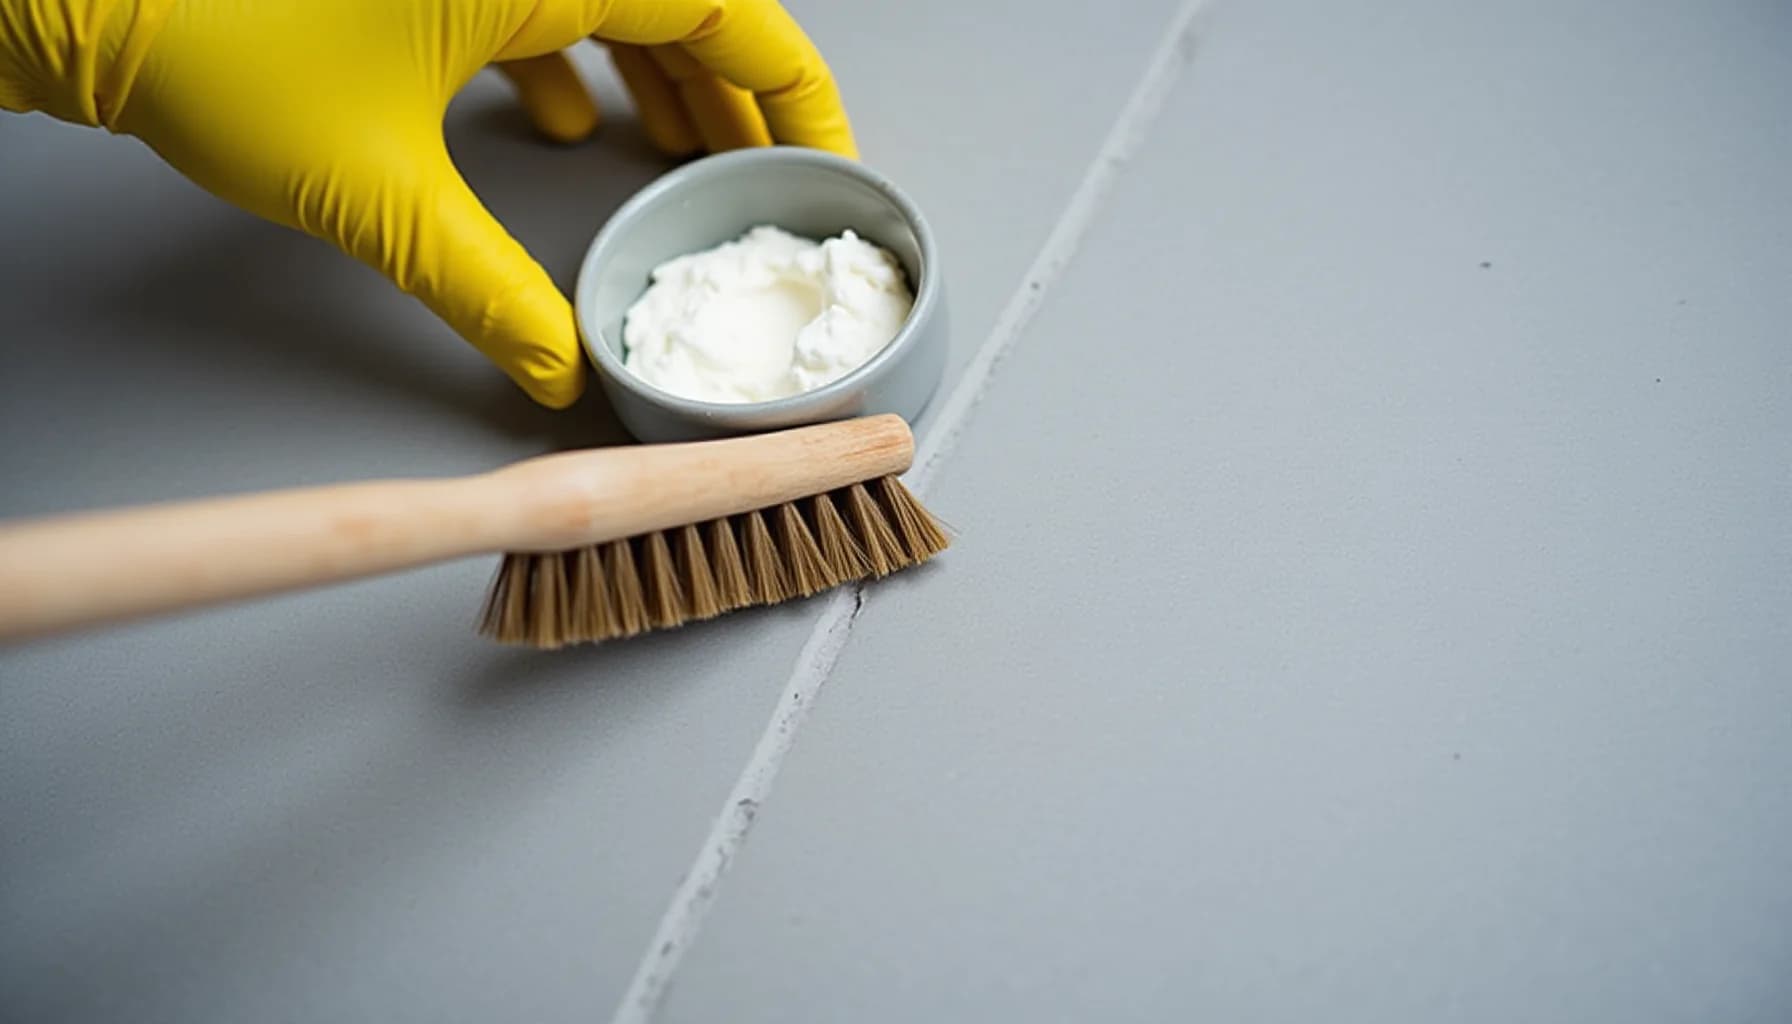
The most effective DIY method for cleaning shower grout is a paste of three parts baking soda to one part 3% hydrogen peroxide, applied to the grout lines, left for 15 minutes, then scrubbed with a thin stiff-bristle grout brush and rinsed clean. The paste works because baking soda provides gentle abrasion while hydrogen peroxide penetrates the porous surface to lift staining. Scrubbing is non-negotiable: no solution, regardless of how it reacts on contact, replaces physical agitation in the crevices.
Avoid using vinegar on unsealed or natural stone tile surrounds. Its acid slowly erodes grout and permanently etches marble, travertine, and limestone. If you are unsure what you have, identify your tile type before choosing a cleaner to avoid irreversible damage. Bleach works for stain removal but should stay occasional, not routine: dilute it to one-third cup per gallon of water, apply with a sponge or nylon brush, wait ten minutes, scrub, and rinse. Using it liberally as an everyday cleaner erodes grout over time.
Why does shower grout get dirty so fast?
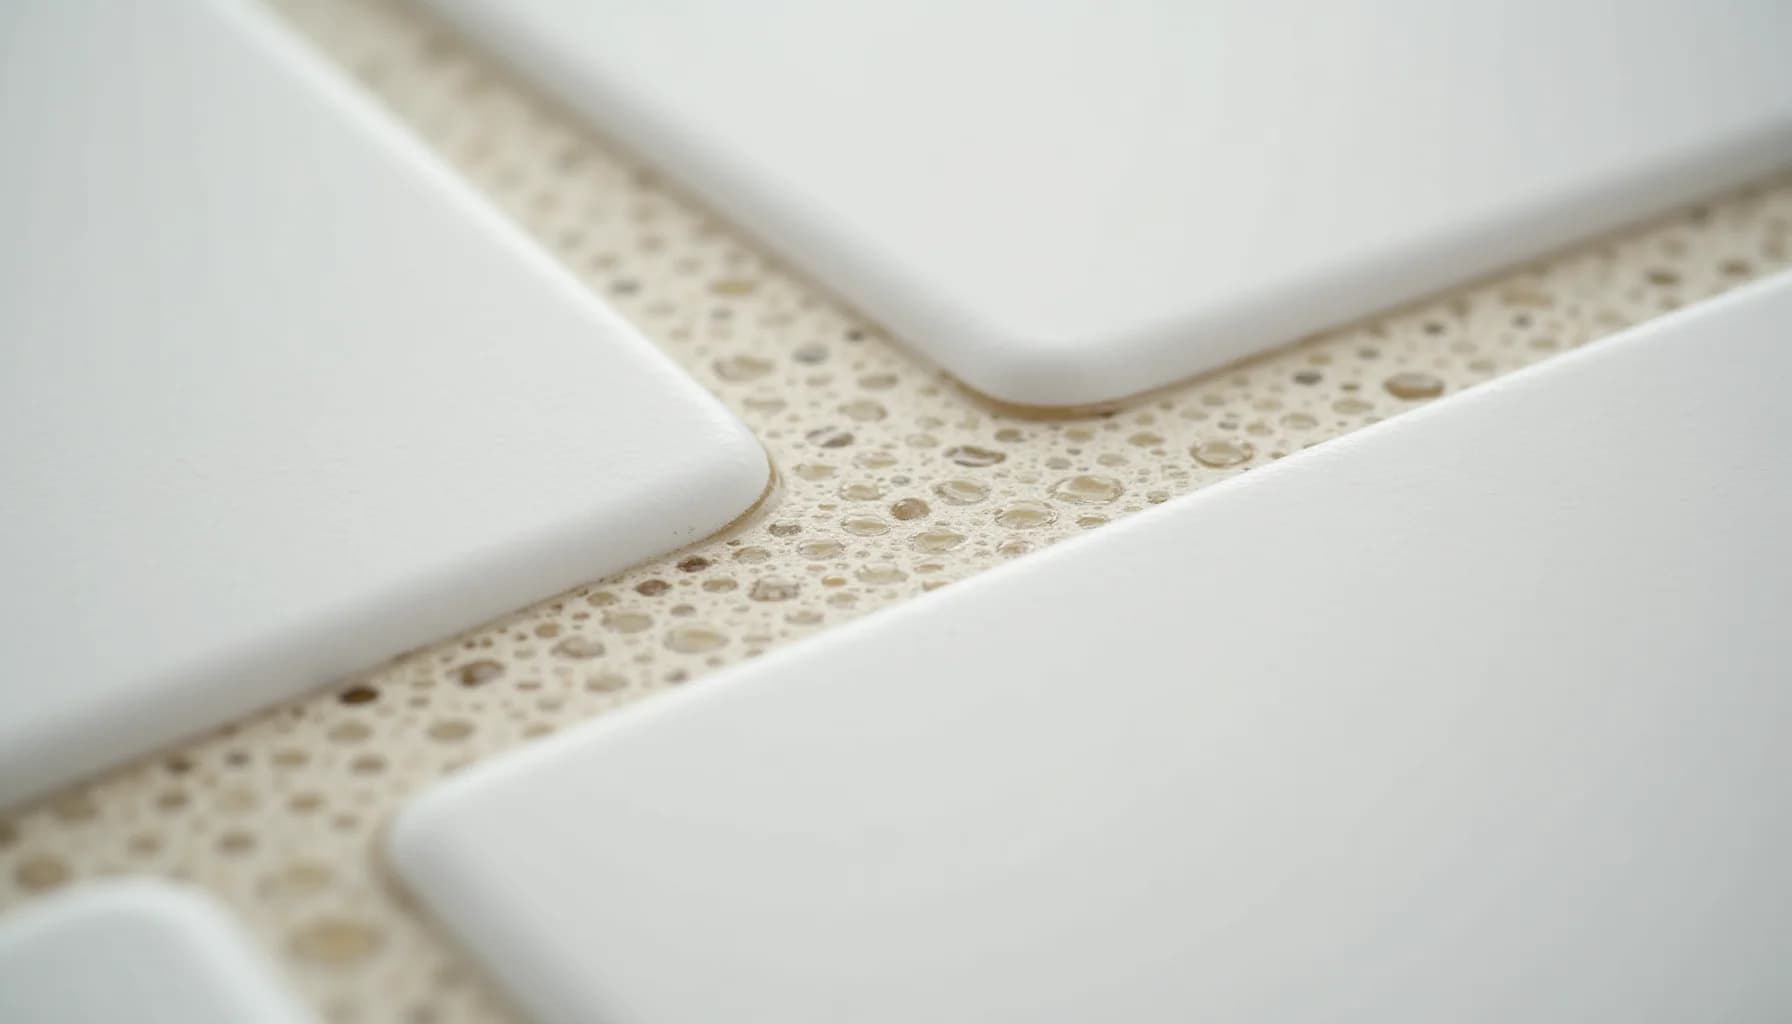
Grout is a cement-based material and, unlike the glazed tile it surrounds, it is porous by nature. That open surface structure means it absorbs whatever touches it: water, soap residue, body oils, minerals from tap water, and airborne mildew spores. In a shower, all of those things arrive together, repeatedly, every day.
Each shower deposits a thin film of soap and hard water minerals on the grout surface. That film does not rinse away completely, so the next shower adds another layer on top. Over weeks, the accumulated soap scum hardens into a chalky, sticky coating that traps more dirt with every cycle. Hard water compounds the problem fast. As water evaporates, it leaves behind calcium and magnesium deposits, visible as white or grayish haze on the grout lines. The same mineral buildup that clouds glass shower doors settles into grout too, except it penetrates the surface rather than sitting on top of it.
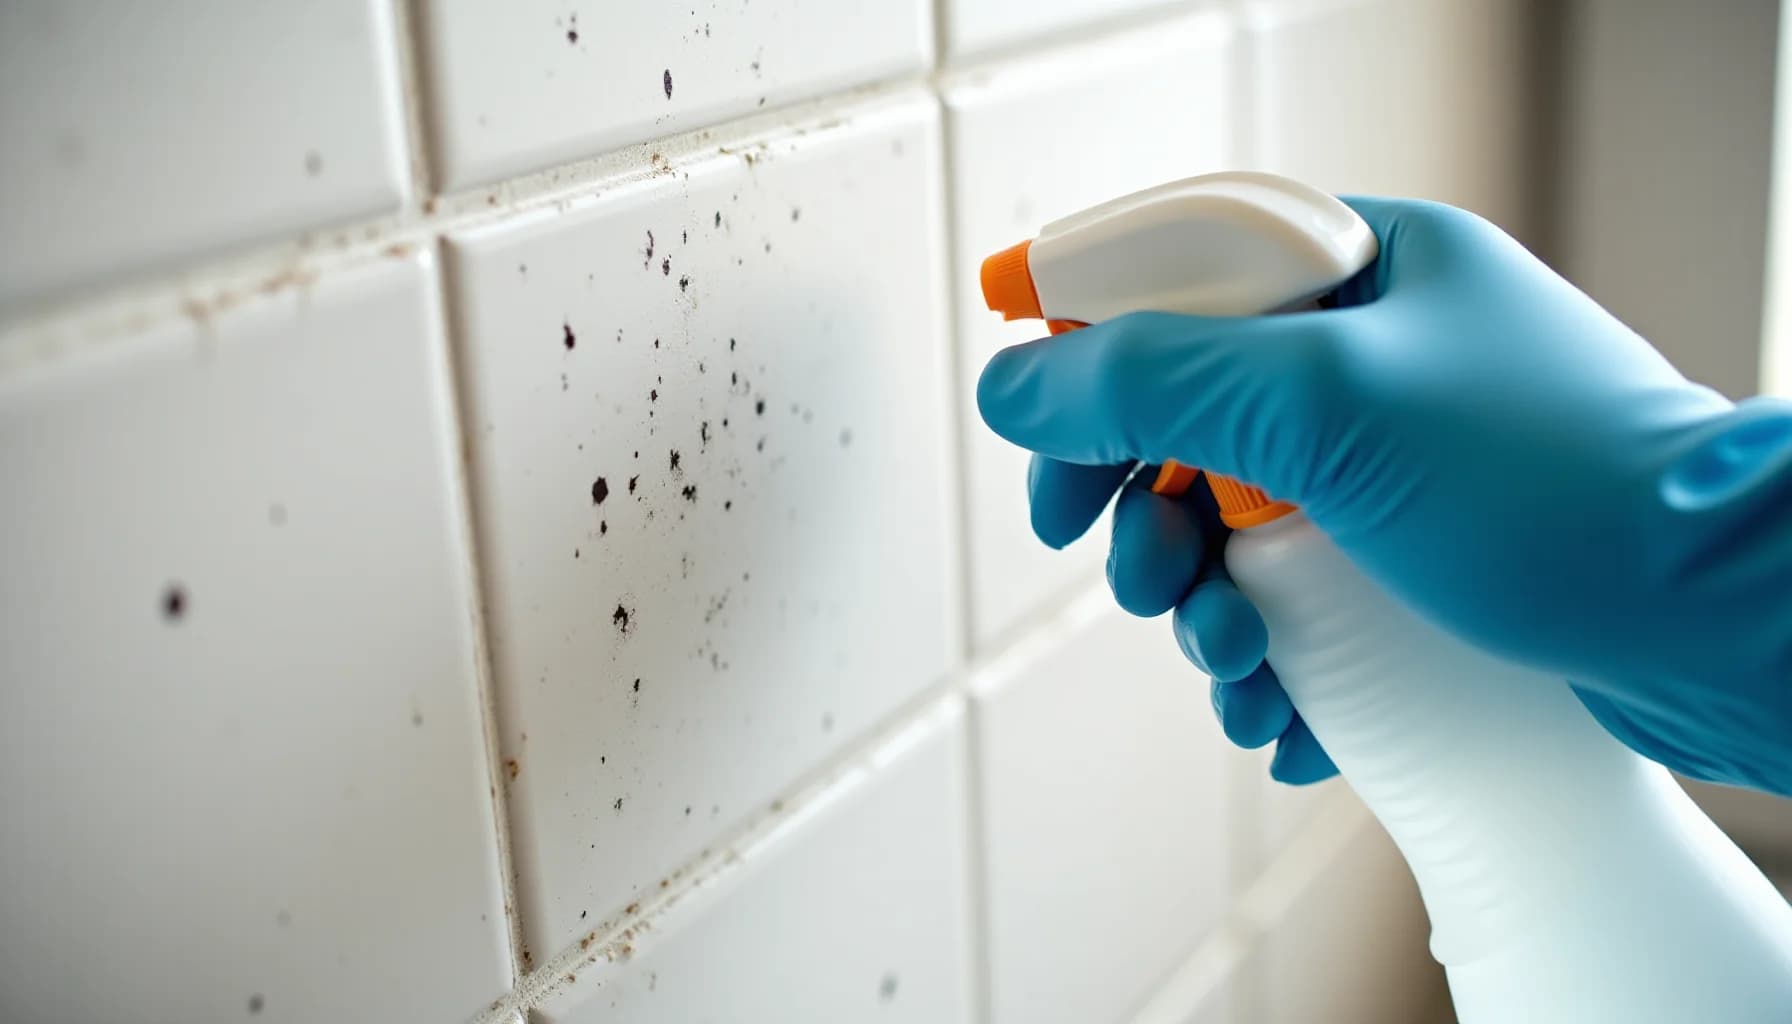
Moisture is the third factor. Shower grout in an enclosed stall rarely dries fully between uses. Persistently damp grout creates ideal conditions for mold and mildew to take hold inside the pores themselves, not just on the surface, which is why scrubbing the surface alone sometimes fails to clear dark staining. The mold is growing from within the material.
The combination of mechanical buildup, mineral deposits, and biological growth is why shower grout degrades so much faster than grout in other parts of the house, and why a single cleaning approach rarely addresses all three problems at once.
What type of stain are you dealing with?
Check your grout type and test a hidden area first
Identify whether your grout is sealed, unsealed, or set into natural stone such as marble or travertine. Apply your chosen cleaner to a small, hidden spot and wait a few minutes before proceeding, because bleach and acidic products can discolor unsealed grout and permanently etch natural stone.
Gather the right brush and your cleaning materials
Use a thin, stiff-bristle grout brush sized to fit inside the narrow crevices between tiles. Collect your cleaning agent based on the problem: a 3-to-1 baking soda and hydrogen peroxide paste for general stains, diluted bleach at one-third cup per gallon of water for stubborn staining on sealed grout, or oxygen bleach for dirt-heavy floor grout.
Apply the cleaner and let it sit
Spread your chosen cleaner directly onto the grout lines and allow it to dwell: 15 minutes for baking soda and hydrogen peroxide paste, at least 10 minutes for diluted bleach solution, and 20 minutes for oxygen bleach. This contact time lets the product penetrate the porous surface and loosen buildup before scrubbing begins.
Scrub the grout lines thoroughly
Work the grout brush along each line using firm, short strokes, pressing into the crevices so the bristles reach the full depth of the grout. Scrubbing is non-negotiable: no cleaner or chemical reaction replaces the physical action needed to dislodge hardened soap scum, mineral deposits, and mold.
Rinse the surface completely and dry it
Flush all residue away with clean water, making sure no cleaner remains in the grout or on the tile face. Dry the area as thoroughly as possible afterward, because moisture left in porous grout encourages mold to return quickly.
Seal the grout and set a maintenance schedule
Once the grout is fully dry, apply a grout sealer to protect the cleaned surface. Reseal every six to twelve months in a high-use shower, and plan a light cleaning every one to two weeks to prevent heavy buildup from forming again.
What Are the Best Step-by-Step Methods for Cleaning Shower Grout?
Start with the method most homeowners should try first: the baking soda and hydrogen peroxide paste. Mix three parts baking soda to one part 3% hydrogen peroxide in a small bowl until it forms a thick paste. Using a grout brush or a thin, stiff-bristled brush, press the paste directly into the grout lines. Let it sit for 15 minutes, then scrub firmly along each line before rinsing with clean water. The brush matters here: a thin profile lets the bristles reach into the crevice rather than skimming across the tile surface. Without that scrubbing action, the paste does relatively little on its own.
For moderate staining or discoloration that the paste doesn't fully shift, a diluted chlorine bleach solution is the next step up. Mix one-third cup of bleach per gallon of water, apply it to the grout with a sponge or nylon brush, and let it dwell for at least 10 minutes before scrubbing and rinsing thoroughly. Use this only on sealed grout, and keep the bathroom ventilated. Reserve it for periodic use rather than routine cleaning, since repeated bleach applications erode grout over time.
When the grout looks dark but has no smell and the discoloration sits mostly on floor lines rather than wall lines, you are likely dealing with ingrained dirt rather than mold. In that case, oxygen bleach (sodium percarbonate) combined with steam cleaning is the most effective approach. Apply the oxygen bleach solution, wait 20 minutes for it to penetrate the porous surface, then go over the lines with a steam cleaner. The oxygen release works from inside the grout out, while the steam handles what remains on the surface.
For a faster commercial option, Zep Grout Cleaner and Brightener is an acidic gel formulated to cling to grout lines. Apply it, wait three minutes, scrub with a grout brush, and rinse. It whitens stained cement grout noticeably quickly, making it a practical choice when time is short.
Is it safe to use bleach or vinegar on your grout?
The single most important question before you apply any cleaner is whether your grout is sealed, unsealed, or sitting on a natural stone tile. The answer changes what is safe to use.
Sealed grout has a protective coating that sits on top of the porous surface, giving it some resistance to liquids and chemicals. Chlorine bleach, diluted to roughly one-third cup per gallon of water, is generally safe on sealed grout when used as directed and rinsed thoroughly. The coating reduces how much bleach penetrates and limits the risk of discoloration. Unsealed grout has no such barrier. Chlorine bleach used on unsealed or damaged grout can cause discoloration and surface degradation, and repeated use erodes the grout itself over time. If you do not know for certain that your grout has been sealed recently, treat it as unsealed until you can confirm otherwise.
Vinegar presents a separate problem. On sealed grout it may seem harmless for occasional use, but on older or unsealed grout, the acid gradually weakens the surface with repeated application. The more serious issue involves natural stone tiles, including marble, travertine, and limestone. Acid, including the acetic acid in vinegar, will permanently etch these surfaces, dulling the finish in a way that cannot be reversed by cleaning. If your shower is tiled with any natural stone or acid-sensitive tile material, acidic products are off the table entirely.
Before treating your full shower with any new product, test a small hidden section of grout first and wait a few minutes. That one step prevents a mistake that no amount of scrubbing will fix.
| Cleaner | Safe Grout Types | Risk if Misused | Best For |
|---|---|---|---|
| Chlorine bleach (diluted) | Sealed, nonporous grout | Discolors or degrades unsealed/damaged grout; reduces longevity with overuse | Lifting stains on sealed grout |
| Hydrogen peroxide + baking soda | Sealed and unsealed ceramic or porcelain | Generally safe; low risk | Whitening stained grout safely |
| Vinegar | Sealed, newer grout only | Etches natural stone tiles permanently; weakens older or unsealed grout | Light mineral deposits on safe surfaces |
| Oxygen bleach | Most grout types | Low risk; color-safe | Mold and deep dirt in porous grout |
Do You Really Need to Scrub, or Will the Cleaning Solution Do the Work?
The short answer is no: the solution alone will not do the work. Every method covered in this article, whether baking soda paste, oxygen bleach, or a commercial gel, depends on physical agitation to actually lift dirt out of grout's porous surface. The chemistry loosens the bond between the stain and the grout; scrubbing is what removes it.
Tool choice matters more than most homeowners expect. A standard toothbrush is too soft and too wide to reach into narrow grout lines effectively. Use a dedicated grout brush: stiff nylon bristles, and narrow enough in profile to sit inside the joint rather than ride over it. Electric spin scrubbers with a pointed attachment head work well for large tiled walls, but only if the attachment actually fits the grout line width. A brush that spans two tiles is scrubbing tile, not grout.
Technique is straightforward but specific. Scrub along the grout line, not across it. Short, back-and-forth strokes keep the bristles in contact with the grout surface rather than bouncing up onto the tile edges. Apply moderate, consistent pressure rather than bearing down hard, which wears bristles out quickly and does little extra cleaning.
The mistake that causes irreversible damage is using a metal brush or steel wool on grout. Metal bristles scratch tile glazing permanently and can gouge softer grout, creating more porous surface area that traps dirt faster. If after two full scrubbing passes the grout shows no improvement, the problem is likely deep mold or structural staining, and that is the threshold at which a professional tile restoration service will produce better results than any further DIY effort.
Frequently asked questions
How often should I clean shower grout?
What is the most effective DIY method for cleaning shower grout?
Is bleach safe to use on shower grout?
Can I use vinegar to clean shower grout?
When should you seal grout, and is it time to call a professional?
After a deep clean, sealing is the smartest investment you can make in keeping grout clean longer. Most professionals recommend resealing shower grout every six to twelve months, particularly in high-traffic or consistently damp areas. Sealing closes up the porous surface that soap scum, mineral deposits, and mold spores exploit, so your next cleaning session takes a fraction of the effort.
Before sealing, make sure grout lines are fully dry, typically 24 hours after a thorough cleaning. Apply a penetrating grout sealer with a small applicator brush, work in sections, and wipe off any excess that lands on tile faces before it cures.
On a weekly basis, a few simple habits dramatically reduce how often you need to deep clean. Squeegee walls after every shower. Run the bathroom exhaust fan for at least 20 minutes post-shower, or open a window when weather allows. A quick spray of a pH-neutral daily shower spray on grout lines keeps fresh soap scum from hardening between cleans.
Call a professional when grout is crumbling, cracked, or pulling away from tile edges. At that point, cleaning is only cosmetic, and failing grout allows moisture behind the tile wall, leading to structural damage that costs far more to fix than a re-grout job would have.
How this article was made
Researched and written with AI assistance. What gets published is a human editorial decision. Grounded in 6 cited sources.
Edited by Claire Mercier, Editor. The guides are written with AI assistance.
Sources (6)
- How to Clean Grout Stains & Remove Mold Stains | Clorox™
- How to Clean Tile Grout | Lysol US
- How to Clean Shower and Bathroom Floor Grout | Re-Bath®
- Cleaning grout in the bathroom: How to do it right | Duravit
- I Tested 3 DIY Grout Cleaners, and This One Worked the Best | Apartment Therapy
- How to Clean Grout