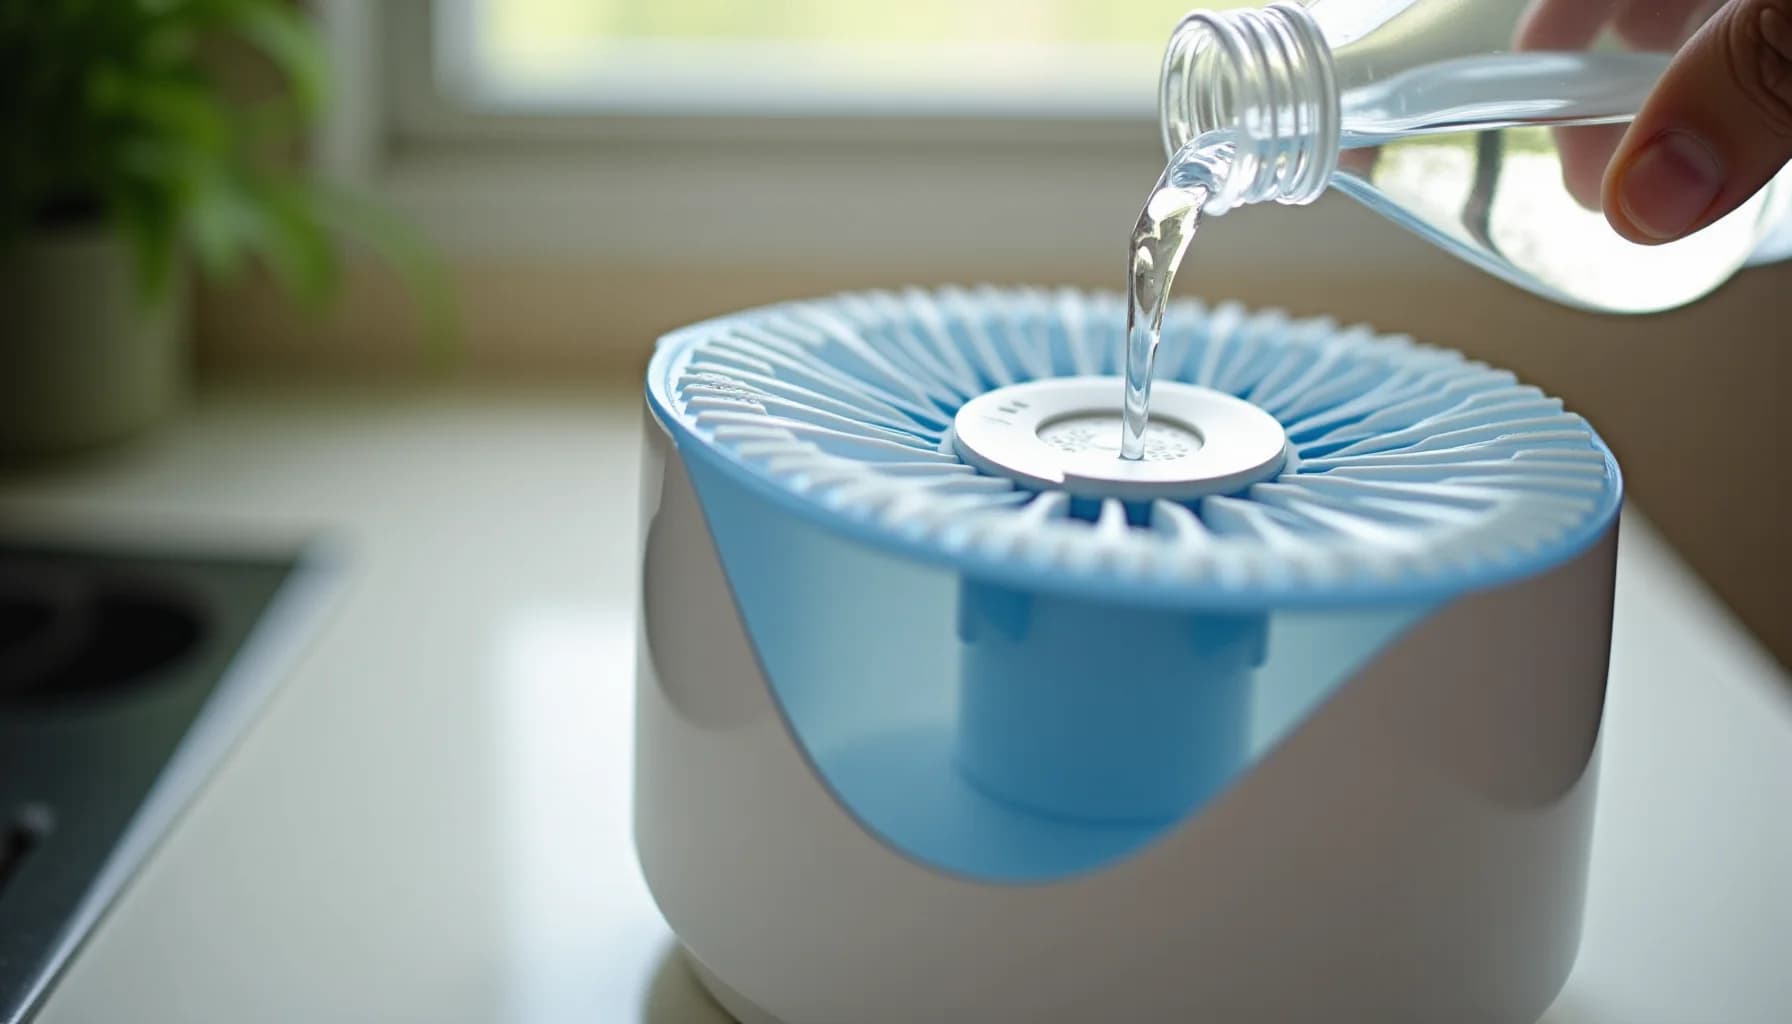
How to Clean a Window AC Unit Before Mold Takes Hold
Part of Air & HVAC · article 9 of 12
On this page
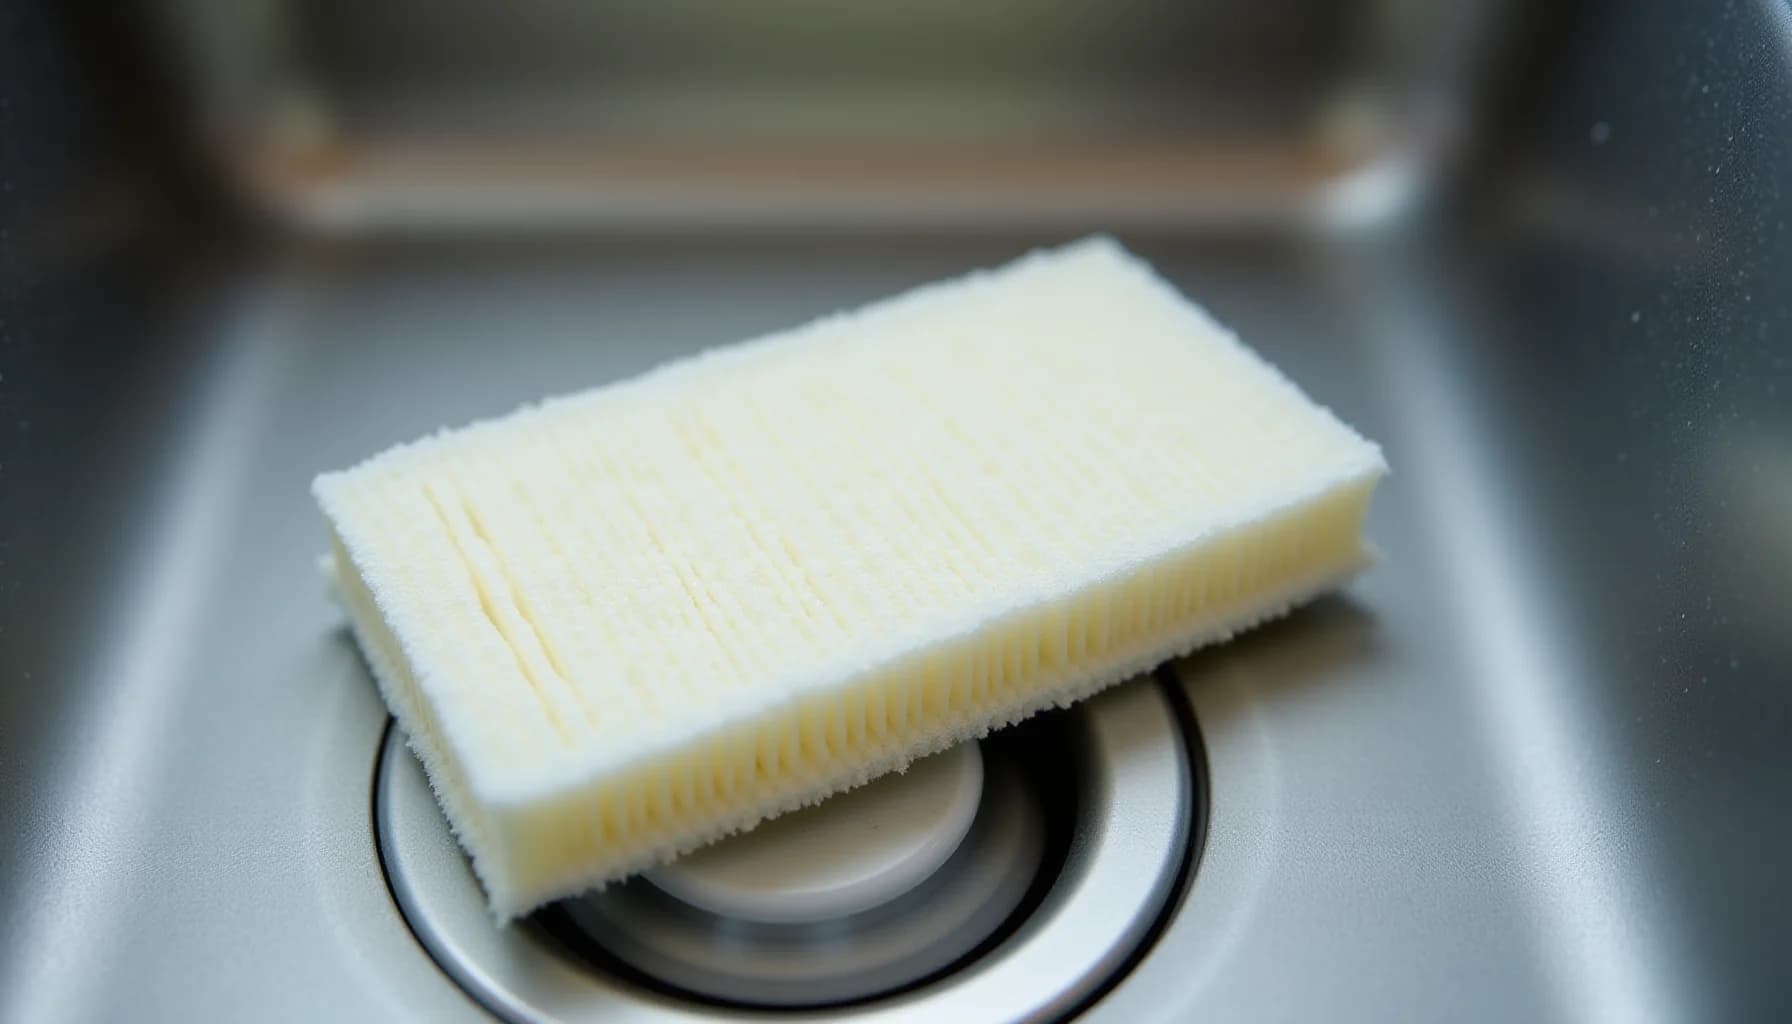
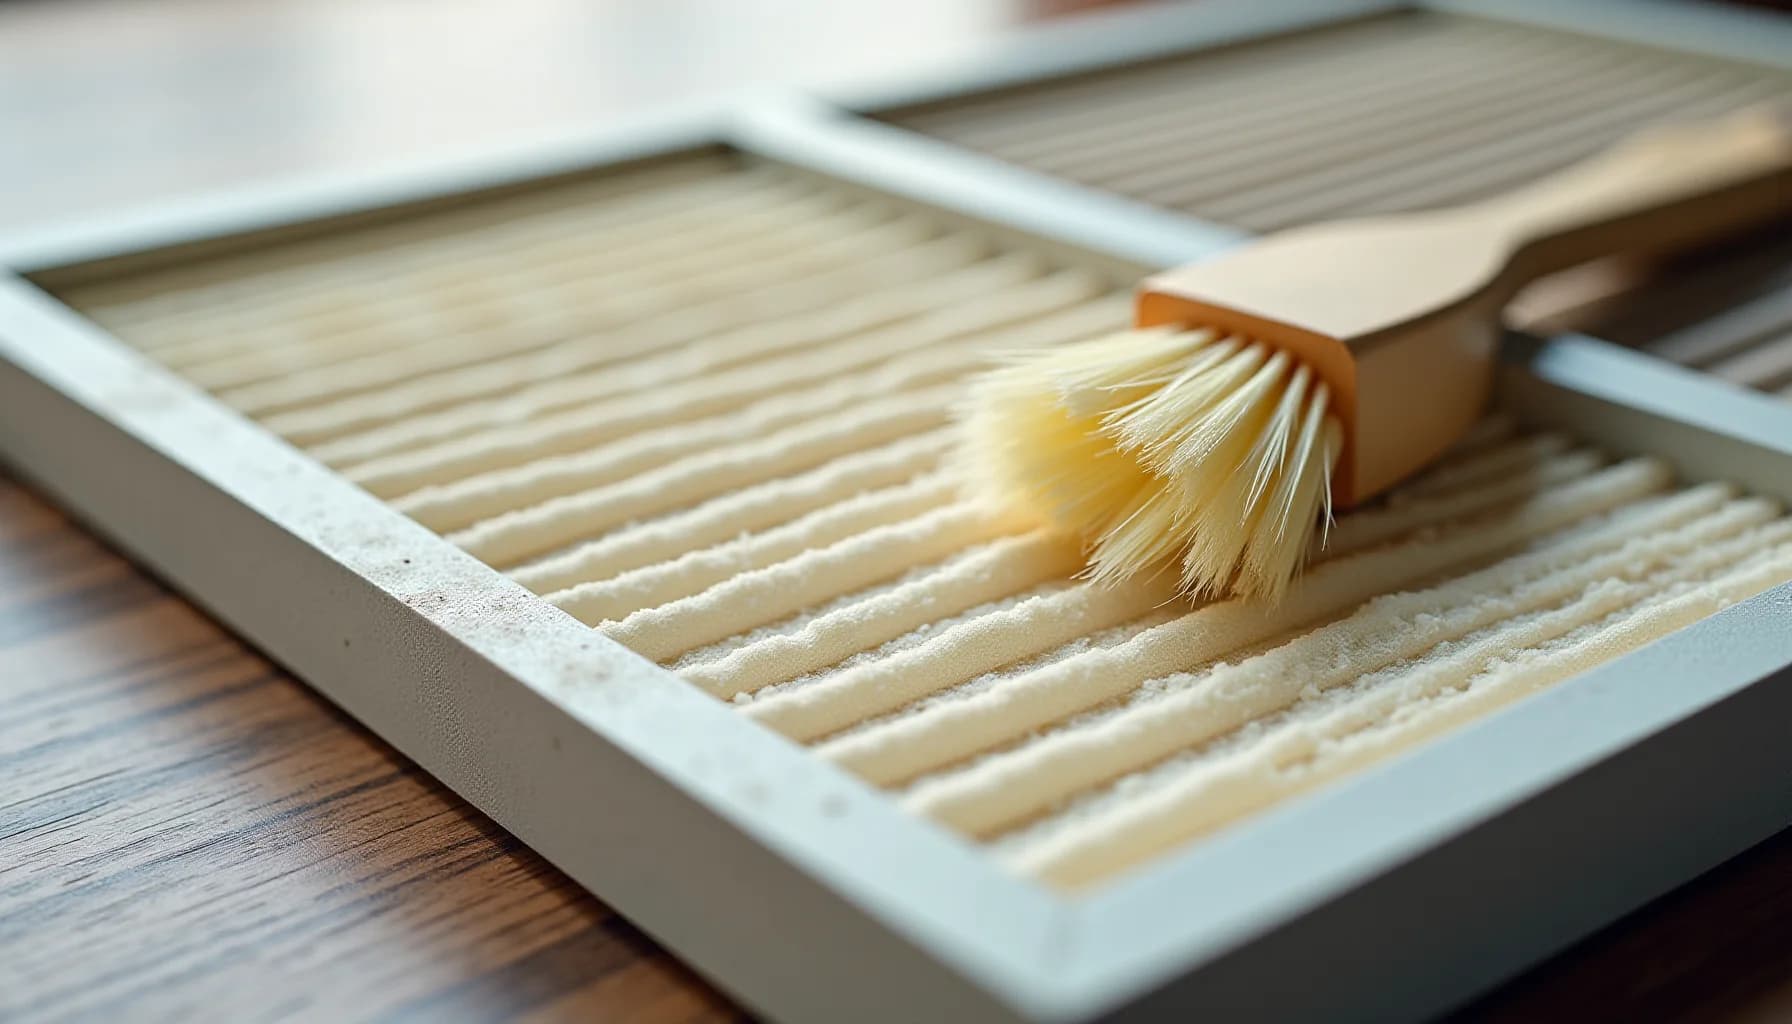
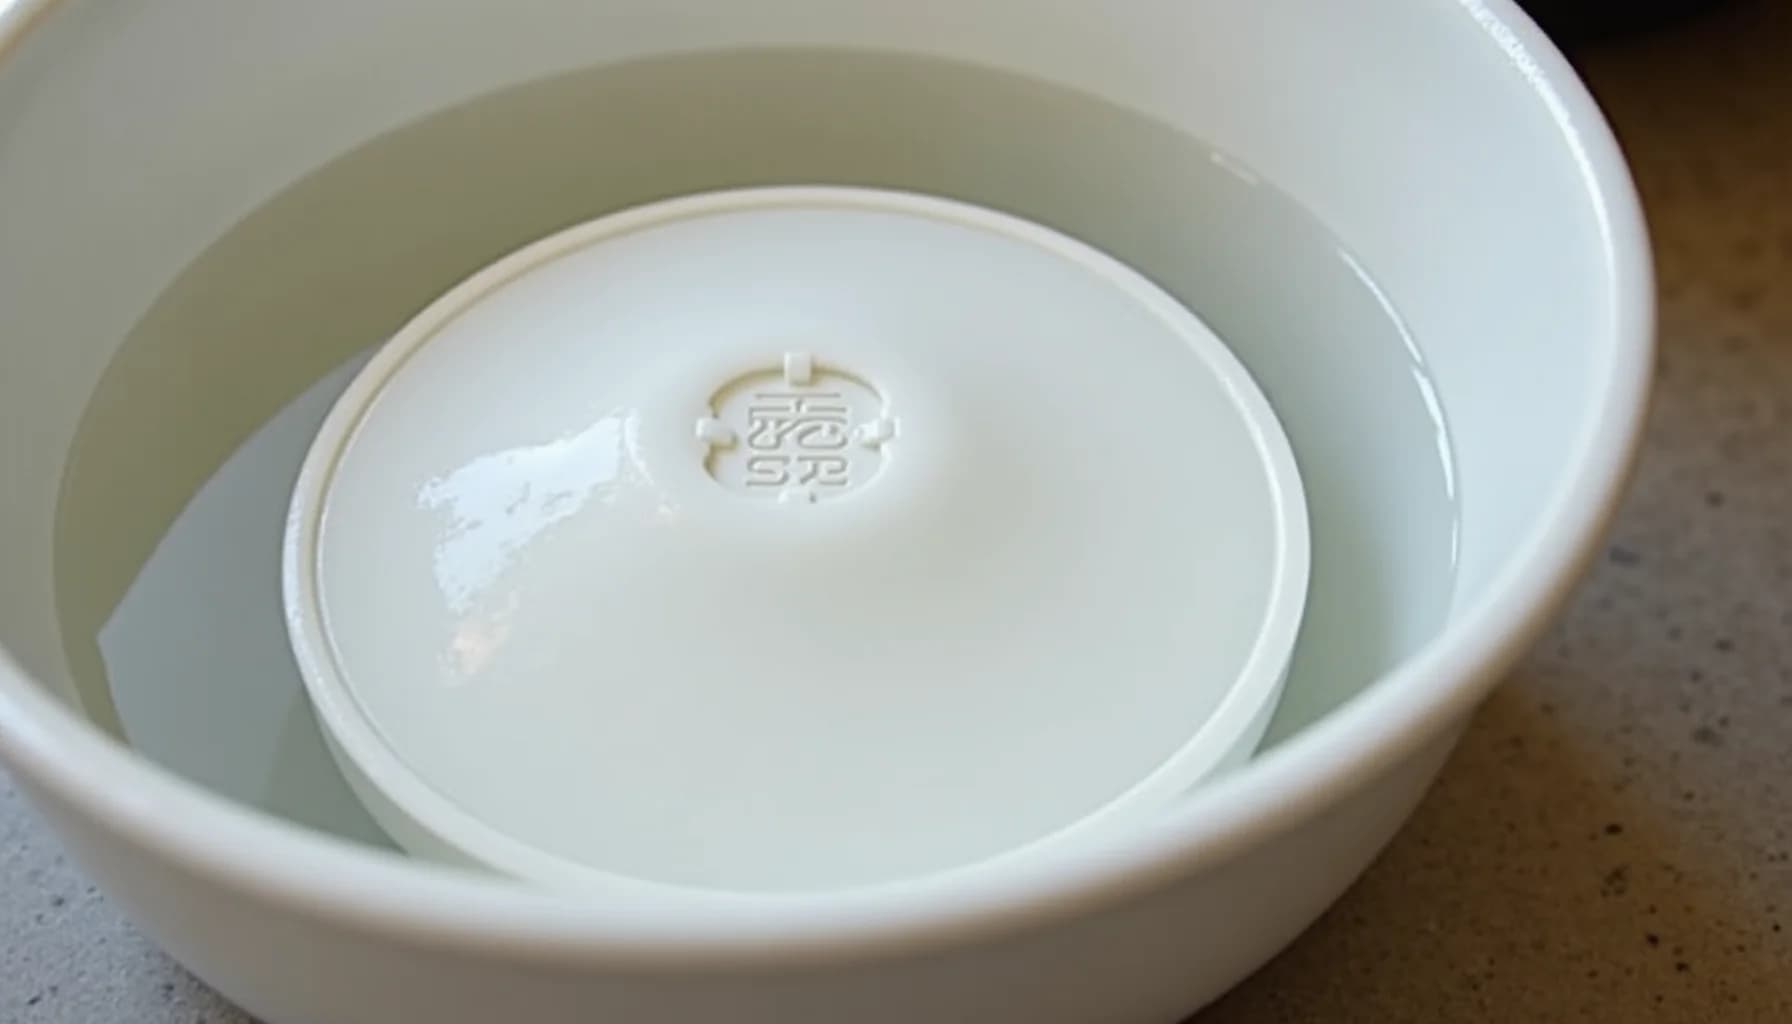
Unplug the unit before you touch anything. Pull the foam or mesh filter out, wash it under lukewarm water — keep it below 104°F to avoid warping the material — and use a small amount of mild dish soap if it's heavily soiled. Before the filter goes back in, wipe out the slot with a damp cloth; leftover dust in the slot recontaminates a clean filter immediately. The most critical step is letting the filter dry completely before reinstalling it. A wet filter returned to a running unit creates exactly the mold problem you're trying to prevent. Never force the filter back in damp.
What does a clean window AC unit actually do for your energy bills?
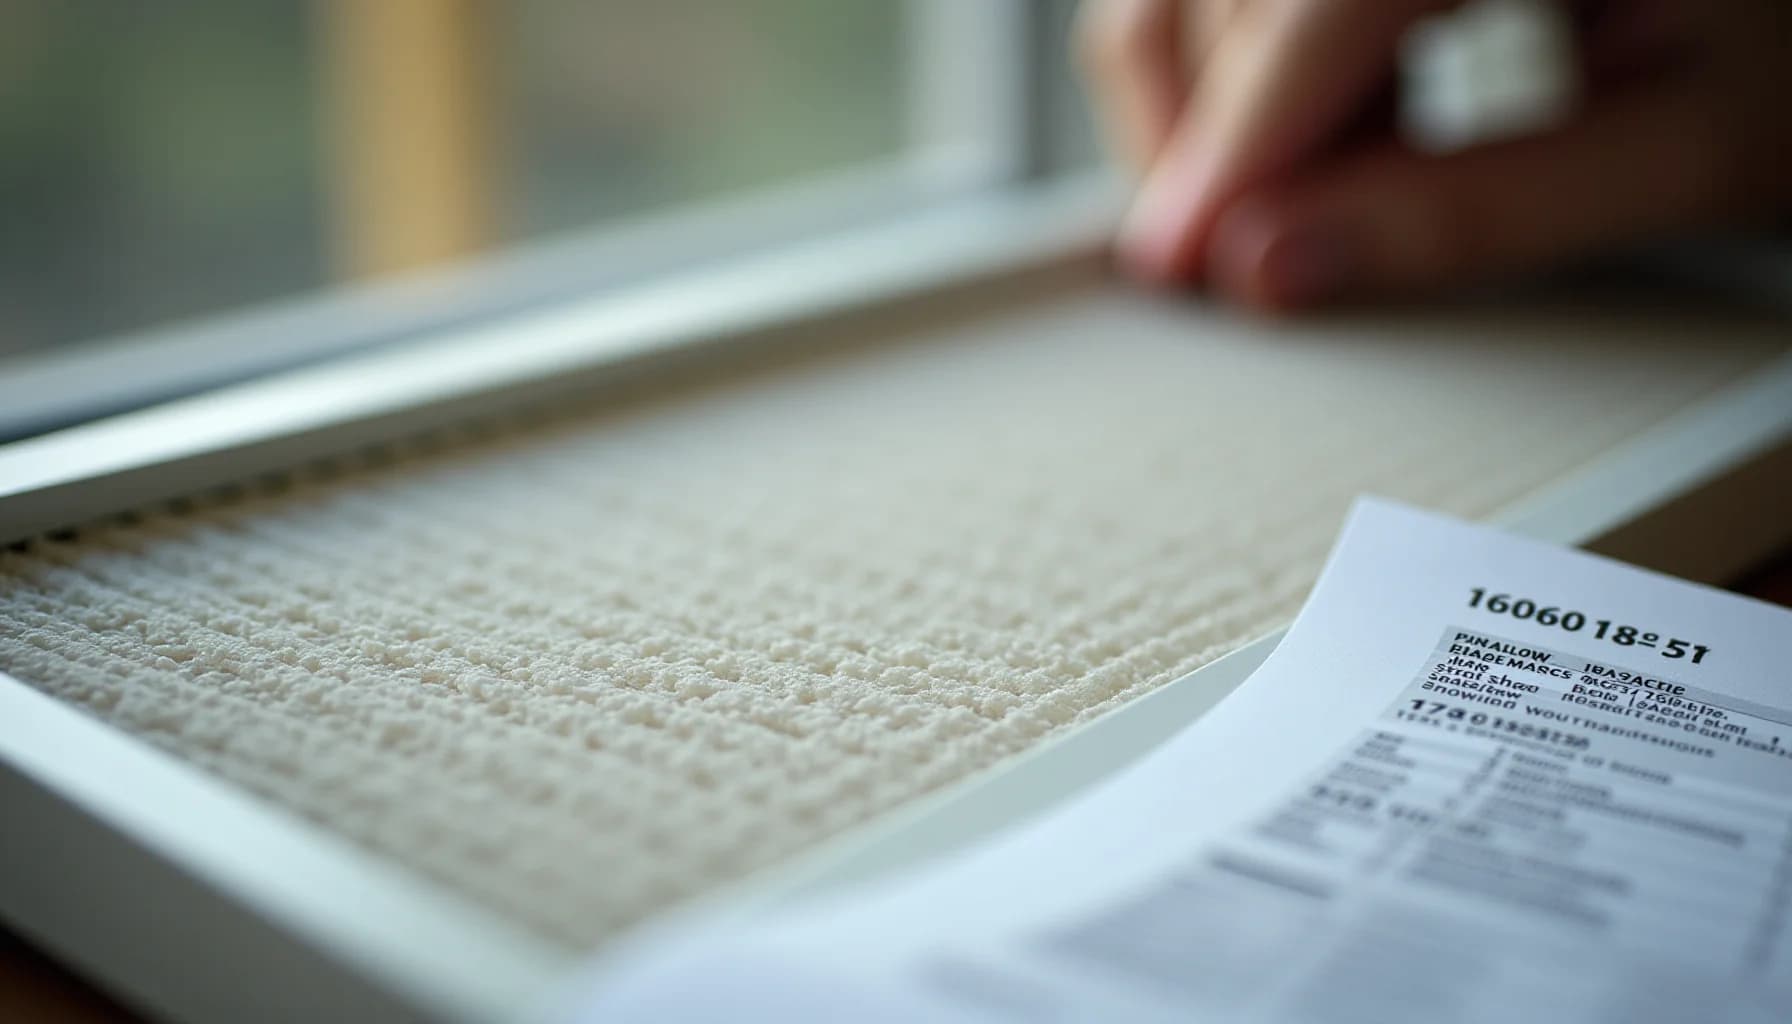
A clogged or dirty filter forces your window AC to pull harder against restricted airflow, and that extra effort shows up directly on your electricity bill. The EPA links clean air filters to measurable gains in both energy efficiency and indoor air quality, and research on coil maintenance specifically puts the potential efficiency improvement at up to 15%. That is a meaningful number for a unit running eight or more hours a day through a humid American summer.
The mechanism is straightforward. When dust and debris pack the foam or mesh filter, the evaporator coil behind it receives less airflow. The coil struggles to absorb heat efficiently, so the compressor runs longer cycles to reach the thermostat setpoint. Longer run times mean higher kilowatt-hour consumption. In a dusty environment, near a busy road, or during high-pollen season, that filter can reach a choke point in under two weeks rather than the standard four-week window most manufacturers cite.
Air quality follows the same logic. A saturated filter stops trapping airborne particles effectively, and the damp, debris-laden surface becomes a hospitable environment for mold spores. Once mold establishes itself inside the unit, every cooling cycle pushes those spores into the room. That musty smell many homeowners notice mid-summer is often the first warning, not a harmless quirk.
Checking the filter at least twice a month, and washing it with mild dish soap and lukewarm water under 104°F when it looks gray or matted, keeps the unit operating closer to its rated capacity without touching a single other component.
What tools and supplies do you need before you start?
Unplug the unit and gather your tools
Turn the AC off, then unplug it from the wall or cut the circuit breaker. Never skip this step: cleaning any part of a running or plugged-in unit is a safety risk. Gather a vacuum with a brush attachment, mild dish soap, a soft brush, coil cleaner spray from a hardware store, and a bleach solution for mold.
Remove and wash the filter
Slide out the foam or mesh filter and rinse it under lukewarm water, keeping the temperature below 104 degrees F to avoid damaging the material. For heavy soiling or visible mold, scrub gently with mild dish soap and a bleach solution, then rinse thoroughly.
Dry the filter completely before setting it aside
Lay the filter flat and let it air dry fully, which can take several hours. Reinstalling a damp filter into a running unit creates exactly the mold problem you are trying to prevent.
Clean the front grill, drip tray, and fan blades
Wipe the front grill and fan blades with a damp cloth and soapy water, then wash the drip tray with the same solution. Rinse each part and let them dry before reassembly.
Vacuum and treat the evaporator and condenser coils
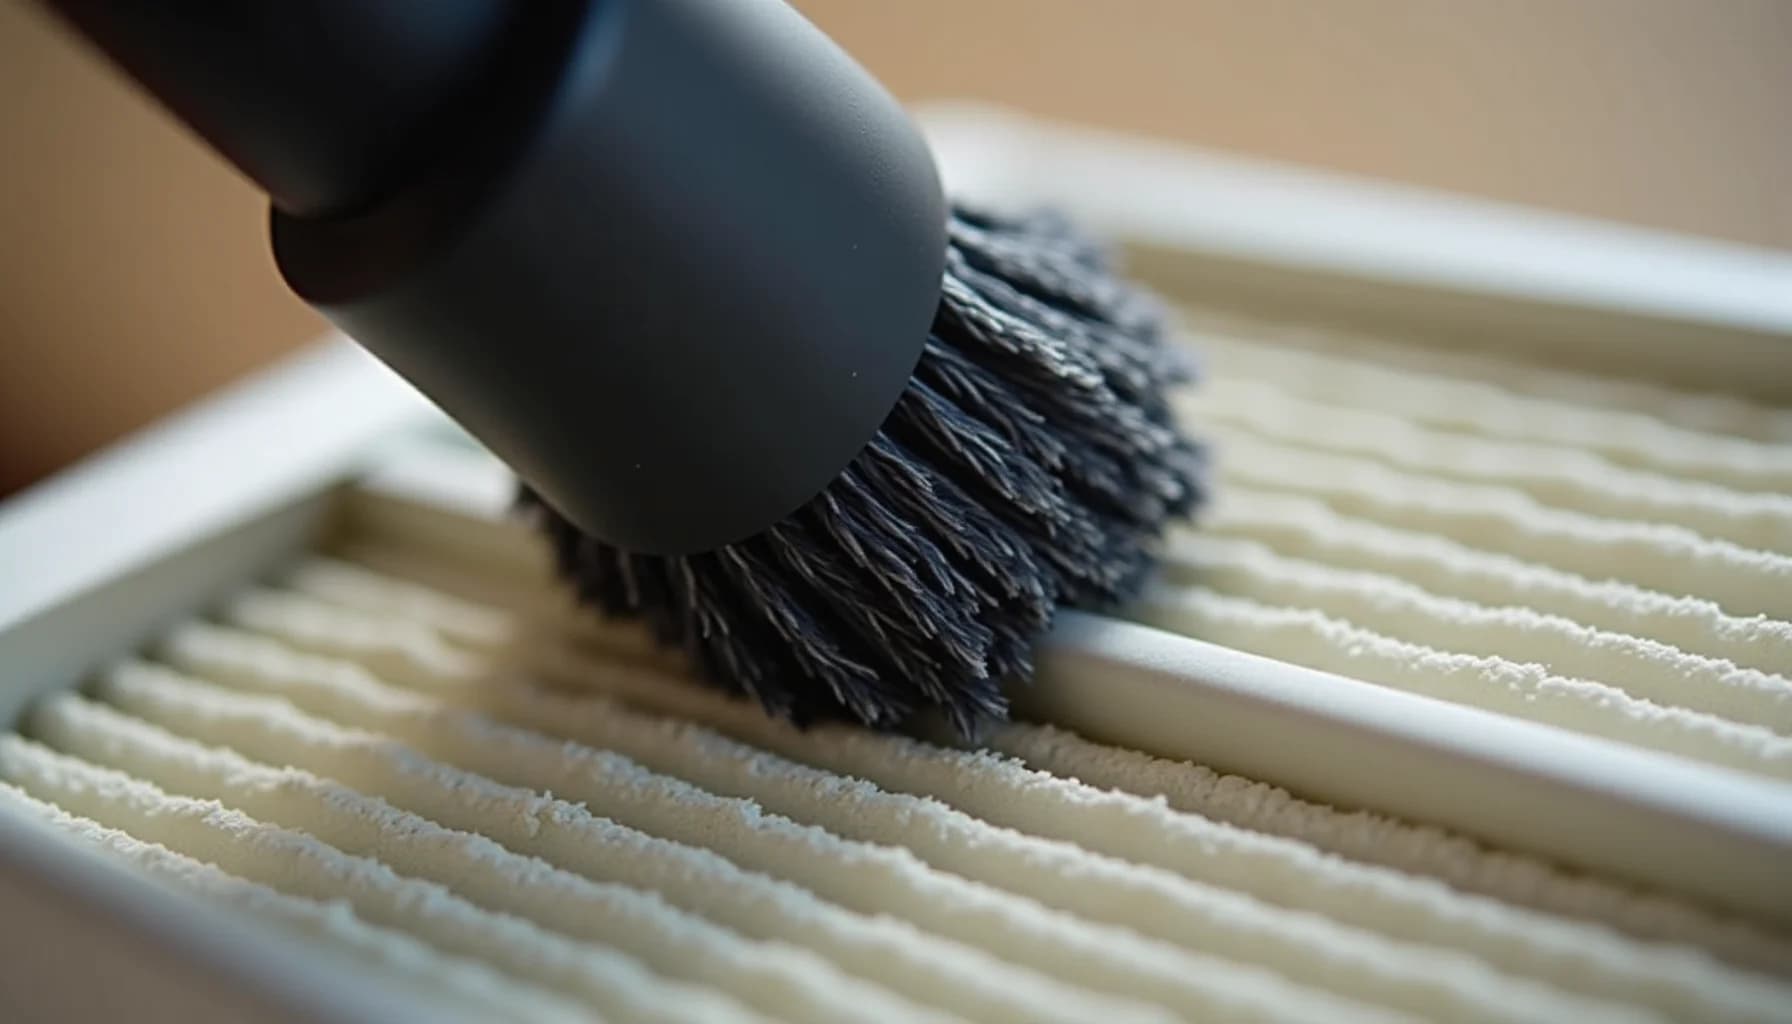
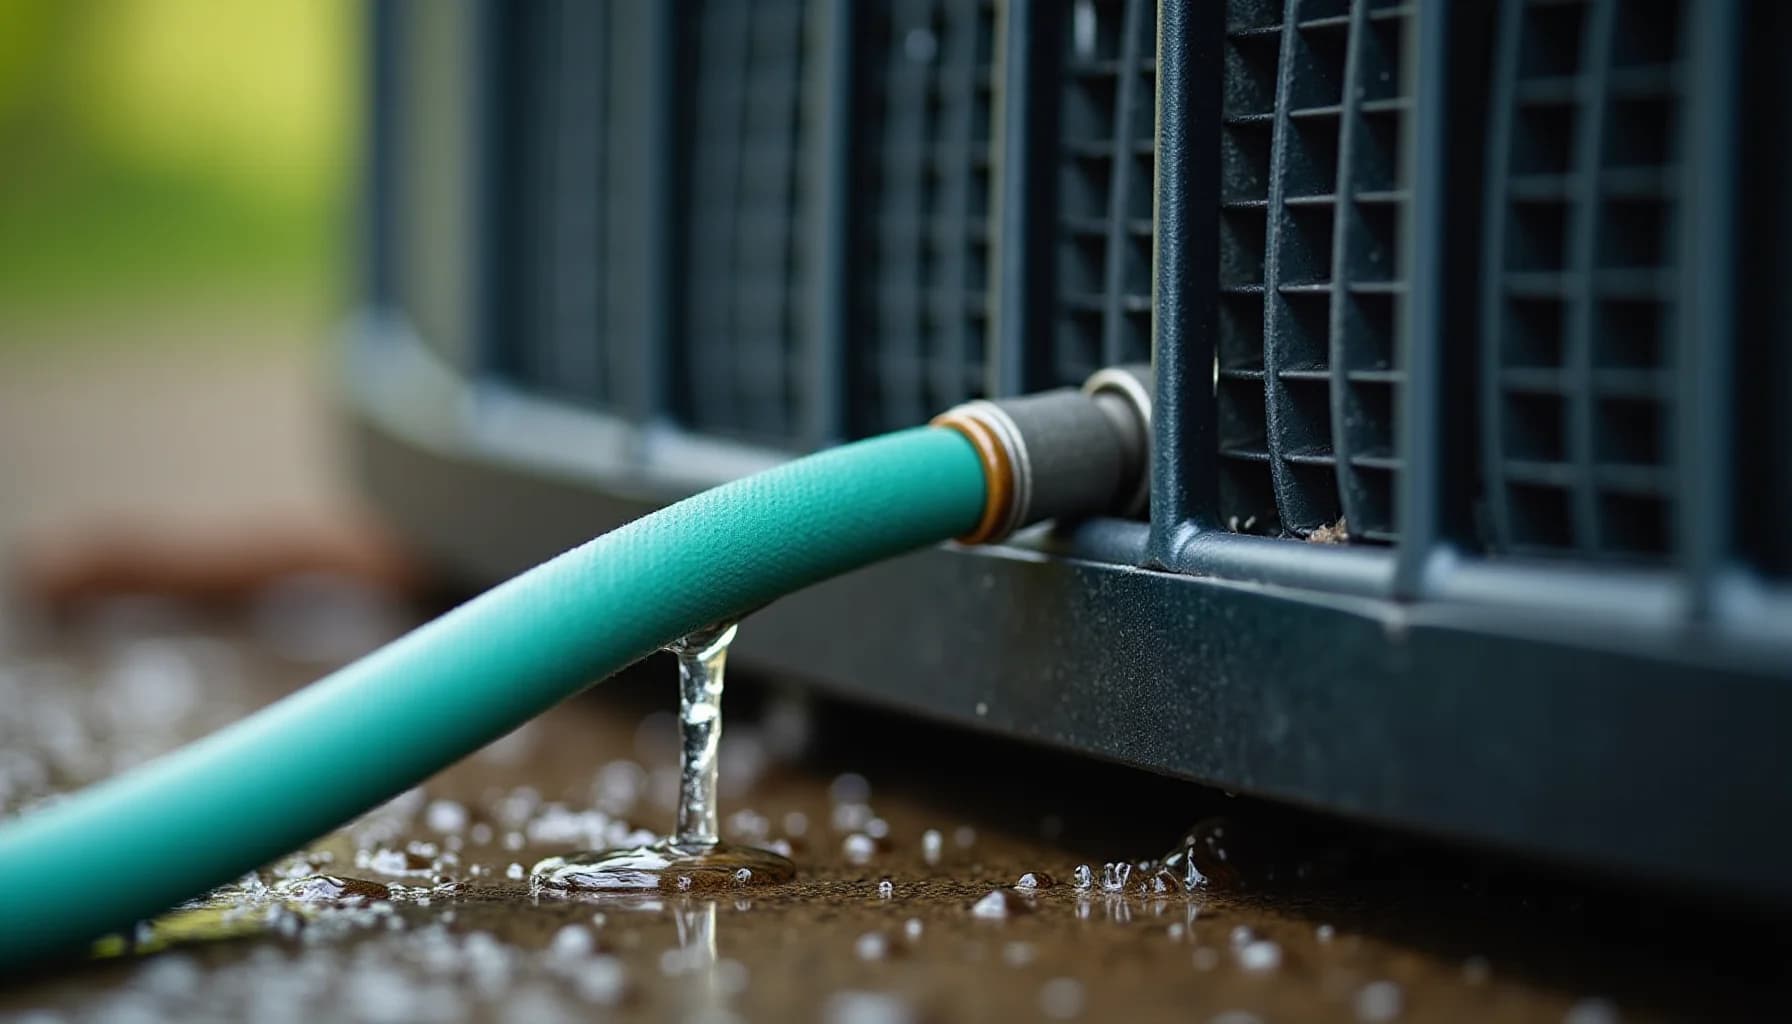
Use a vacuum with a soft brush attachment to remove loose dust from both sets of coils, working gently because coil fins bend and damage easily. Spray the coils with a coil cleaner, let it sit according to the product instructions, then rinse carefully with water.
Wipe the filter slot, then reassemble
Before sliding the dry filter back in, vacuum or wipe out the filter slot: dust left in the slot will contaminate a clean filter immediately. Reassemble the grill and tray, plug the unit back in, and check the filter again within two to four weeks, or sooner if you live in a dusty or high-pollen area.
How do you safely remove and clean a window AC filter?
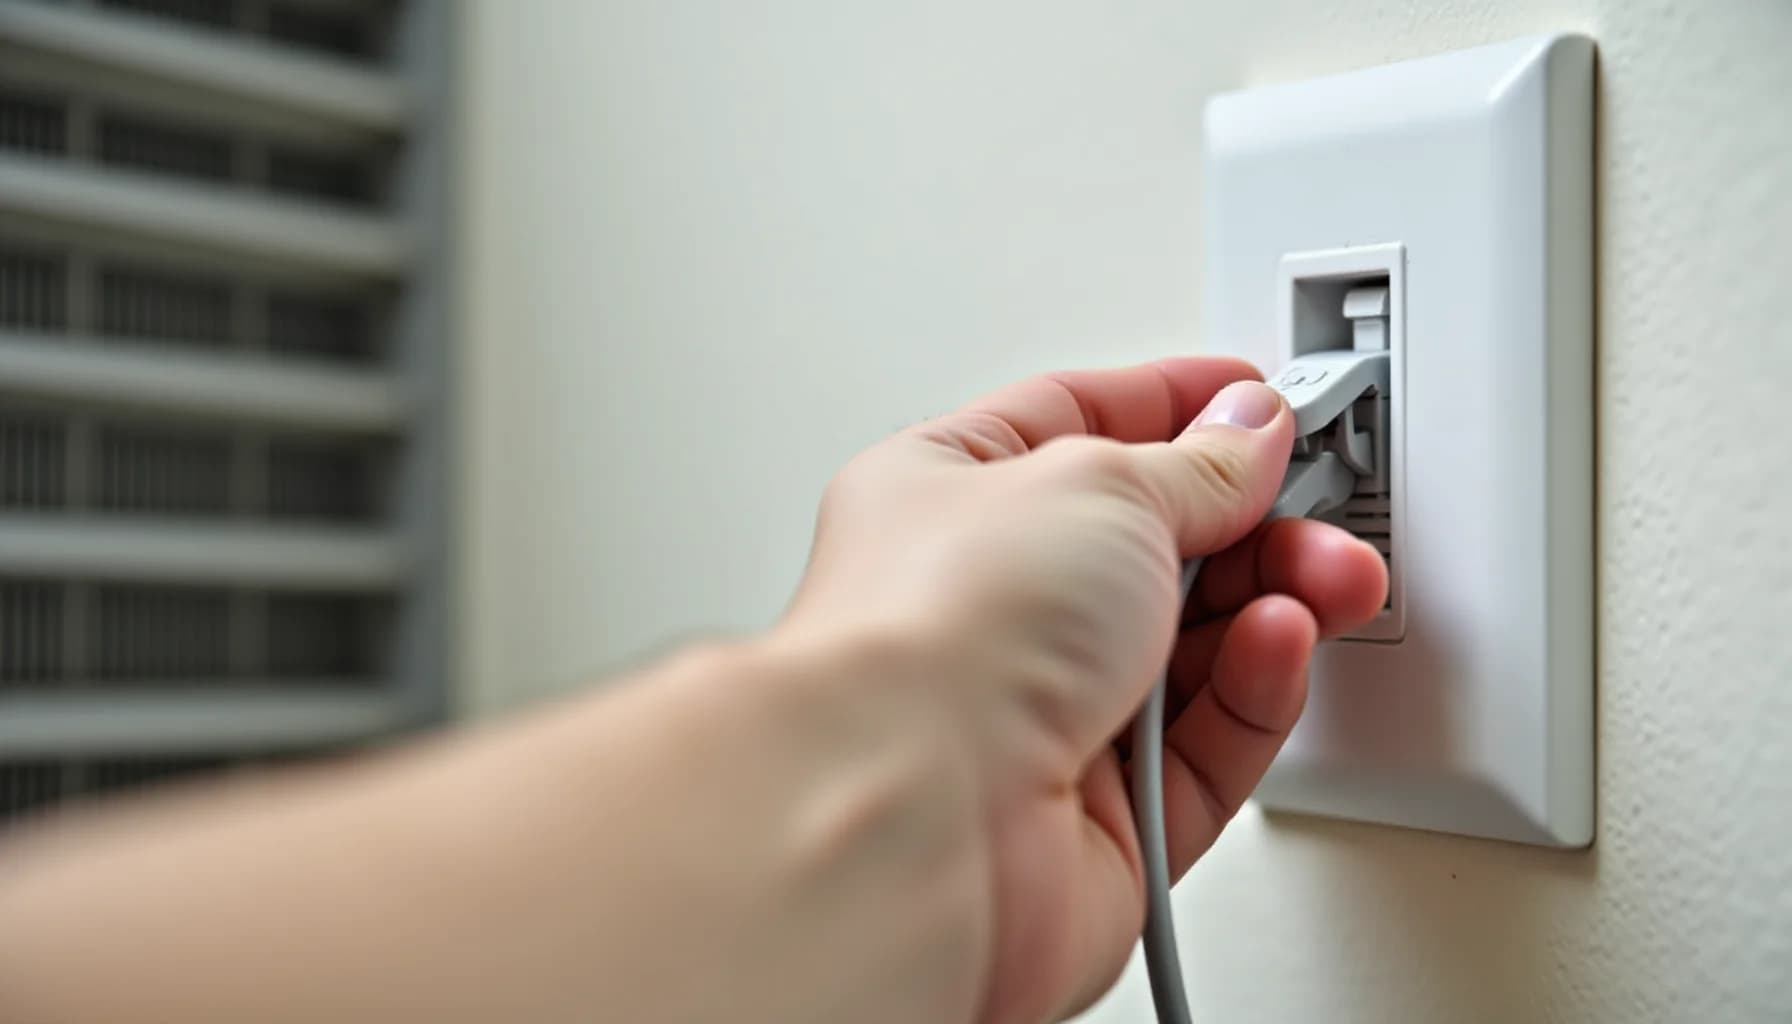
Before touching anything inside the unit, unplug it from the wall outlet. Do not rely on simply switching the unit off, since some models continue drawing power in standby mode. If the unit is hardwired or controlled by a wall switch, cut the circuit breaker. This step is non-negotiable: water and live electrical components are a dangerous combination.
Once the unit is fully de-energized, open the front panel. On most window AC units this means either unclipping a plastic grille or pressing release tabs on either side, though your model's manual will confirm the exact method. The filter sits directly behind the grille and typically slides or lifts out without tools. Note its orientation before you pull it, so you reinstall it the right way.
Hold the filter up to a light source. If you can see significant dust buildup or the mesh looks visibly blocked, it needs cleaning now. Most window AC filters are washable foam or mesh pads, not the disposable pleated kind you find in central HVAC systems.
Take the filter to a sink and rinse it under warm water. Keep the temperature below 104°F (40°C): hotter water can warp or degrade the filter material. For a heavily soiled filter, add a small amount of mild dish soap and work it gently through the mesh with your fingers. Avoid scrubbing with a stiff brush, which can tear the material and reduce filtration.
Rinse until the water runs clear, then set the filter flat or hang it somewhere with good airflow. It must be completely dry before it goes back in. A damp filter returned to a running unit creates exactly the mold conditions you are trying to prevent. This can take a couple of hours, so plan the cleaning for a cooler part of the day.
Before sliding the filter back in, vacuum or wipe out the filter slot itself. Dust left in the slot will immediately contaminate a clean filter, undoing the work you just did.
How do you clean the coils, fan, drip tray, and front grill?
With the filter out and the unit unplugged, you have clear access to the parts that accumulate the most grime: the evaporator coils at the front, the condenser coils at the back, the fan blades, the drip tray, and the front grill.
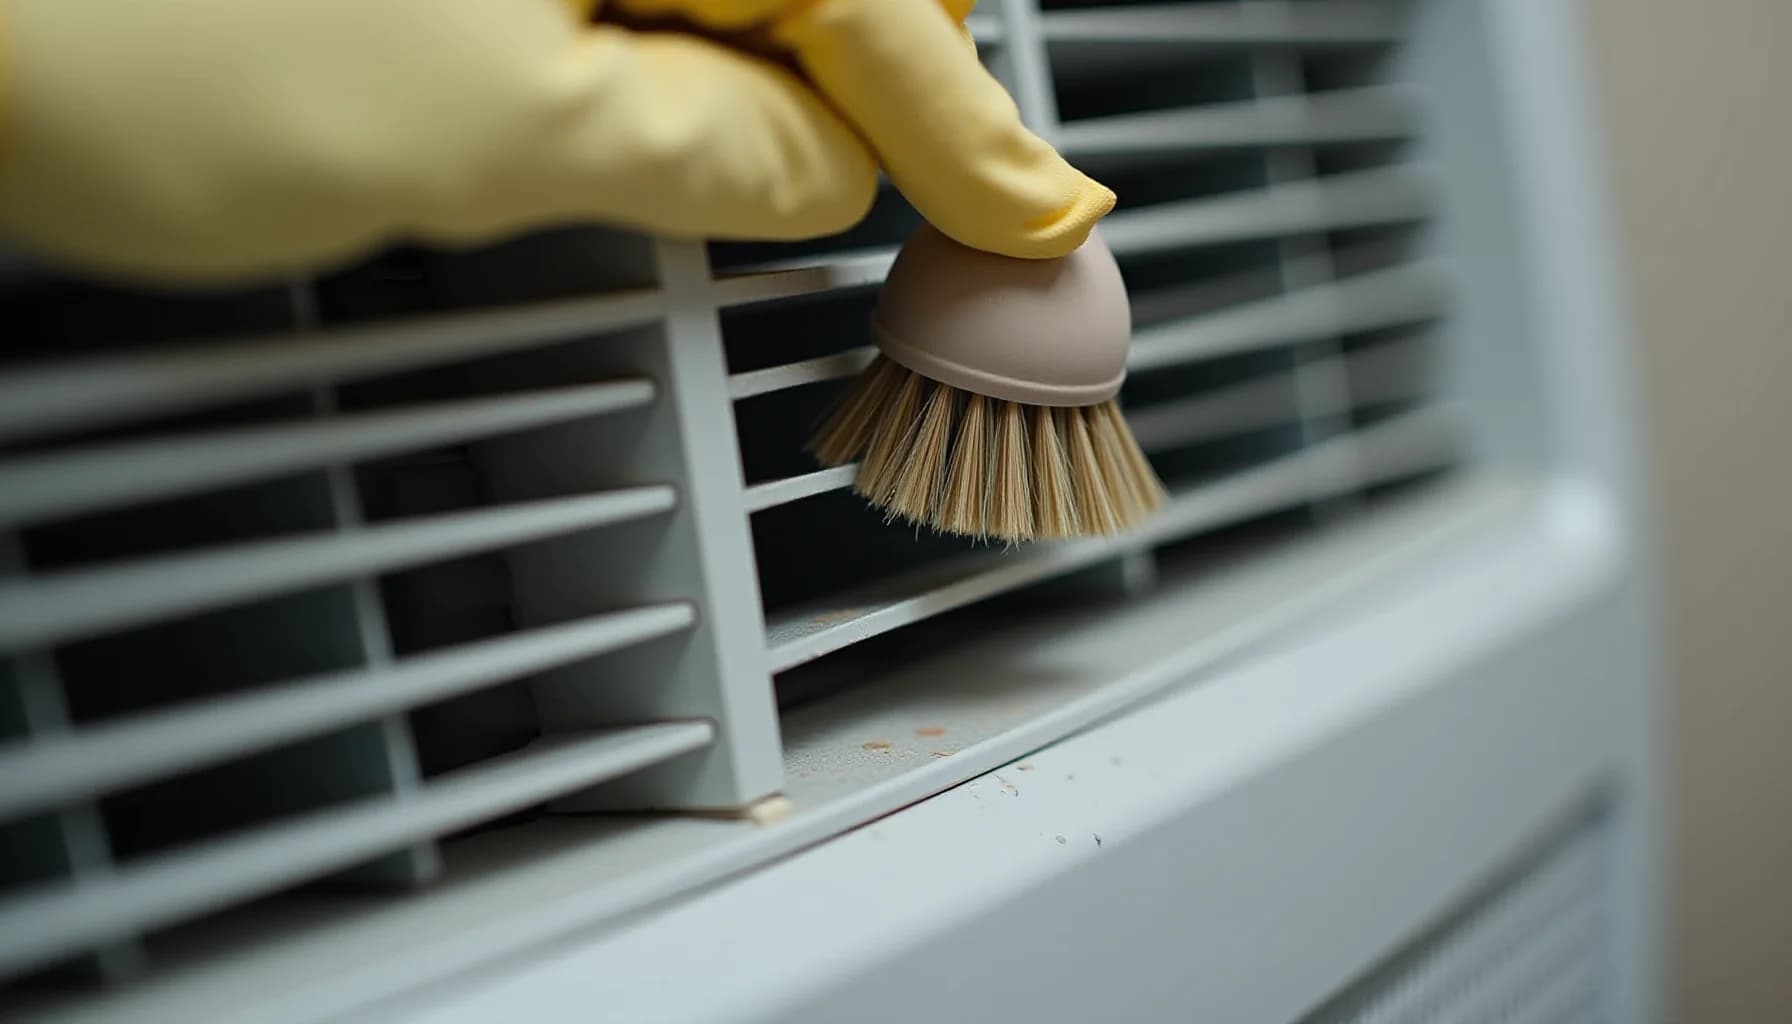
Start with the coils. Run a soft-bristle brush or vacuum with a brush attachment gently along the fin lines to pull out loose dust. Work in the same direction as the fins, never across them, because the aluminum fins bend easily and bent fins restrict airflow. Once the loose debris is off, spray the coils with a foaming coil cleaner, available at any hardware store. Let it sit for the time the label specifies, usually five to ten minutes, then rinse lightly with water. The foam does most of the lifting, so there's no need to scrub.
The fan blades collect a greasy film of dust that a vacuum alone won't shift. Wipe each blade with a cloth dampened with warm soapy water, working from the base of the blade outward. Avoid soaking the motor housing behind the blades.
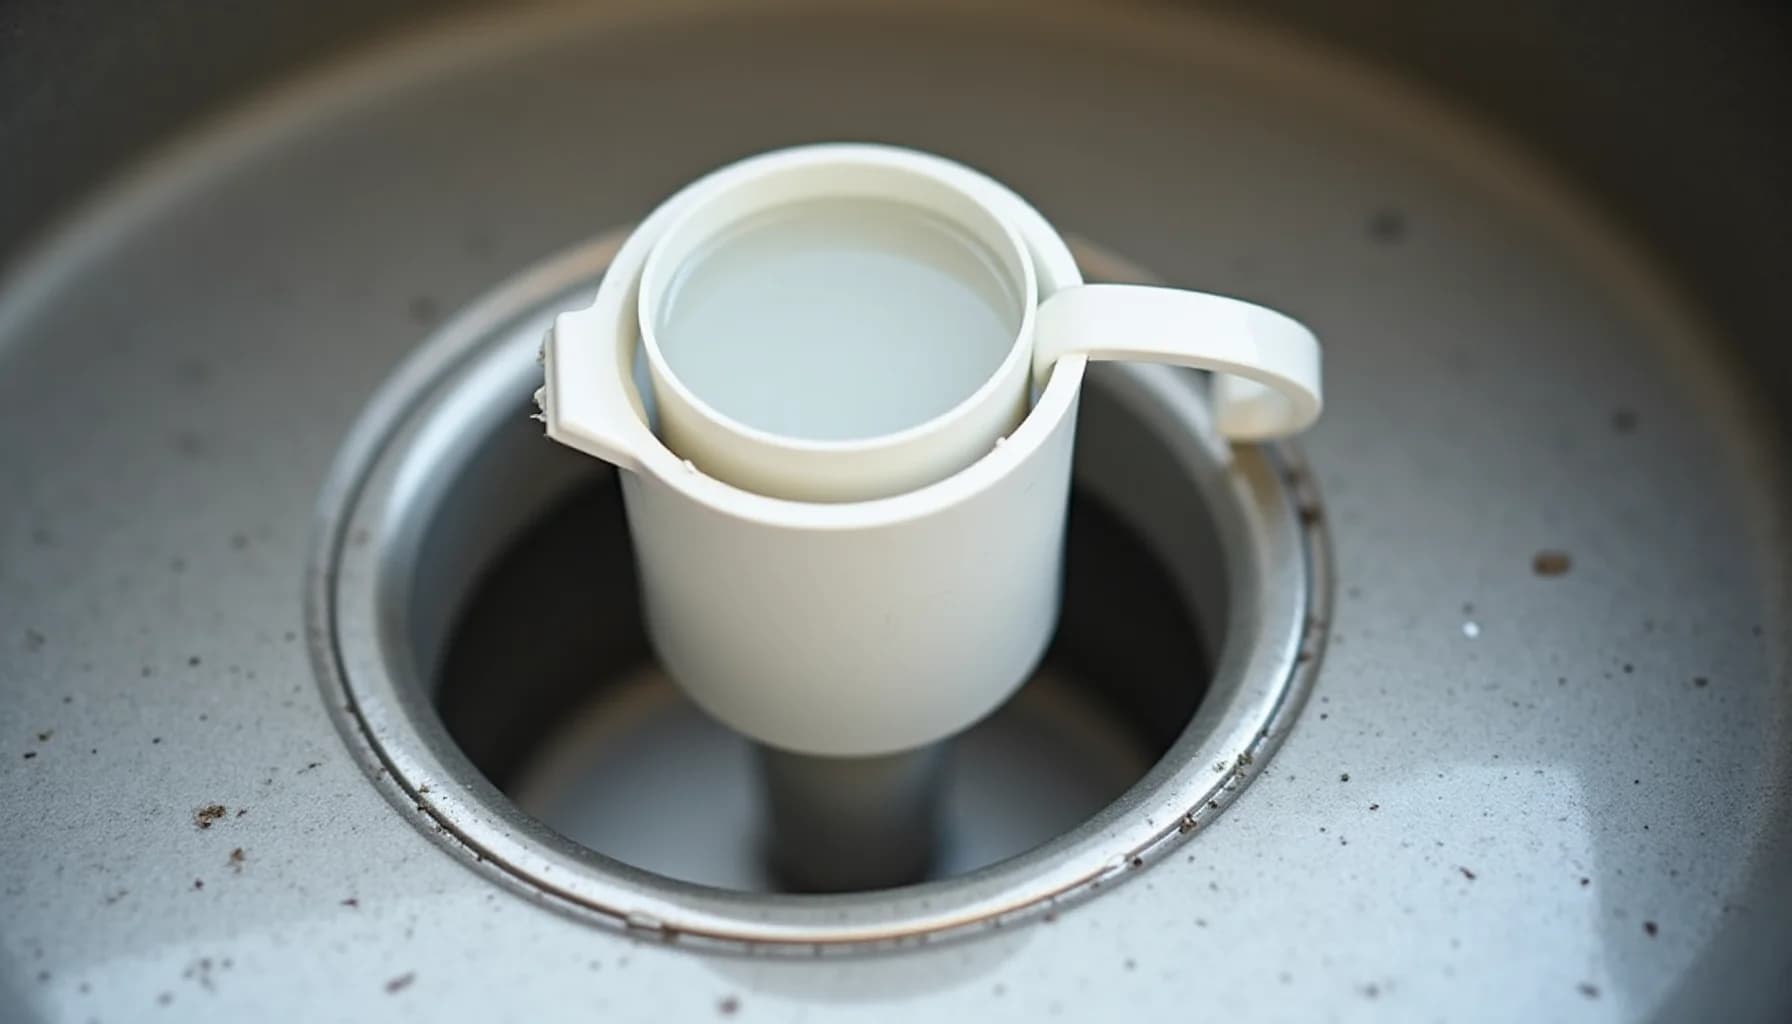
The drip tray sits beneath the evaporator coils and catches condensation. Slide it out if your model allows, and wash it with warm soapy water. If you spot any dark residue or slime, add a small amount of bleach solution to kill mold spores before they establish. Rinse it thoroughly and let it dry before reinstalling. A standing puddle in a drip tray is one of the most common reasons window units develop a musty smell. If mold is already present, the approach described in removing mold from a bathroom ceiling applies the same logic: kill the spores at the source, don't just wipe the surface.
The front grill can usually be wiped down with a damp cloth or rinsed under the tap if it detaches. Dry it fully before snapping it back in place.
How do you clean mold from a window AC unit and dry it safely before reassembly?
Mold in a window AC unit spreads through the filter, drip tray, and evaporator coils. Once it colonizes the coils themselves, surface cleaning cannot reach it, and that is the point at which you stop and call a professional. Running a mold-contaminated unit pushes spores directly into your living space every time it cycles on.
Before you touch anything, unplug the unit from the wall. Skipping this step while handling wet components near electrical parts is not a calculated risk you want to take.
Remove the filter and wash it with warm soapy water, then treat it with a diluted bleach solution to kill mold at the root rather than just wiping the surface. Rinse it thoroughly. Do the same with the drip tray, which collects standing water and is one of the most reliable places mold establishes itself first. If you want to understand how bleach and alternatives like vinegar actually perform against mold on different surfaces, the tested comparison of cleaning mold with vinegar is worth reading before you commit to a method.
Now the part most homeowners get wrong: drying. Every component must be completely dry before it goes back into the unit. A filter that feels dry on the surface but is still damp at the core will restart mold growth within days. Lay parts flat in a well-ventilated area and allow several hours, not minutes. Do not use a hair dryer on foam or mesh filters; the heat warps the material and destroys its structure permanently.
If mold has visibly spread to the coil fins or you can smell it after cleaning, those are signs the contamination is deeper than surface work can address. At that point, a professional service call is the correct next step.
Frequently asked questions
How often should I clean the filter in my window AC unit?
What water temperature should I use when washing a window AC filter?
Do I need to remove the whole unit from the window to clean it?
Why is it so important to let the filter dry completely before putting it back?
How often should you clean or replace your window AC filter?
The filter is where your maintenance schedule lives. Most manufacturers recommend cleaning washable foam or mesh filters every two to four weeks during heavy use, and that is a reasonable baseline for moderate conditions. If you live in a dusty area, run the unit heavily through summer, or have pets, bump that up: check the filter at least twice a month, because trapped particles build up faster than most homeowners expect and can cause frost to form on the evaporator coils.
A simple monthly rhythm works well in practice. Pull the filter, hold it up to the light, and judge from there. If it looks clogged, wash it with mild dish soap under lukewarm water, keeping the temperature below 104°F to avoid warping the material. Let it dry completely before it goes back in; a damp filter is how mold gets its start.
Even with regular washing, filters wear out. Plan to replace yours every six weeks to six months depending on conditions. If yours is a cheap fiberglass type, replacement is usually more practical than repeated cleaning.
For issues that go beyond the filter, such as persistent musty odor after a thorough clean or visible mold deep inside the unit, a professional should look at it. Annual service catches problems that surface cleaning misses. If mold is already spreading in other parts of your home, the guidance on how to remove mold from bathroom ceiling applies the same containment principles worth knowing.
How this article was made
Researched and written with AI assistance. What gets published is a human editorial decision. Grounded in 8 cited sources.
Edited by Claire Mercier, Editor. The guides are written with AI assistance.
Sources (8)
- keep your cool this summer
- Cleaning Your Window AC Unit Yourself in 7 Steps | Homeaglow
- How to Clean a Window Air Conditioner | Parts Town
- How to Clean a Window Air Conditioner Step by Step - Taskrabbit
- How to Clean a Window Air Conditioner: A Step-by-Step Guide – Della
- Ultimate Guide: How To Clean A Window Air Conditioner
- A Comprehensive Guide on How to Clean a Window AC Unit | Vernon AC
- How to clean a window air conditioner, according to experts