How to Clean Grout Lines: Methods Ranked by What Works
Part of Bathroom Cleaning · article 4 of 16
On this page
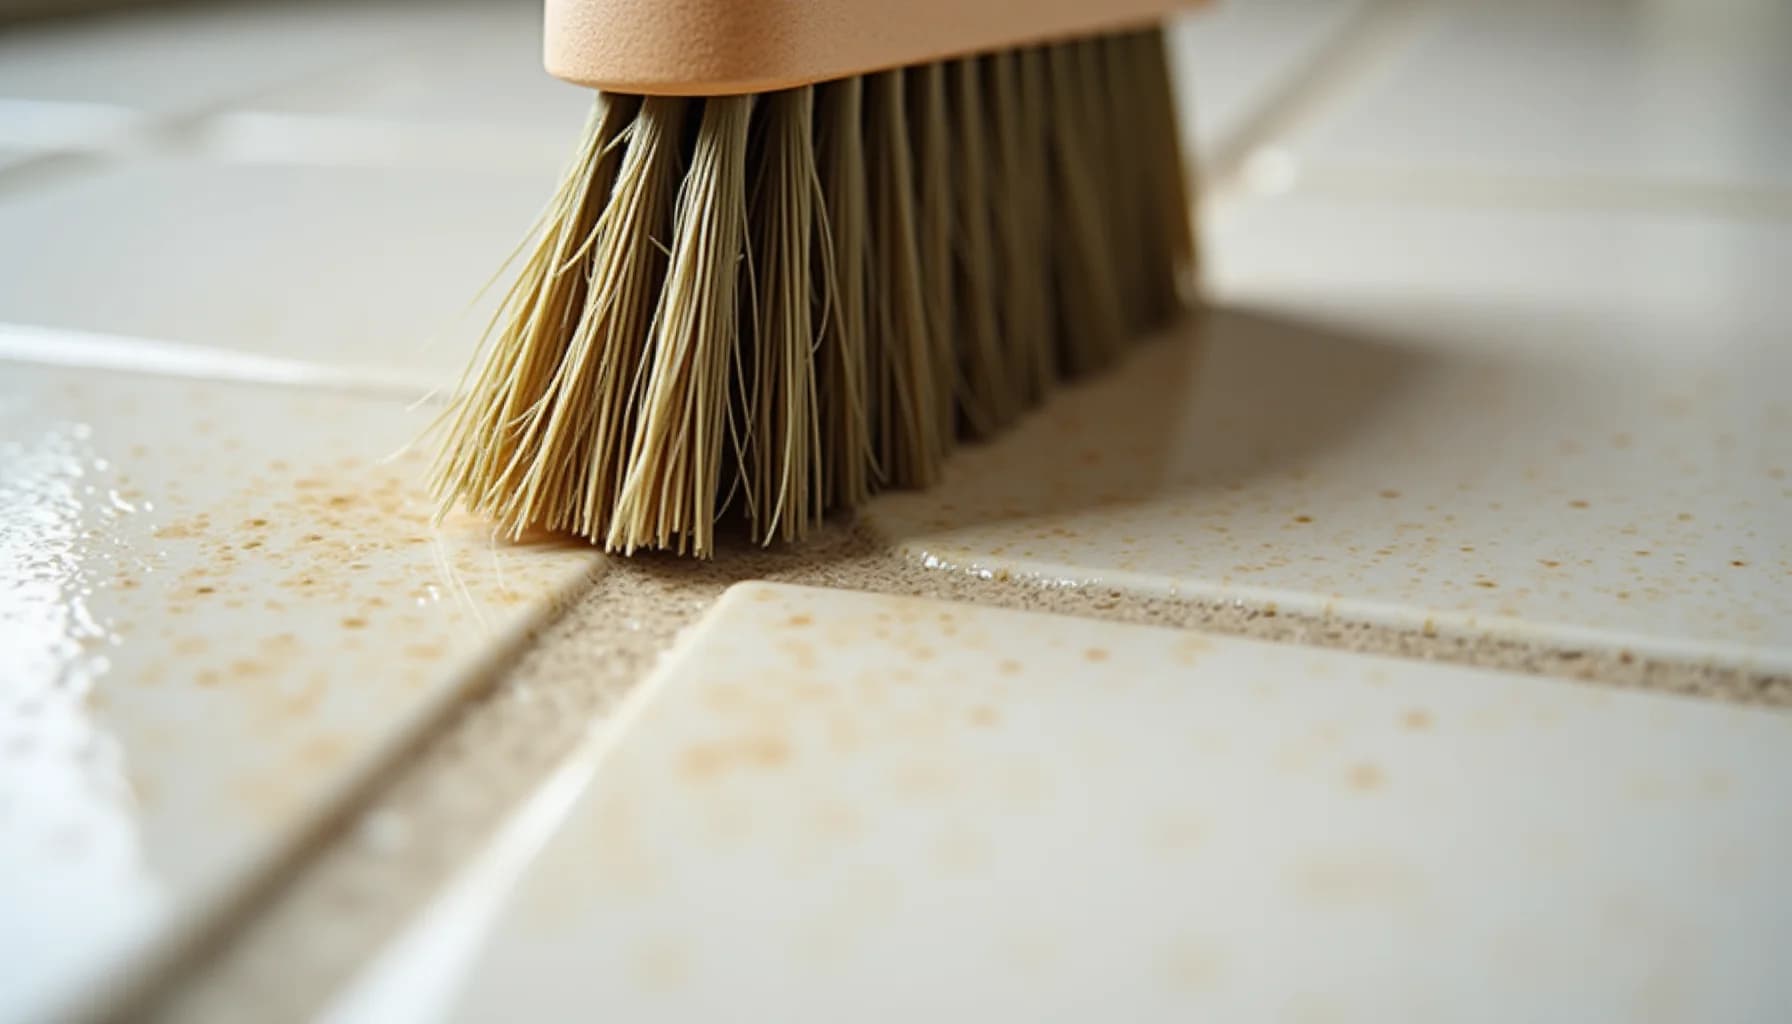
For most grout cleaning jobs, oxygen bleach dissolved in hot water is the most effective option you can mix at home. Let it sit for 10 to 20 minutes before scrubbing with a stiff-bristled brush using a back-and-forth motion, then rinse thoroughly with warm water and dry with a clean towel. Baking soda paste with hydrogen peroxide works well for yellowed ceramic or porcelain grout. Commercial cleaners, despite the marketing, are generally the strongest performers because they're formulated specifically for porous cement-based materials. Avoid vinegar on unsealed or natural stone grout — its acidity weakens the material over time and will permanently etch stone surfaces. Knowing your tile type matters before you choose a cleaner, since field tests that identify your tile type can prevent irreversible damage from the wrong product.
Why does grout get dirty so fast?
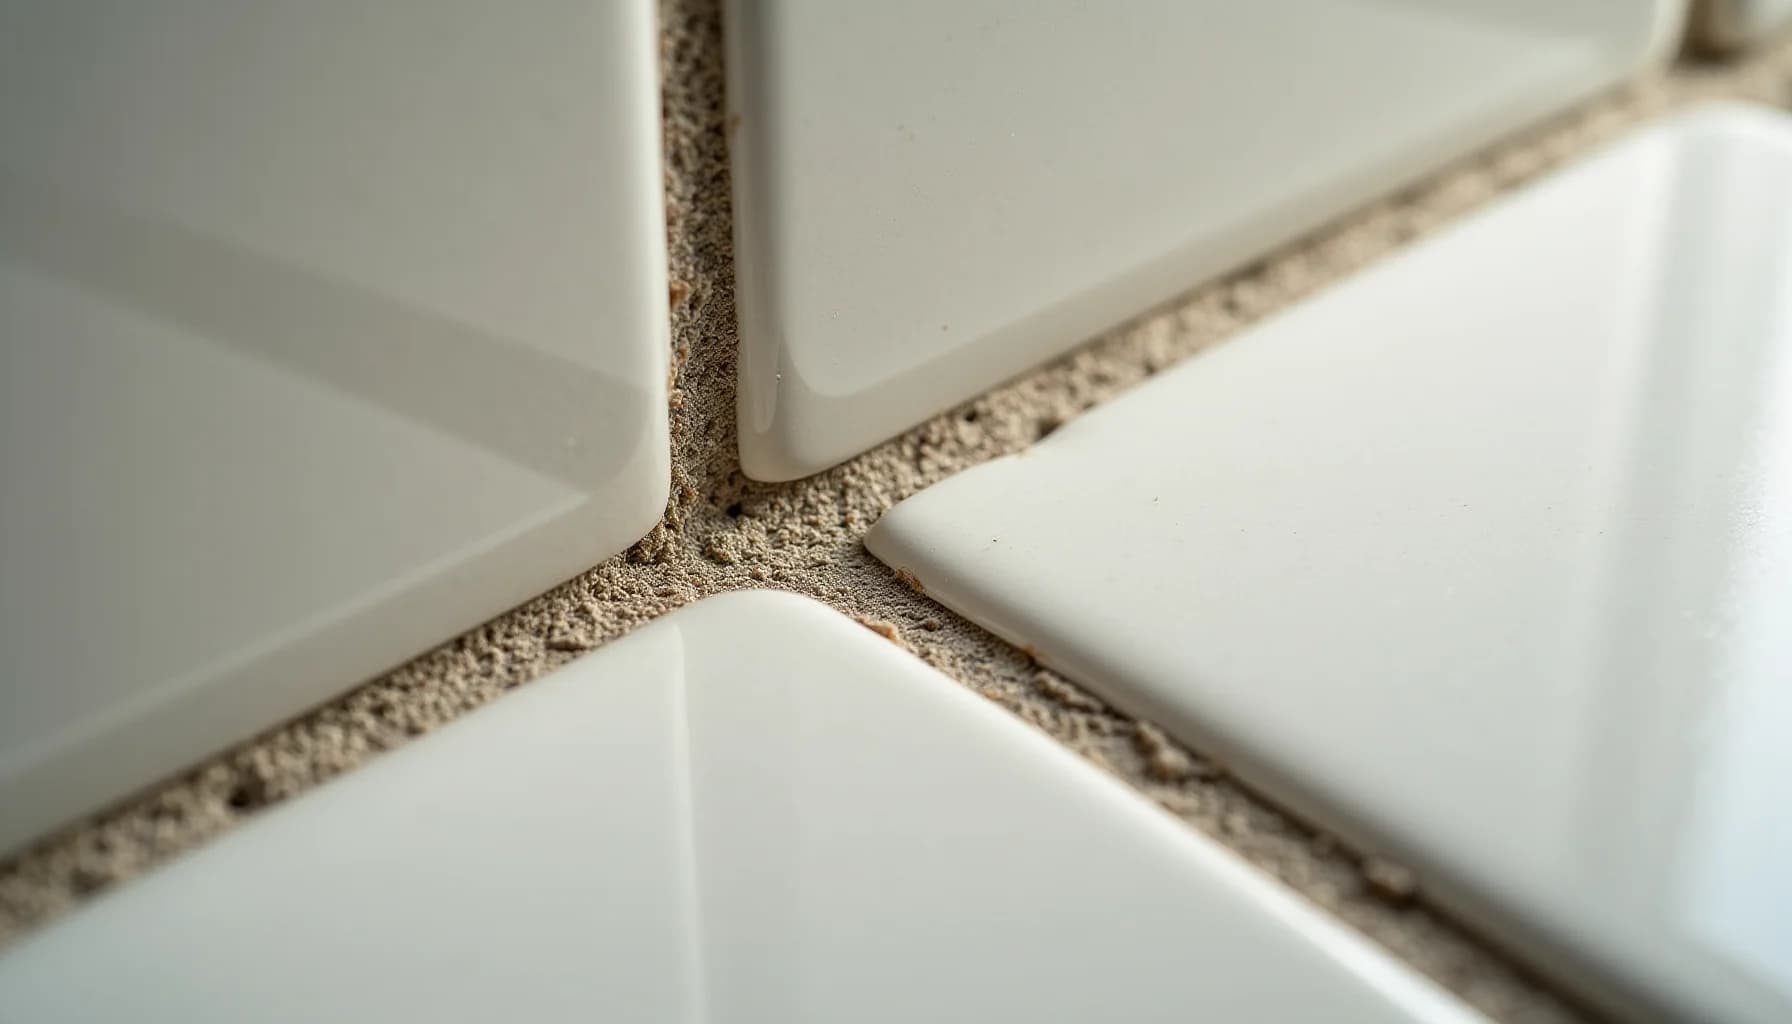
Grout is made from a cement-based mixture that is, by nature, porous. That porosity is what makes it vulnerable. Unlike the glazed surface of a ceramic or porcelain tile, grout has microscopic gaps that absorb water, pull in soap residue, and trap airborne grease particles. Add the fact that grout lines sit slightly lower than the surrounding tile surface, and you have a natural channel where dirt, moisture, and debris collect every single time you shower, cook, or mop the floor.
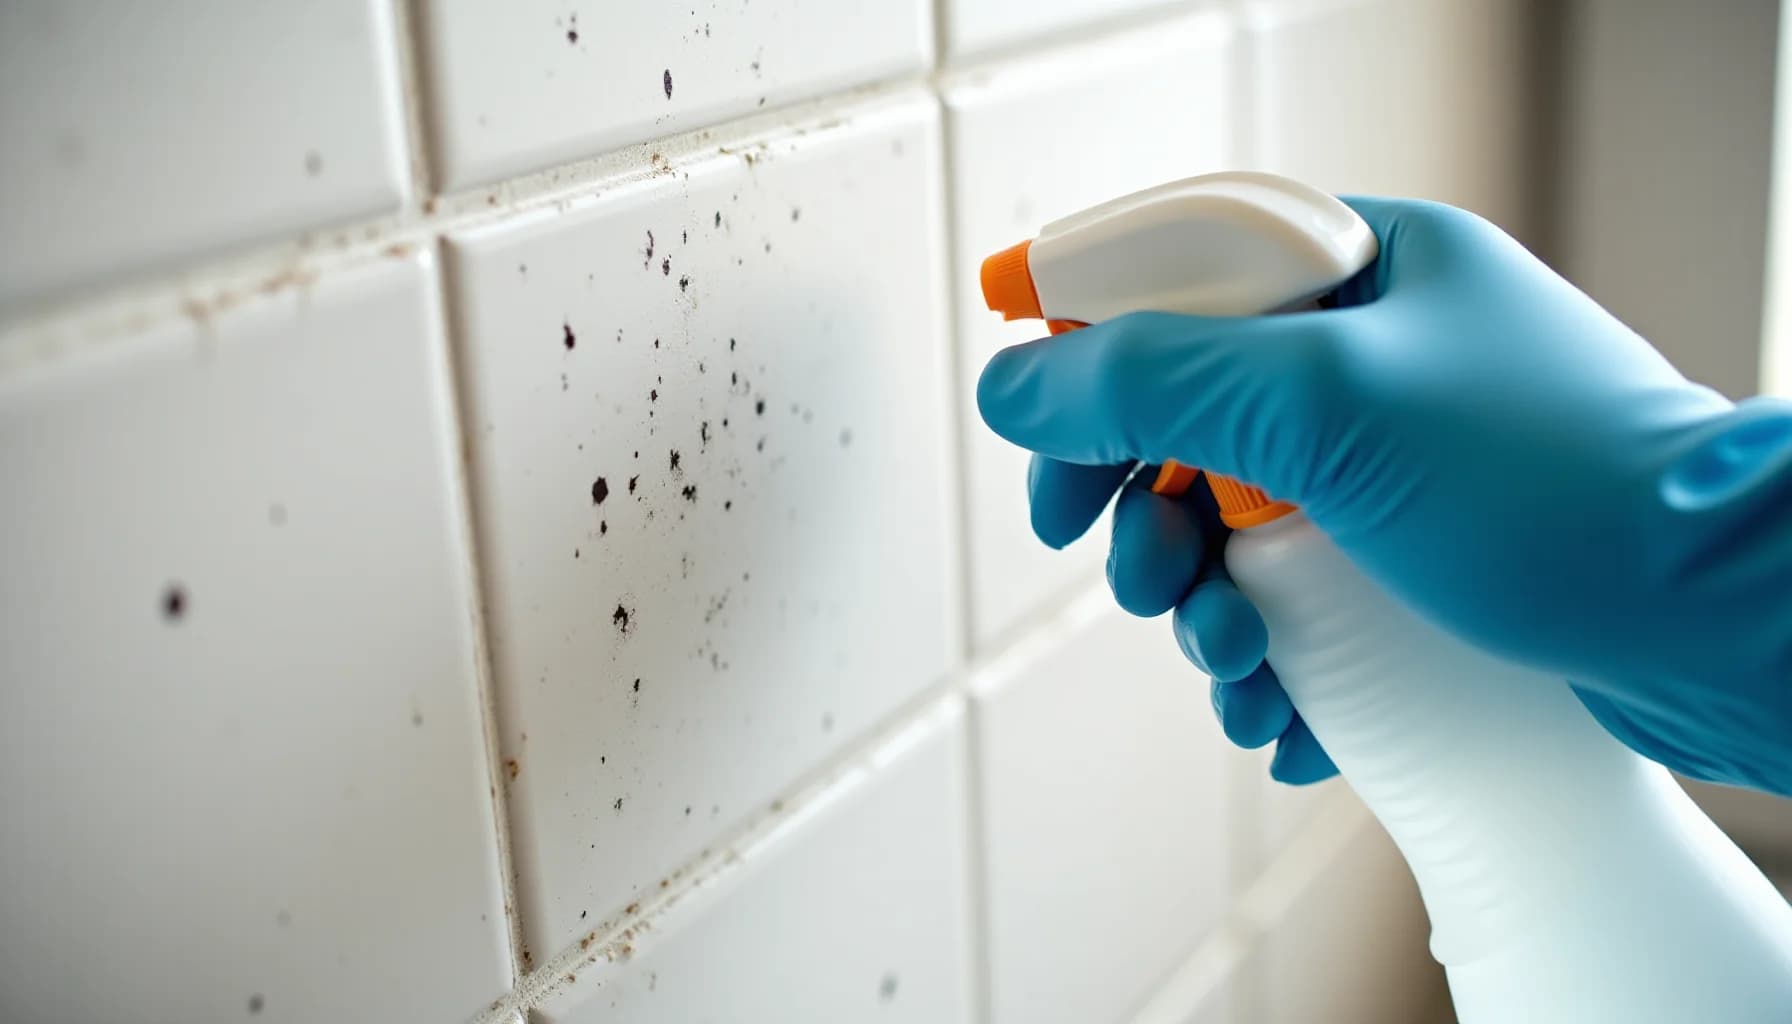
In bathrooms, the combination of heat and recurring moisture creates the conditions mold and mildew need to establish themselves. Spores settle into those porous gaps and begin darkening the grout within weeks of installation if the surface is left unsealed. In kitchens, the problem is different but equally stubborn: cooking releases aerosolized grease that drifts onto backsplashes and floors, then gets pushed into grout lines during routine wiping. Standard dish-mopping spreads the grease rather than lifting it.
Hard water compounds the problem further. Dissolved minerals in tap water leave behind calcium and magnesium deposits each time water evaporates off the tile. Over time, that mineral film bonds with soap scum and creates a layered residue that a simple wipe-down cannot reach.
The geometry and material composition of grout together make it a trap. Understanding that is what separates effective cleaning from effort wasted on the wrong product, especially since the tile type underneath the grout directly affects which cleaners are safe to use.
What's the right way to prep and clean grout lines?
Remove loose dirt before applying any cleaner
Sweep or wipe down the tiles to clear loose debris first. This lets any cleaning solution penetrate the grout directly rather than mixing with surface grit.
Choose your cleaner based on how dirty the grout is
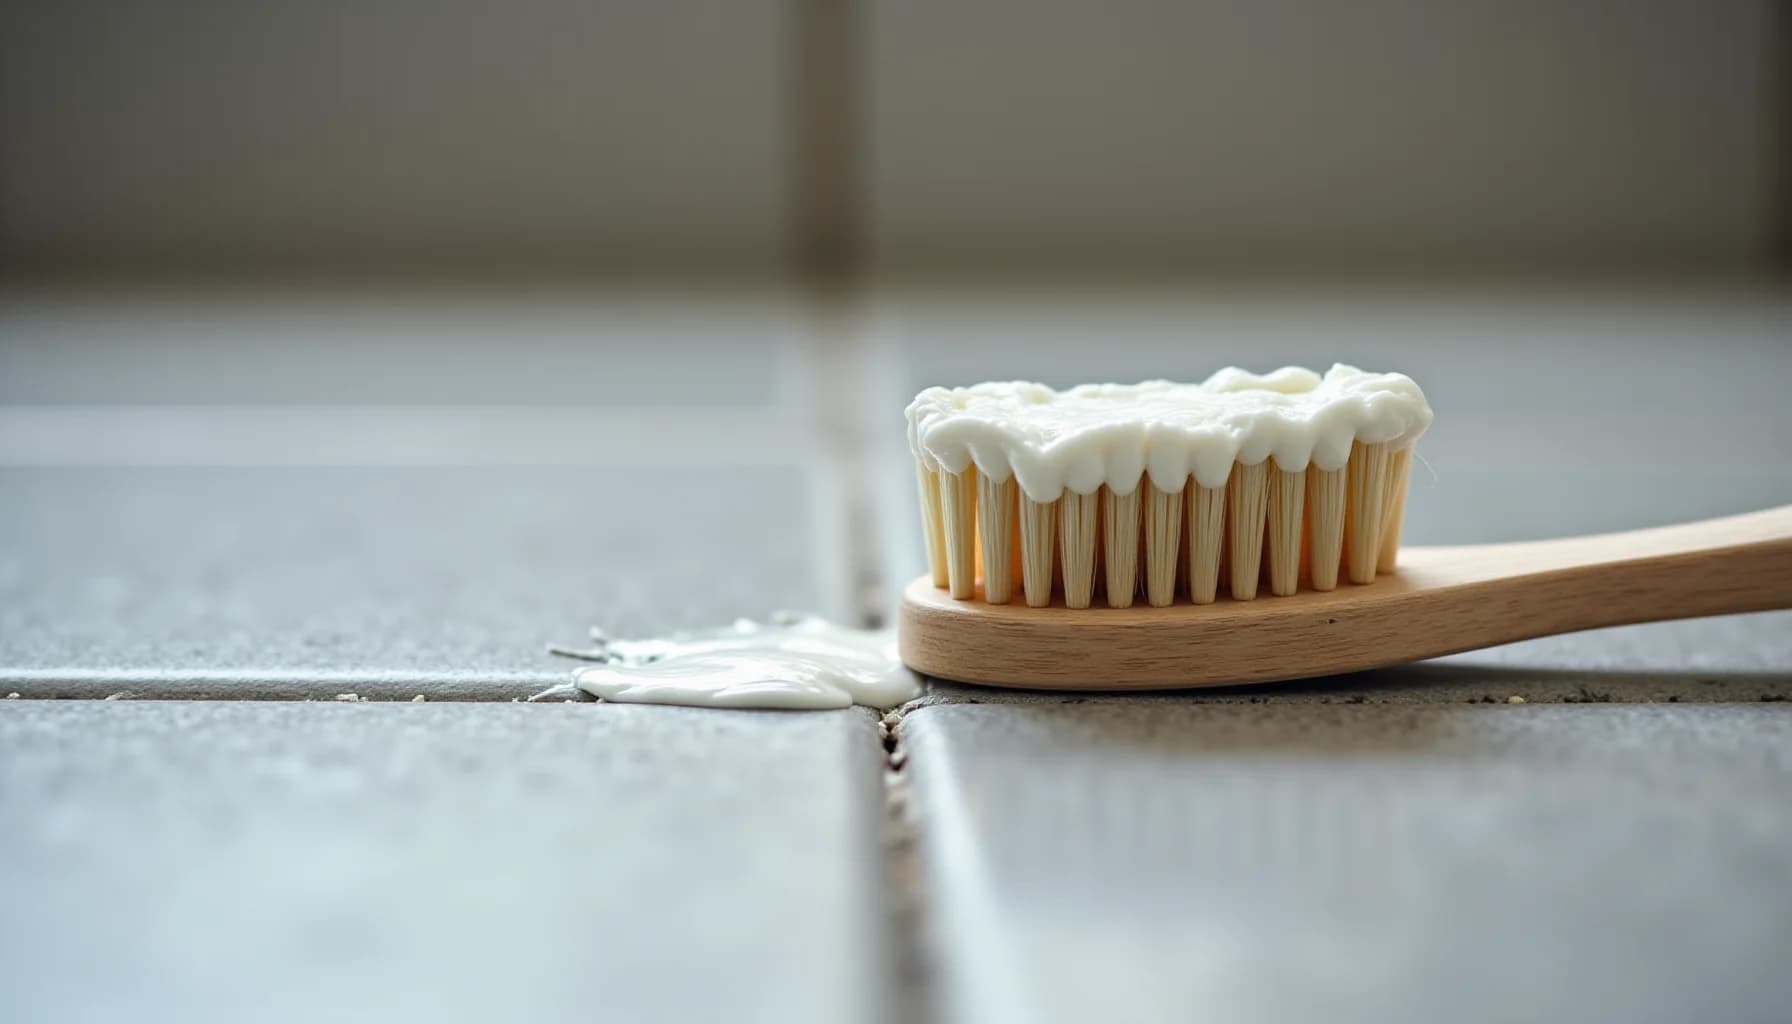
Use a baking soda paste with hydrogen peroxide (3%) for yellowed or moderately stained grout on ceramic or porcelain. For light grime in low-traffic areas, mix hot water with a small amount of dish soap, which also cuts grease on kitchen surfaces better than baking soda alone. Reserve oxygen bleach mixed with hot water for deep-set stains, and keep commercial grout cleaners as your strongest option for neglected or heavily soiled lines.
Apply the cleaner and let it sit
Pour or spread the cleaner along the grout lines and let it dwell: 5 minutes for soap or baking soda solutions, at least 15 minutes for hydrogen peroxide, and 10 to 20 minutes for oxygen bleach. This soak time is what loosens stubborn dirt, not the application alone.
Scrub with a stiff-bristled brush using back-and-forth strokes
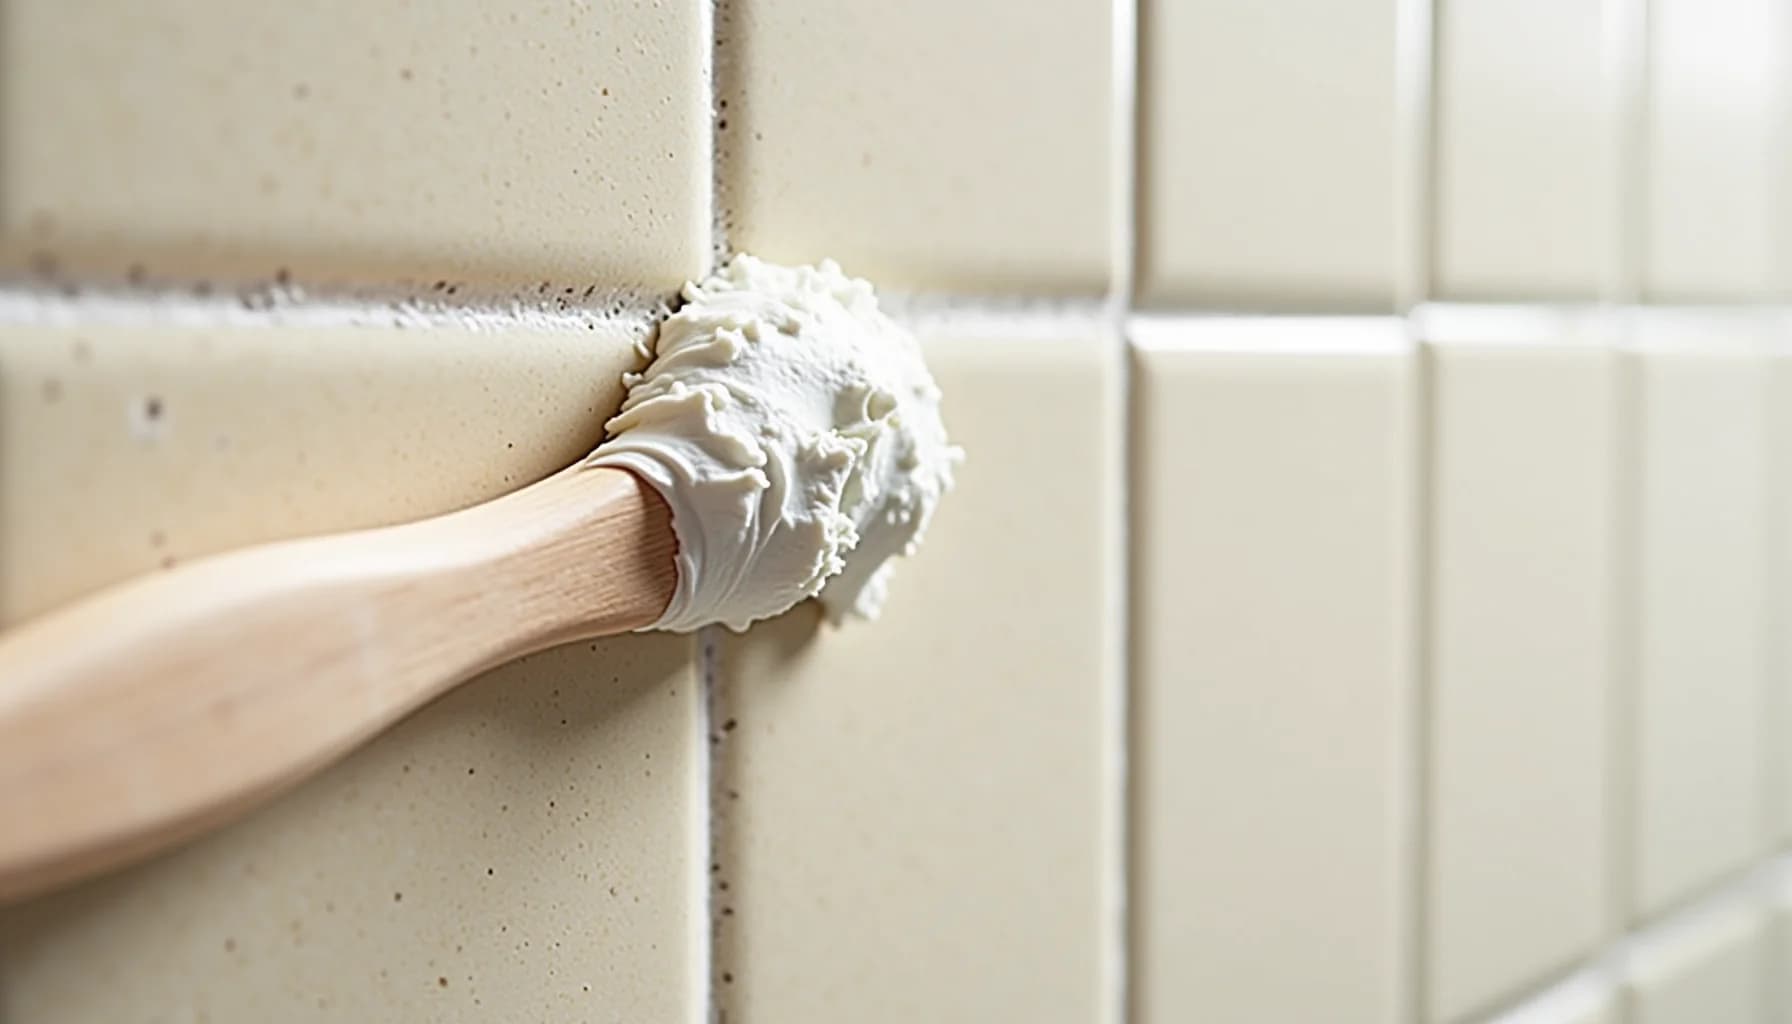
Work the brush along each grout line with firm, back-and-forth motion. DIY solutions like baking soda require real physical effort to be effective, since they are weaker than commercial-grade cleaners.
Rinse thoroughly with warm water, then dry completely
Flush away all cleaner residue with warm water, because dirty water settles into the concave grout lines and leaves dirt behind once it evaporates. Dry as much as possible with a clean towel right away.
Seal the grout after it dries fully
Once the grout is completely dry, apply a grout sealer to protect the surface. Without sealant, water seeps into the porous material, promotes bacterial growth, and weakens the tile adhesive. Plan a light weekly wipe-down with rubbing alcohol and a full deep clean every 3 to 6 months to maintain results.
Which cleaning solution works best for your stain type and tile material?
The single most important variable in grout cleaning is not how hard you scrub but whether your chosen solution matches both the stain you're dealing with and the tile it sits beside.
For light surface discoloration and routine grime, a paste of baking soda and water is a reasonable first move. It works as a mild abrasive, lifting soap residue and surface dirt from ceramic and porcelain tile without risk of damage. Vinegar can be added to the process to help loosen mineral deposits and soap scum, but only on sealed grout. On unsealed or older grout, repeated vinegar use weakens the material over time. On natural stone, avoid it entirely: the acetic acid will permanently etch the surface.
Yellowed or deeply stained grout on ceramic or porcelain responds better to a paste of baking soda and 3% hydrogen peroxide. This is the most effective and safest homemade option for whitening. Let it sit for at least 15 minutes before scrubbing. Hydrogen peroxide penetrates deeper into porous grout than chlorine bleach does, making it genuinely more useful for set-in staining rather than just surface discoloration.
For severe, neglected stains, oxygen bleach dissolved in hot water is the right step up. Let it soak for 10 to 20 minutes. It outperforms chlorine bleach for this application because it penetrates the grout rather than acting only at the surface. Chlorine bleach can be used sparingly in extreme cases, but regular use erodes grout over time.
Kitchen grout calls for dish soap and hot water over baking soda, because dish soap cuts grease more effectively. Bathroom mold on sealed grout responds to white vinegar's antifungal properties, though recurring mold points to a ventilation problem that no cleaner will solve.
Natural stone tile requires pH-neutral cleaners throughout. If you're unsure what tile type you have, identifying your tile material before choosing a cleaner can save you from irreversible surface damage.
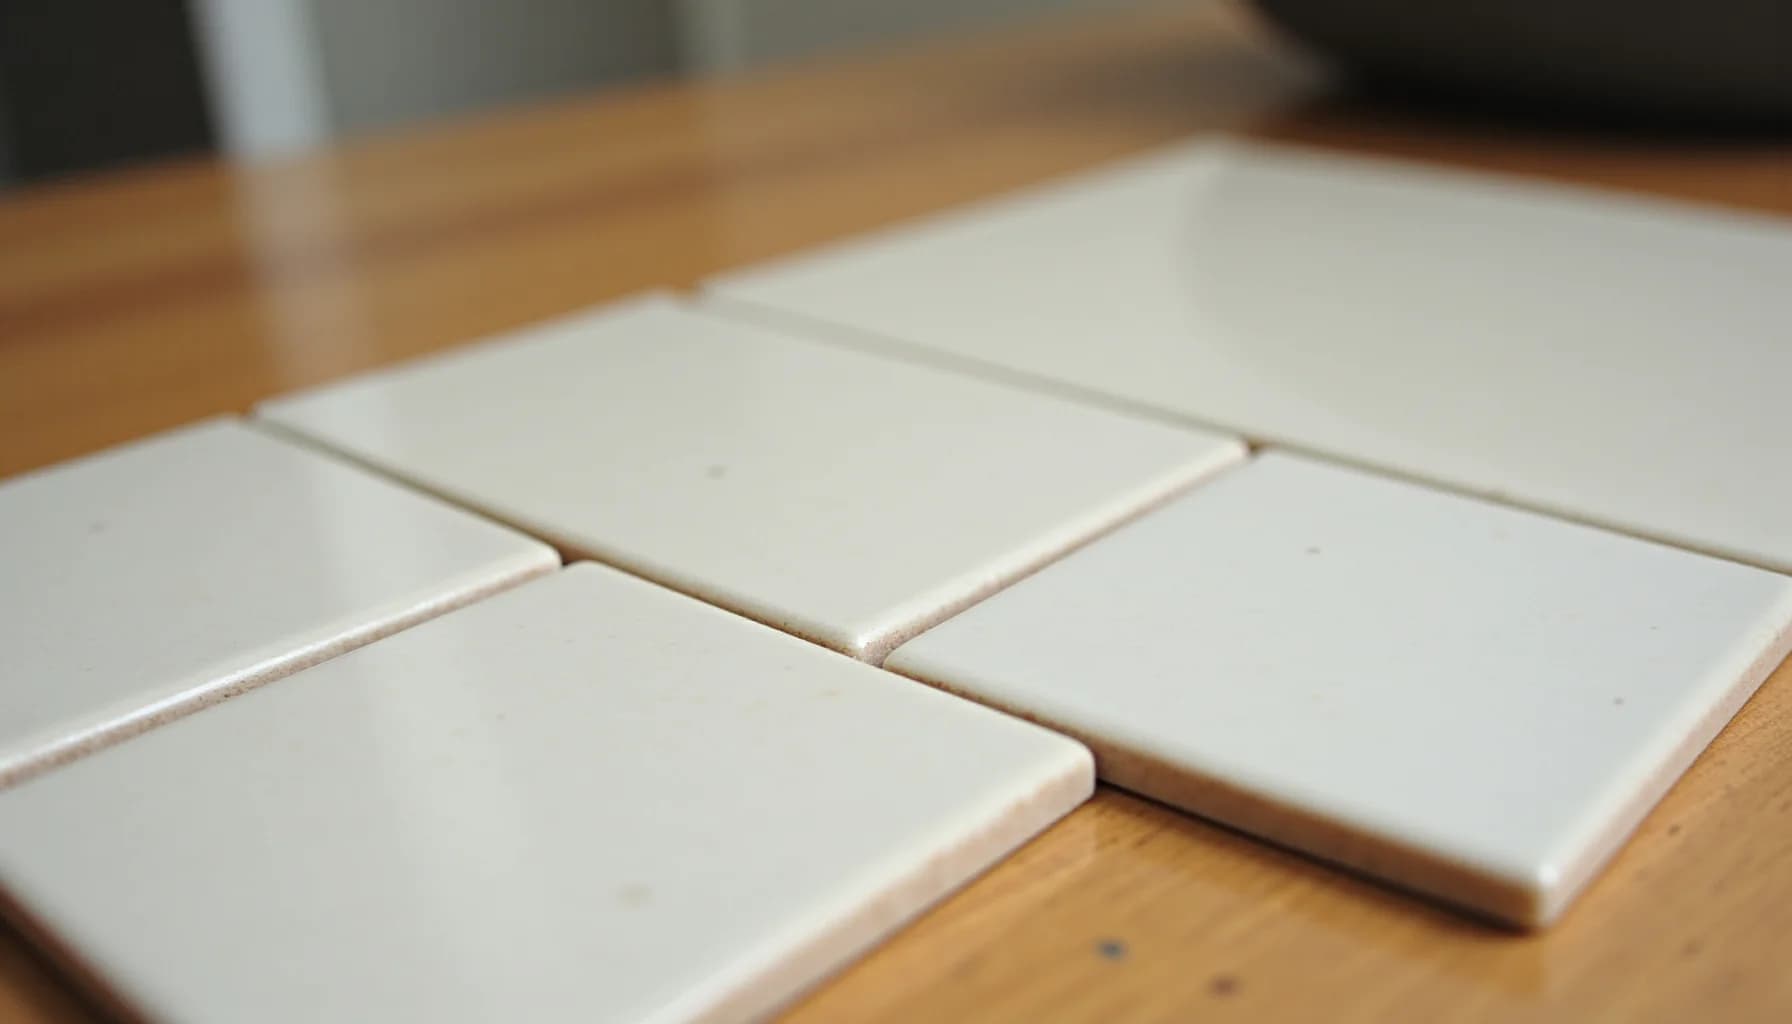
Does baking soda and vinegar actually clean grout?
The short answer is: yes, but only for certain kinds of dirty.
Baking soda (sodium bicarbonate) is a mild abrasive. Mixed with enough water to form a paste, it scrubs away surface grime, light discoloration, and soap residue. That part is genuinely useful. Distilled white vinegar (acetic acid) adds to the process by breaking down some mineral deposits and soap scum. When the two meet, they produce water, carbon dioxide, and sodium acetate, along with a satisfying fizz that many homeowners take as proof the method is working.
That fizzing is mostly visual theater. The bubbles help loosen debris to some degree, but the actual chemical byproducts have limited cleaning power against stubborn stains. Once the fizzing stops, the vinegar's effect is essentially done. For heavily soiled or neglected grout, mold that has penetrated the surface, or kitchen grease that has soaked in over months, baking soda and vinegar will disappoint. The method also demands real physical effort: because it is weaker than commercial-grade cleaners, you have to scrub hard to get results.
For routine dirt and light discoloration, particularly in low-traffic areas, the combination does genuinely brighten grout lines. Baking soda alone, applied as a paste and scrubbed with a stiff brush, can noticeably lift light surface buildup. The key variable, though, is your grout's condition. Vinegar should never be used on unsealed or older grout, because its acid weakens the material over time. On natural stone tiles, the damage is permanent: the acid etches the surface in a way that cannot be reversed. If you are unsure what tile type you have, testing your tile before applying any acidic cleaner could save you from an expensive mistake.
One more myth worth correcting: grout pens look like a quick fix, but they do not clean grout. They paint over it.
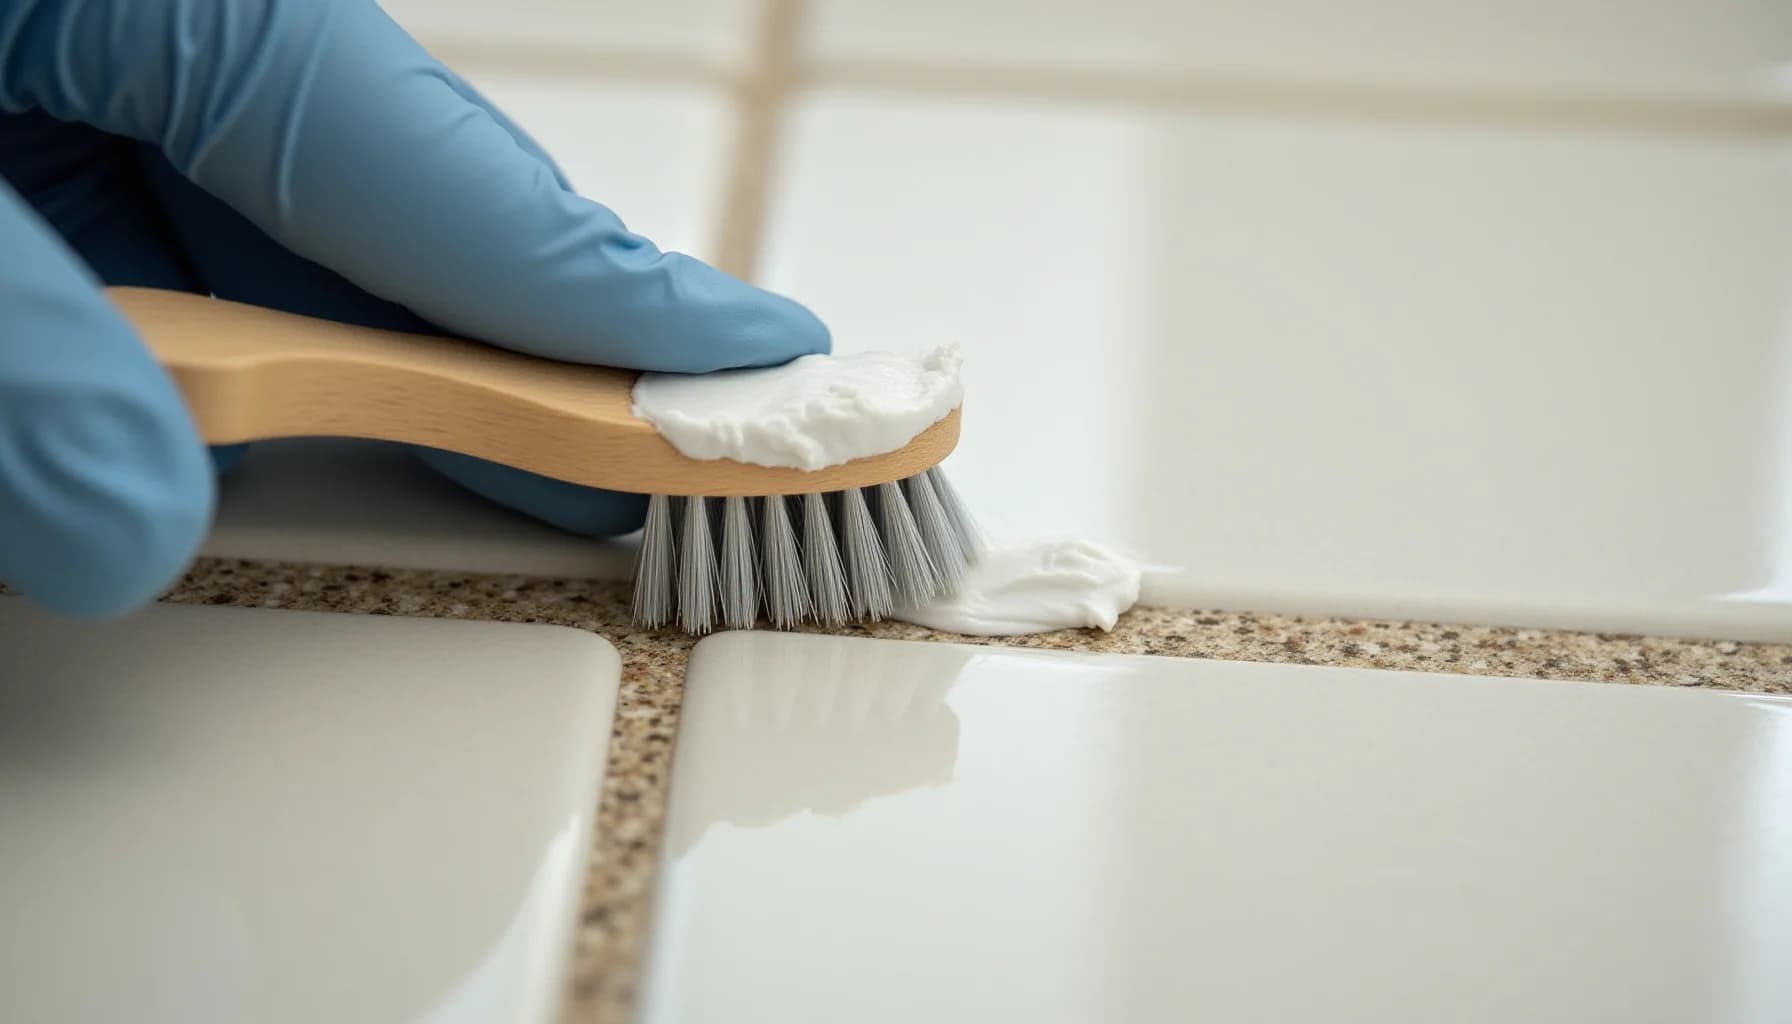
Is Steam Cleaning Worth It for Grout Lines?
Steam cleaning works by forcing water vapor at around 212°F into grout lines, which loosens surface mold, soap residue, and embedded dirt without any chemical contact. That temperature advantage is real, and for intact ceramic or porcelain grout in reasonable condition, steam cleaning produces noticeably cleaner results than scrubbing alone.
The tradeoff is sealant. The same heat and pressure that lifts grime strips the protective layer from your grout. If you steam clean without re-sealing afterward, you leave the grout fully exposed to moisture absorption, bacterial growth, and the kind of staining that eventually requires professional remediation rather than a Saturday afternoon fix. Re-sealing after every steam session is not optional; it is the step that determines whether steam cleaning helps or slowly degrades your surfaces.
The more serious warning concerns damaged grout. If your grout is already chipping, crumbling at the edges, or showing visible cracks, the heat and pressure of a steam cleaner will accelerate that breakdown. Forcing steam into structurally compromised grout can dislodge pieces entirely and weaken the tile adhesive underneath. At that point you are no longer dealing with a cleaning problem. Stop, do not steam clean, and call a tile contractor to assess whether the grout needs repointing before any cleaning method is applied.
For commercial grout cleaners, match the formula to your tile. Acid-based products containing citric or oxalic acid are the mildest and safe for chrome and stainless steel fixtures nearby. Oxygen bleach formulas are moderately strong. Chlorine bleach products are the most caustic, degrade grout with repeated use, and should be reserved for extreme cases only. Before choosing any commercial product, confirm your tile type, since natural stone cannot tolerate acid-based formulas under any circumstances.
Frequently asked questions
Can I use vinegar on all types of grout?
What is the safest homemade option for whitening yellowed or stained grout?
Is there a difference between chlorine bleach and oxygen bleach for cleaning grout?
How often should grout be deep cleaned, and how can I maintain it between sessions?
How do you keep grout clean after scrubbing it?
Scrubbing grout back to a clean state is satisfying, but it's only half the job. Without a sealer applied afterward, the freshly opened pores of the grout will absorb moisture and dirt almost immediately, and you'll be back to square one within weeks. Once the grout has fully air-dried after cleaning, apply a penetrating grout sealer across all the lines. For most household tile, resealing every six months keeps the surface protected; high-traffic areas like shower floors may need it closer to every three months.
Between those deeper sessions, a quick weekly wipe-down does most of the heavy lifting to prevent buildup from taking hold. Pour a small amount of rubbing alcohol onto a cloth and run it along the grout lines. This takes less than five minutes in most bathrooms or kitchens, and it kills mold and mildew spores before they have the chance to stain. A light wipe also catches soap scum and grease in their early stages, when they're still on the surface rather than absorbed into the material.
Think of maintenance in two layers: seal to protect, then clean lightly and regularly to avoid needing to scrub hard again. That rhythm, weekly wipe-down plus a seasonal deep clean every three to six months, is far less work than rescuing neglected grout.
How this article was made
Researched and written with AI assistance. What gets published is a human editorial decision. Grounded in 6 cited sources.
Edited by Claire Mercier, Editor. The guides are written with AI assistance.
Sources (6)
- How To Clean Grout
- How to Clean Tile Grout in Your Bathroom | Pine-Sol™
- Best Way to Clean Grout - Tips for Long-Lasting Cleanliness
- I Tried 5 Ways To Clean Grout (With Photos) | The Kitchn
- How to Clean Shower and Bathroom Floor Grout | Re-Bath®
- How to Clean the Grout Lines of a Porcelain Stoneware Floor - Porcelain tiles and Kerlite for Floors and Walls